Lesson 2

Describing Shapes

Est. Class Sessions: 2–3

Summarizing the Lesson

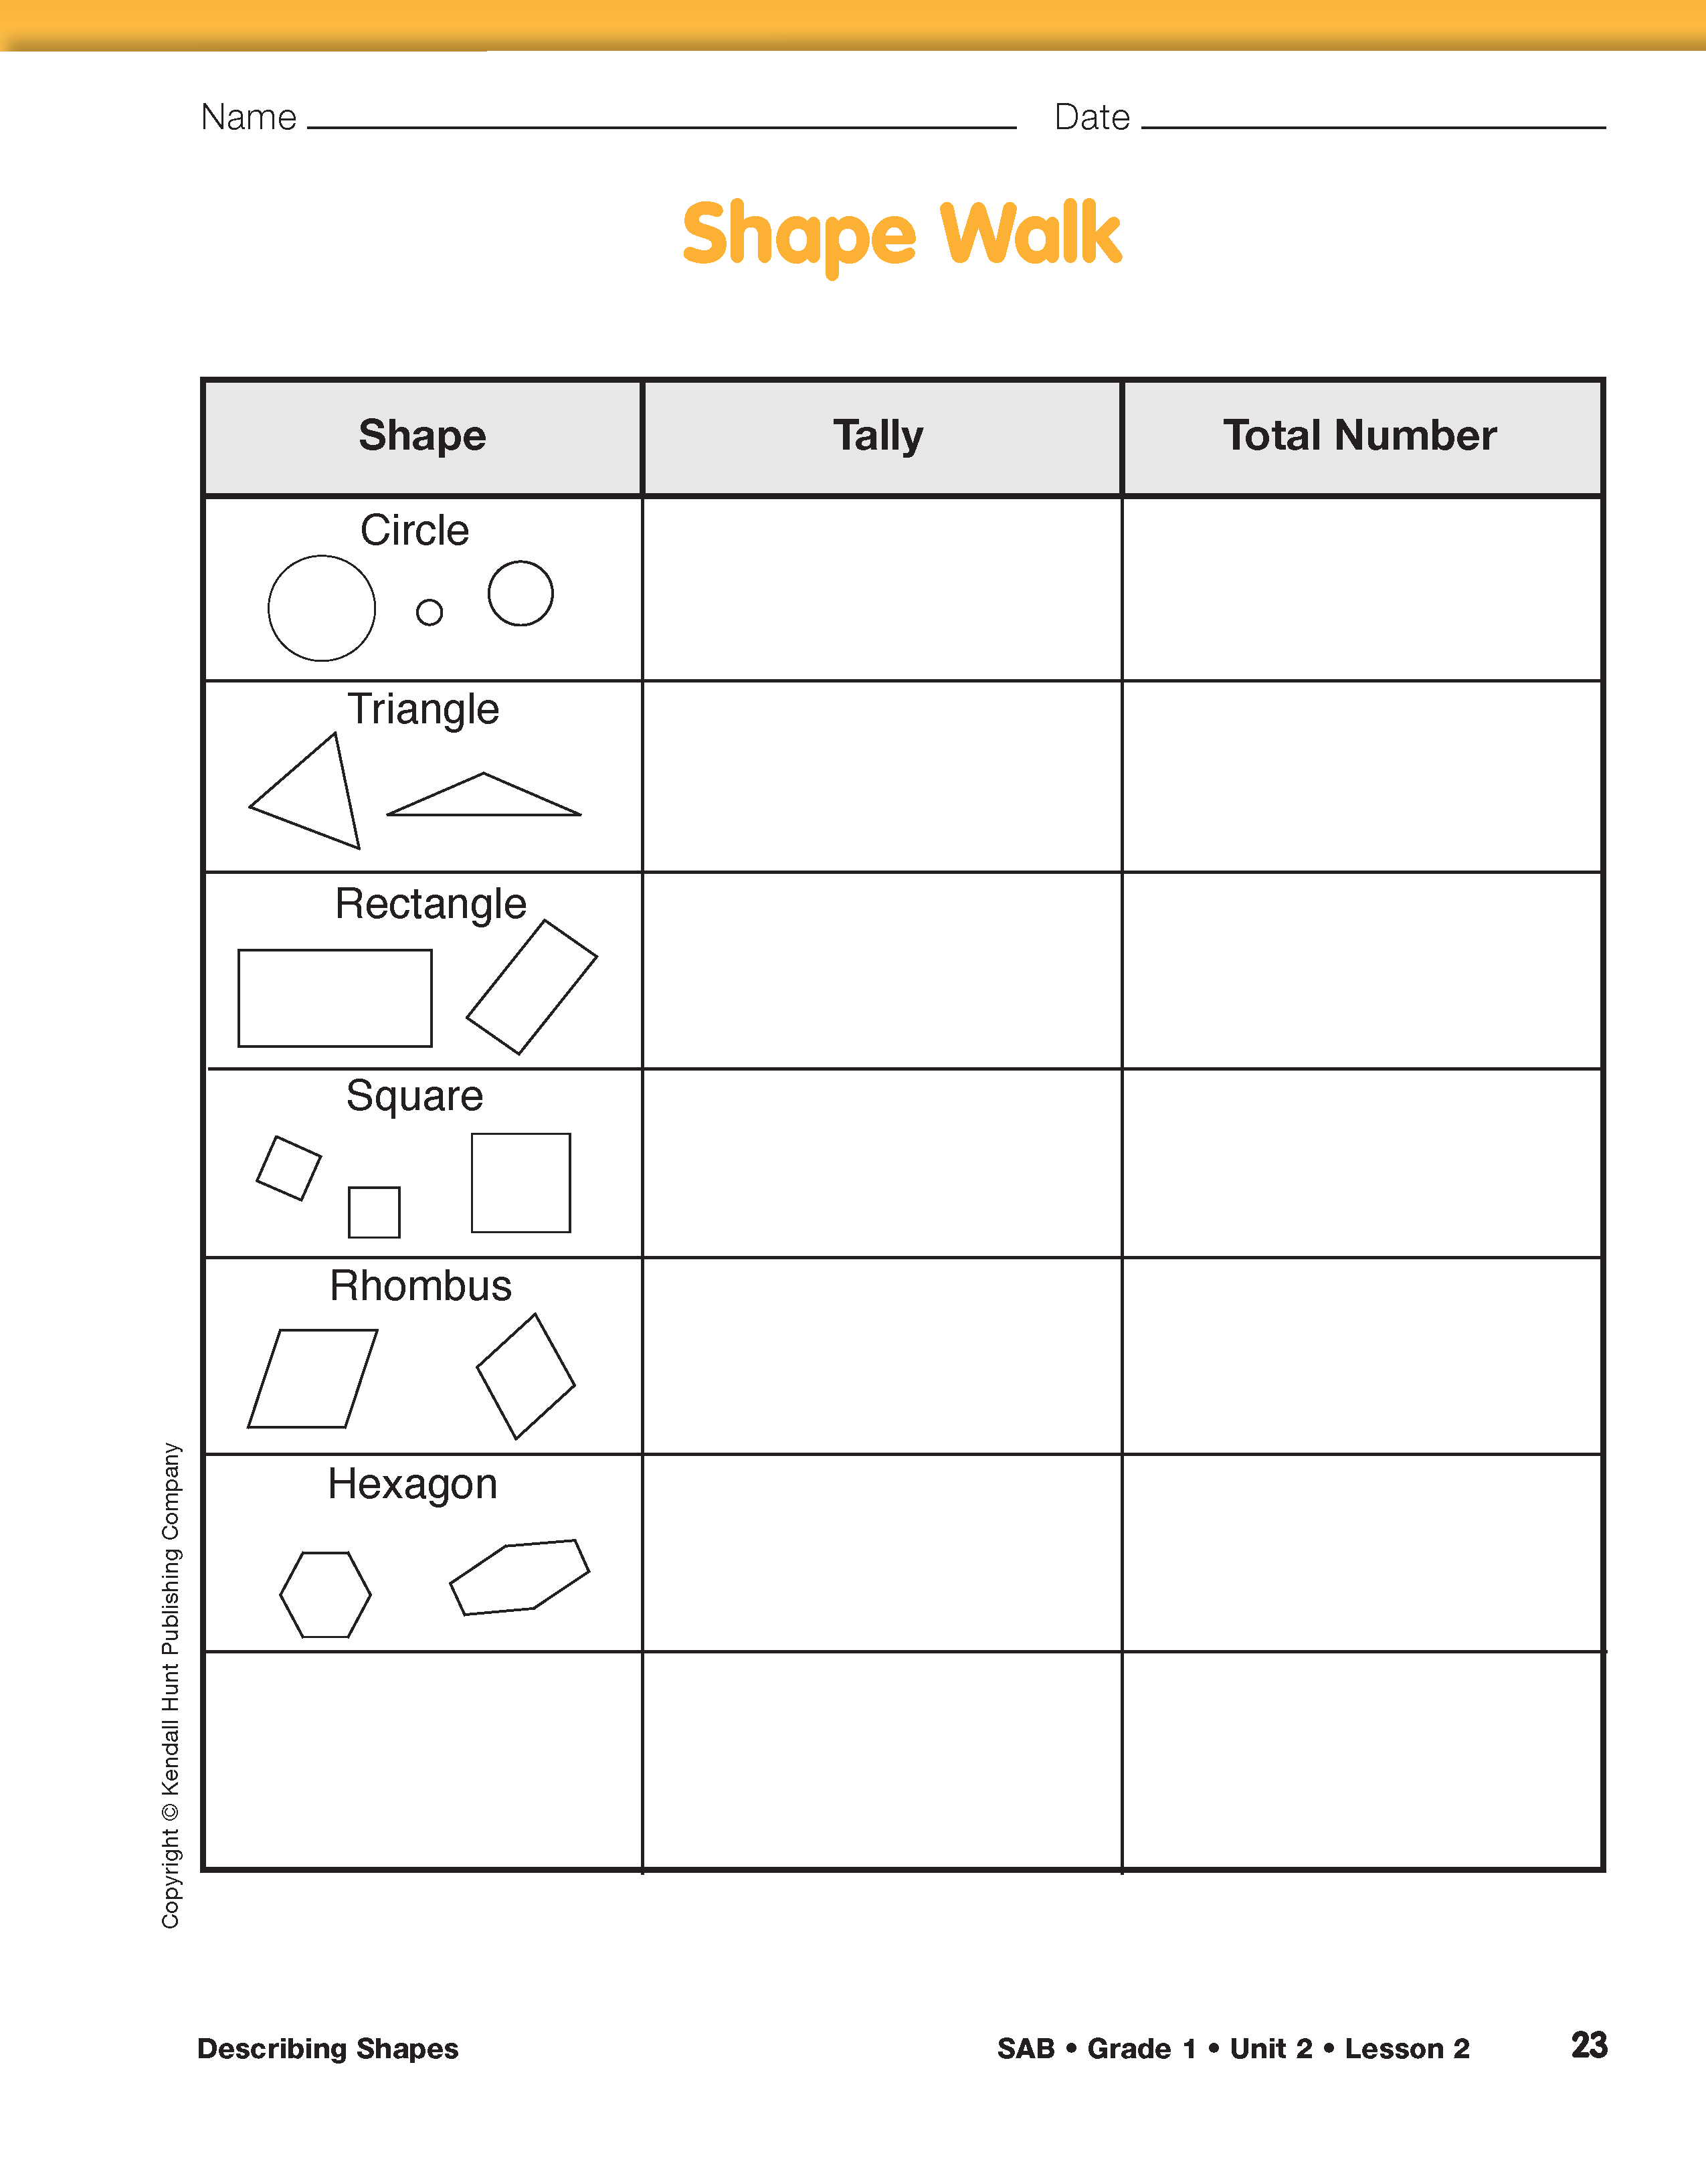
Going on a Shape Walk. Display and introduce the Shape Walk page in the Student Activity Book. Explain to students that they are going to record the shapes they see on a walk inside or outside of the school. Demonstrate how to make tally marks in the middle column and explain that each time they see a shape they will record a tally mark on the table. There is space in the table for students to add another shape if they choose to do so. When the class has completed its walk, have students write the total number of each shape in the last column.

X
  • Which shapes were the easiest to find?
  • Why do you think there are so many rectangles?
  • What would it be like if wheels were hexagons instead of circles?
X

A camera can be a useful tool to take on a shape walk. You can use photographs to record shapes accurately for later description or include the shapes in a class shapes book or bulletin board display.

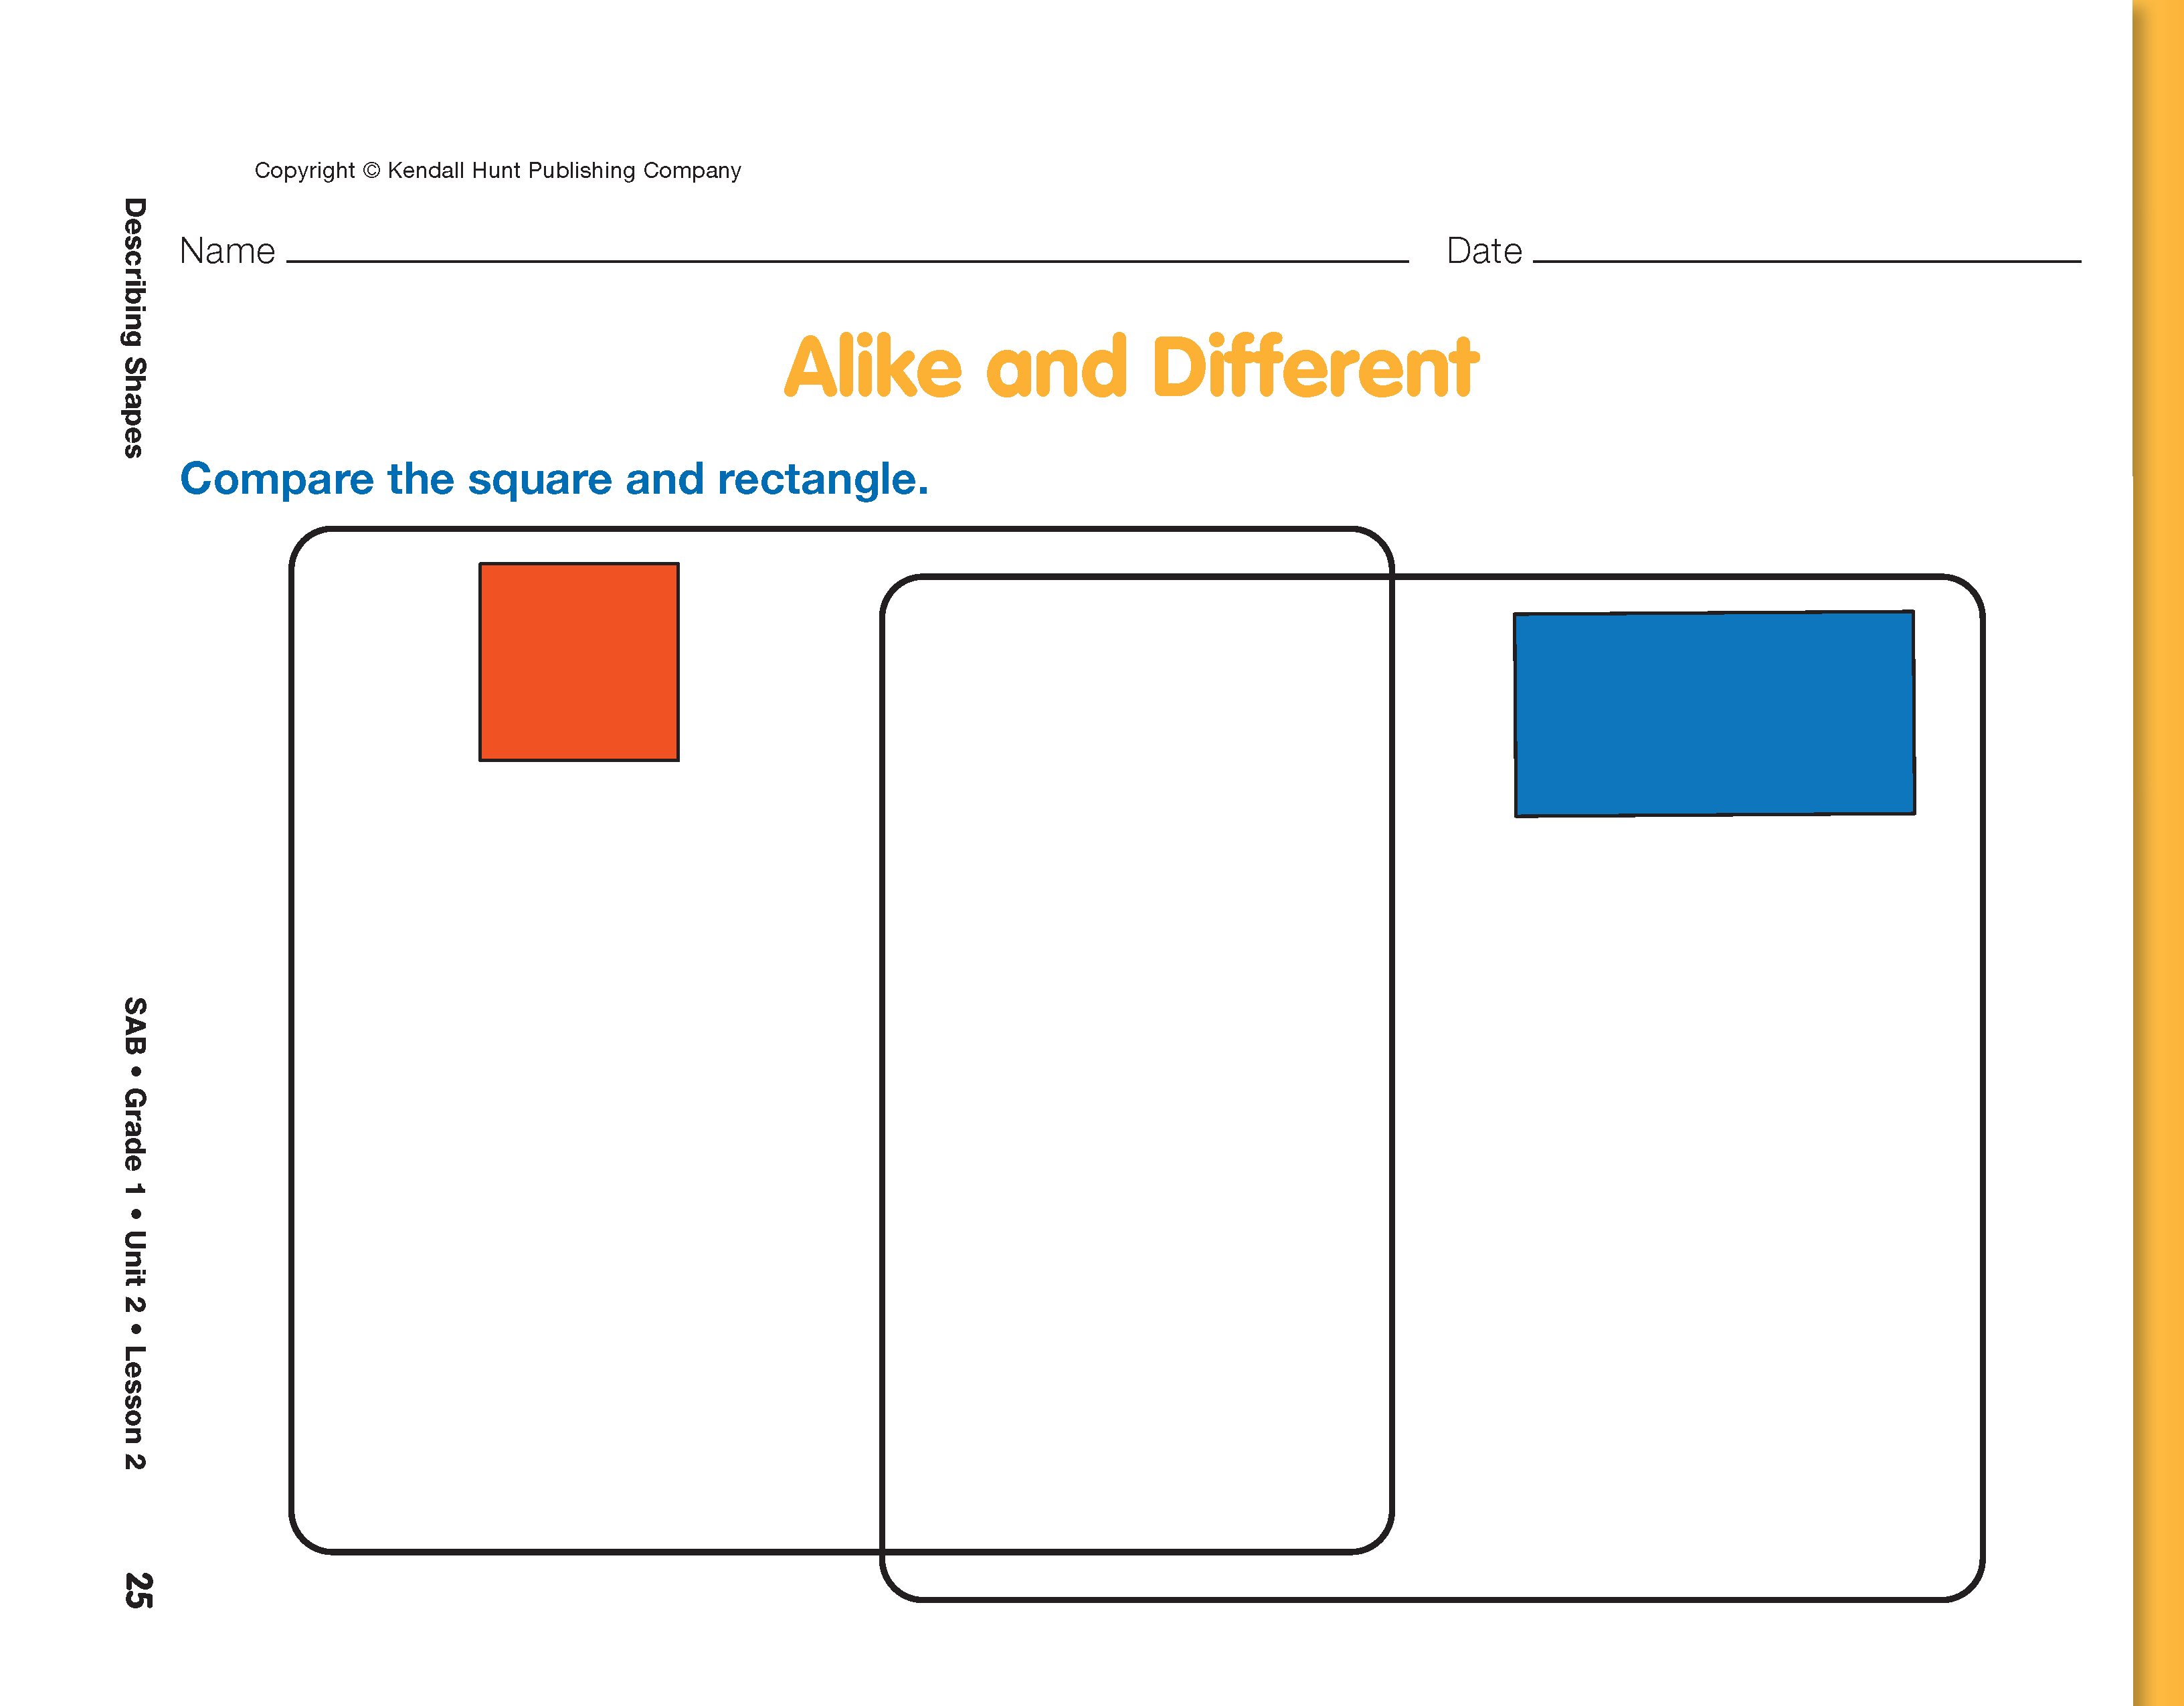
Compare Shapes. Ask students to complete the Alike and Different page. Remind students how to use the Venn Diagram to compare the shapes. Properties that are shared by both shapes are written in the overlap. Properties that describe only one of the shapes are written in the rectangle below the shape.

X

Use the Alike and Different page to assess students' abilities to compare and contrast the properties of two-dimensional shapes [E3].

X

To support students as they write:

  • Encourage students to use developmental spelling and drawings to first interpret the assignment and then share their solution strategy.
  • Use recording devices to help students listen to the question and describe orally how the shapes are alike and different. Voice recognition software may also be used to translate students' oral language into text
  • Allow students to dictate their answers to another person.
X
SAB_Mini
+
X
SAB_Mini
+