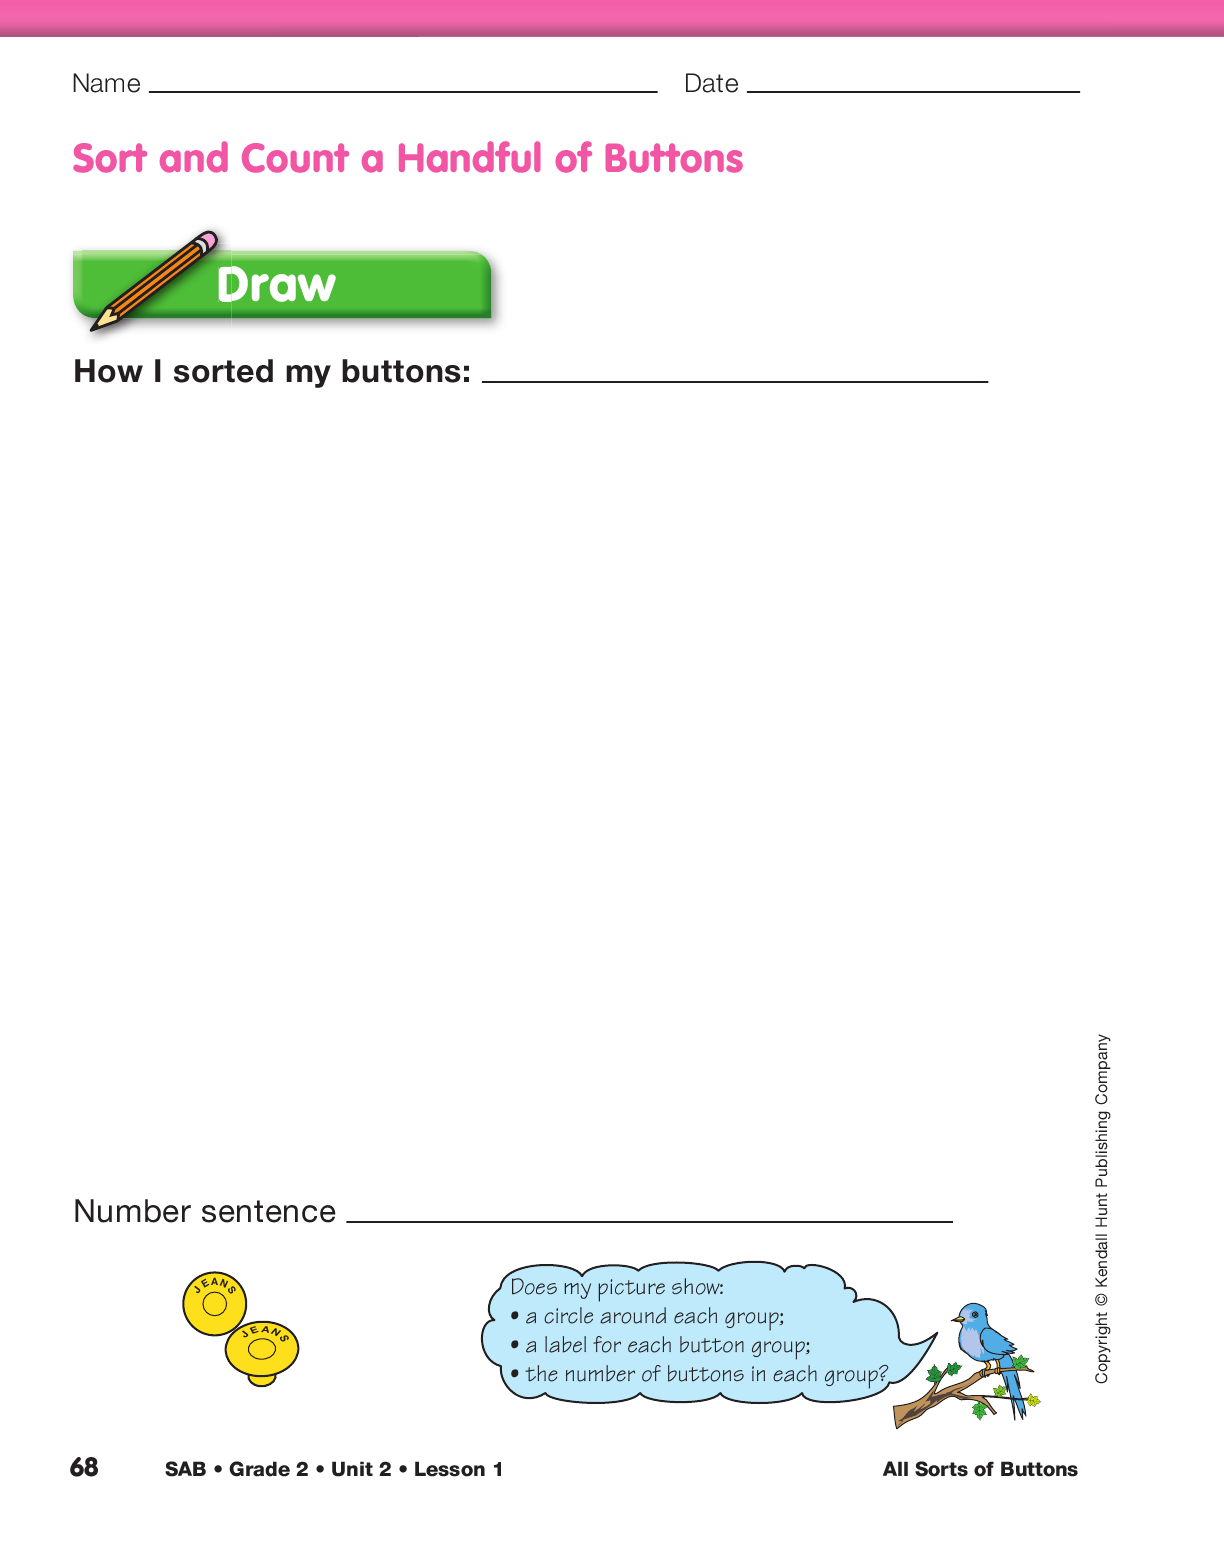
Demonstrate Sorting and Counting Buttons.
Student pairs will select one characteristic by which
they will sort a handful of buttons. Use the display
of the Sort and Count a Handful of Buttons section
of the All Sorts of Buttons pages to demonstrate the
activity. Take a handful of buttons from a prepared
plastic bag and discuss different ways to sort the buttons
and the possible categories for each characteristic.
- What are some ways to sort the buttons? (Possible responses: size, color, shape, number of holes. See Figure 2.)
- If I sort my buttons by color, what are the possible
categories for color? (Possible responses: blue, red, white, green)
- If I sort my buttons by size, what are the categories
for size? (small, medium, large)
- If I sort my buttons by number of holes, what categories
could I have? (0 holes [shank], two holes, four holes)
Decide on one way to sort the handful of buttons by
characteristic (e.g., color) and ask what the possible
categories (e.g., blue, red, white, green) are for that
characteristic.
Ask a student volunteer to demonstrate how to sort the buttons and ask:
- What do I need to put in my picture to show how
the buttons are sorted? (Possible response: the
number of groups, how many in each group, the
names of the categories)
- How can I show how I sorted the buttons?
(Possible response: Draw a circle around the
groups, write the names of the categories.)
- What is a number sentence for my drawing?
Many students choose to sort by color since that may be the
most easily identified characteristic. To avoid having many
drawings of the same sorting characteristic, you may wish to
use color as the characteristic modeled in the drawing, then
have students choose a different characteristic for their own
sorting and drawing.
Draw a picture to show how the buttons were sorted and write a number sentence for the drawing.
- By looking at this picture, can you tell how I sorted my buttons? How can you tell?
- How does the picture tell you what characteristic I
used to sort? (Possible response: You wrote it at the top of the page. You made different groups and used names.)
-
How does the picture tell how many groups I have? (Possible response: You drew a circle around each group.)
-
How does the picture tell you how one group is different from another? (Possible responses: You
wrote the names of each group. You showed how one group is different from another by drawing different shapes: circle, triangle, square.)
-
How does my number sentence match the drawing? (Sample response: There are 3 groups of buttons. The first group has 6 buttons, the second
has 9 buttons, and the third has 4 buttons. The number sentence is 6 + 9 + 4 = 19 buttons.)

Guide students to understand that their drawings should
focus on one characteristic of the buttons (e.g., size, color,
number of holes) and not on other details of the buttons. For
example, if buttons are sorted by size, students do not have
to draw the buttons with the same number of holes, shapes,
and colors as the actual buttons.
Sort and Count Buttons. Student pairs then select
one characteristic by which to sort their buttons.
They sort the buttons according to that method,
count the number of buttons in each group, and draw
their pictures in the Sort and Count a Handful of
Buttons section of the All Sorts of Buttons pages.
Direct students to label each group and write the
number in each group. Drawing a picture of the
results helps students organize their procedure and
communicate that procedure to others.
Students could also sort and count their buttons on a large
piece of paper. They can use the paper to label and circle
their groups and then use a camera to capture and share an
image of their work.
Have students count their buttons and record the number sentences on their page.
Ask several student pairs to show their drawings to
the class to help them evaluate how well they have
communicated what they have done.
Have them ask their classmates the following questions:
- How did we sort the buttons? (Possible responses: by color, by number of holes)
- How does our picture tell you how we sorted? (Possible responses: You showed groups of
buttons with one hole, two holes, and four holes. You labeled your groups.)
-
How many buttons are in each group?
-
How does our number sentence match the drawing?
Ask students to now look at their own pictures.
- Did you write how you sorted your buttons?
- Did you draw a circle around each button group?
- Does your picture show a label for each button group?
- Does it show the number of buttons in each group?
- Did you write a number sentence and the total number of buttons?
Encourage students to improve their drawings.
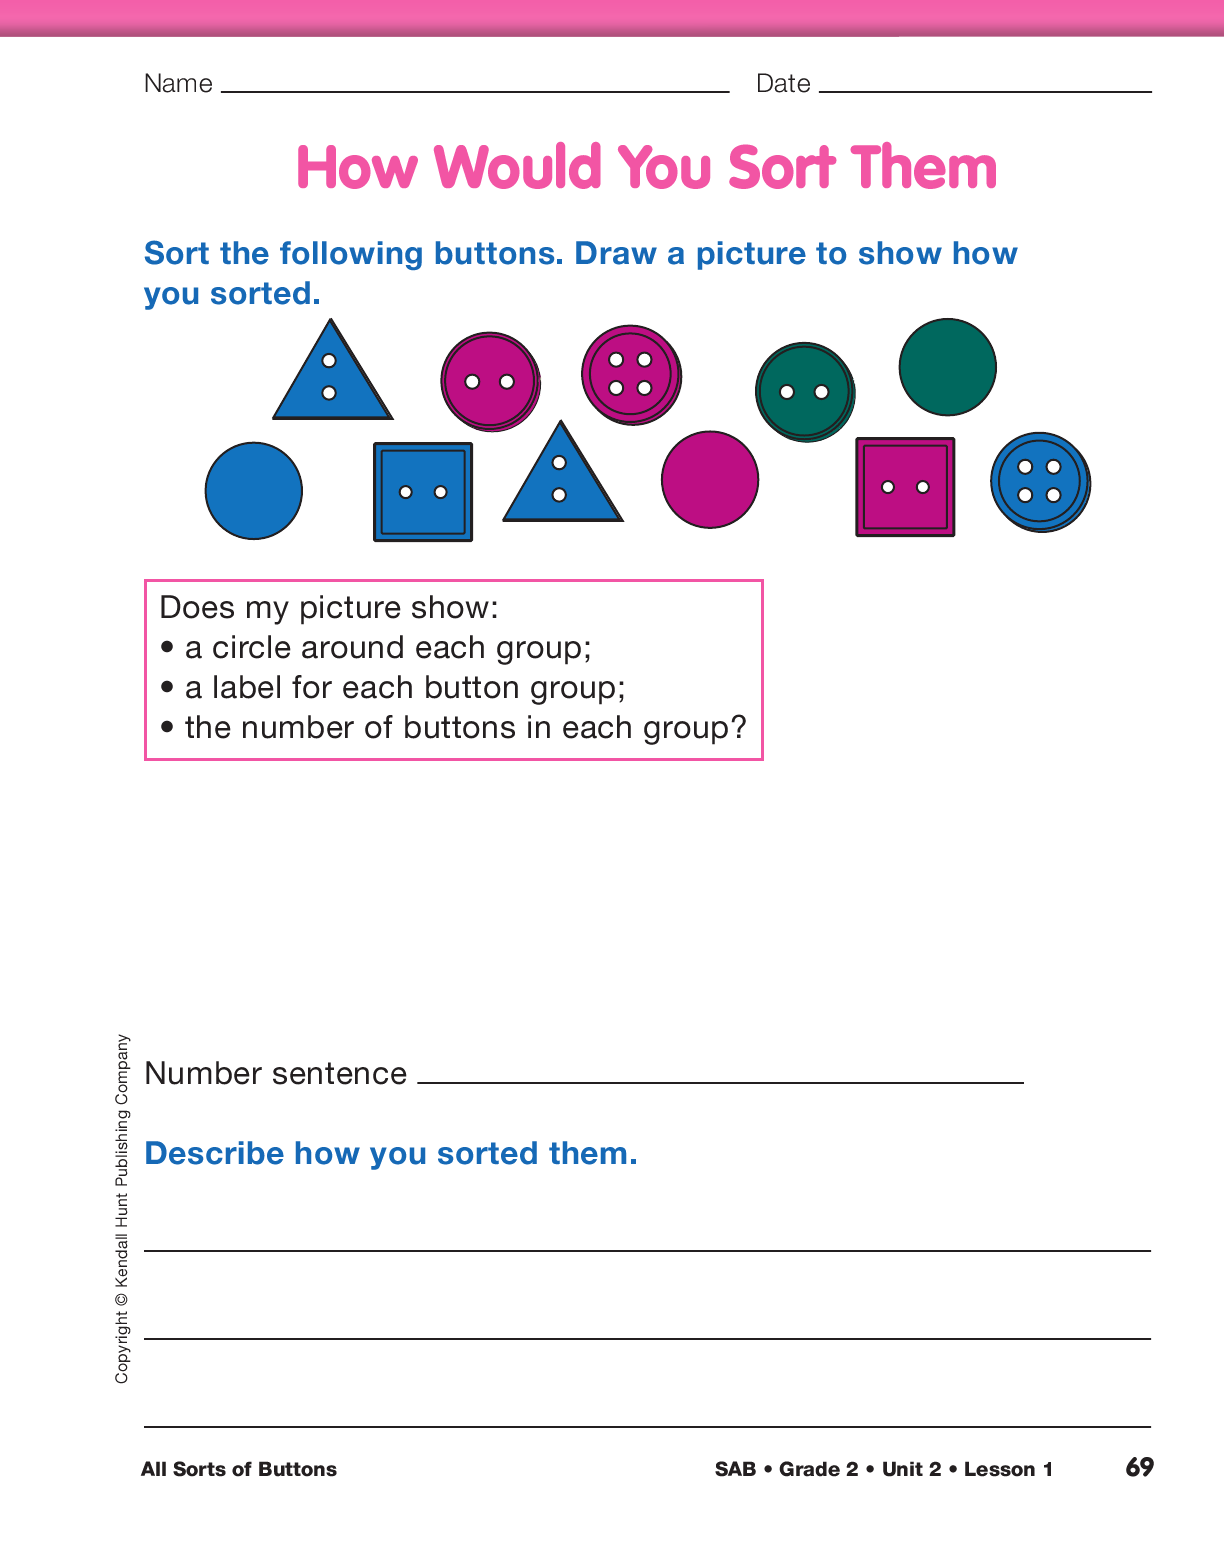
Assign the How Would You Sort Them page in the
Student Activity Book to assess students’ understanding
of sorting buttons by characteristics. Explain that
their picture and description should include:
- the number of groups
- the label for each group
- the number of buttons in each group
- a number sentence to match the drawing
Use the How Would You Sort Them page in the Student Activity Book to assess students’ abilities to sort and classify
objects by their characteristics [E8].