|
|
Daily Practice and Problems |
Lesson |
Homework |
Assessment |
Student Book |
Student Activity Book |
|
|
|
|
Teacher Resources |
Teacher Guide - digital |
|
|
|
|
Supplies for Students
12-inch ruler
centimeter ruler
2 self-adhesive notes
Supplies for Student Pairs
yardstick
meterstick
Materials for the Teacher
Display of the first page of Estimate and Measure: Animal Lengths (Student Activity Book) Page 195
Unit 4 Assessment Record
Actual Size by Steve Jenkins
adding machine tape
masking tape
chart paper
12-inch ruler
centimeter ruler
12 metersticks
12 yardsticks
self-adhesive notes
sidewalk chalk or string, optional
images of animals: baby dolphin, hammerhead shark, eel, sea snail, clownfish, seahorse, sea urchin, starfish, optional
various units and tools to measure length (e.g., rulers, metersticks, palms, footprints), optional
Materials Preparation
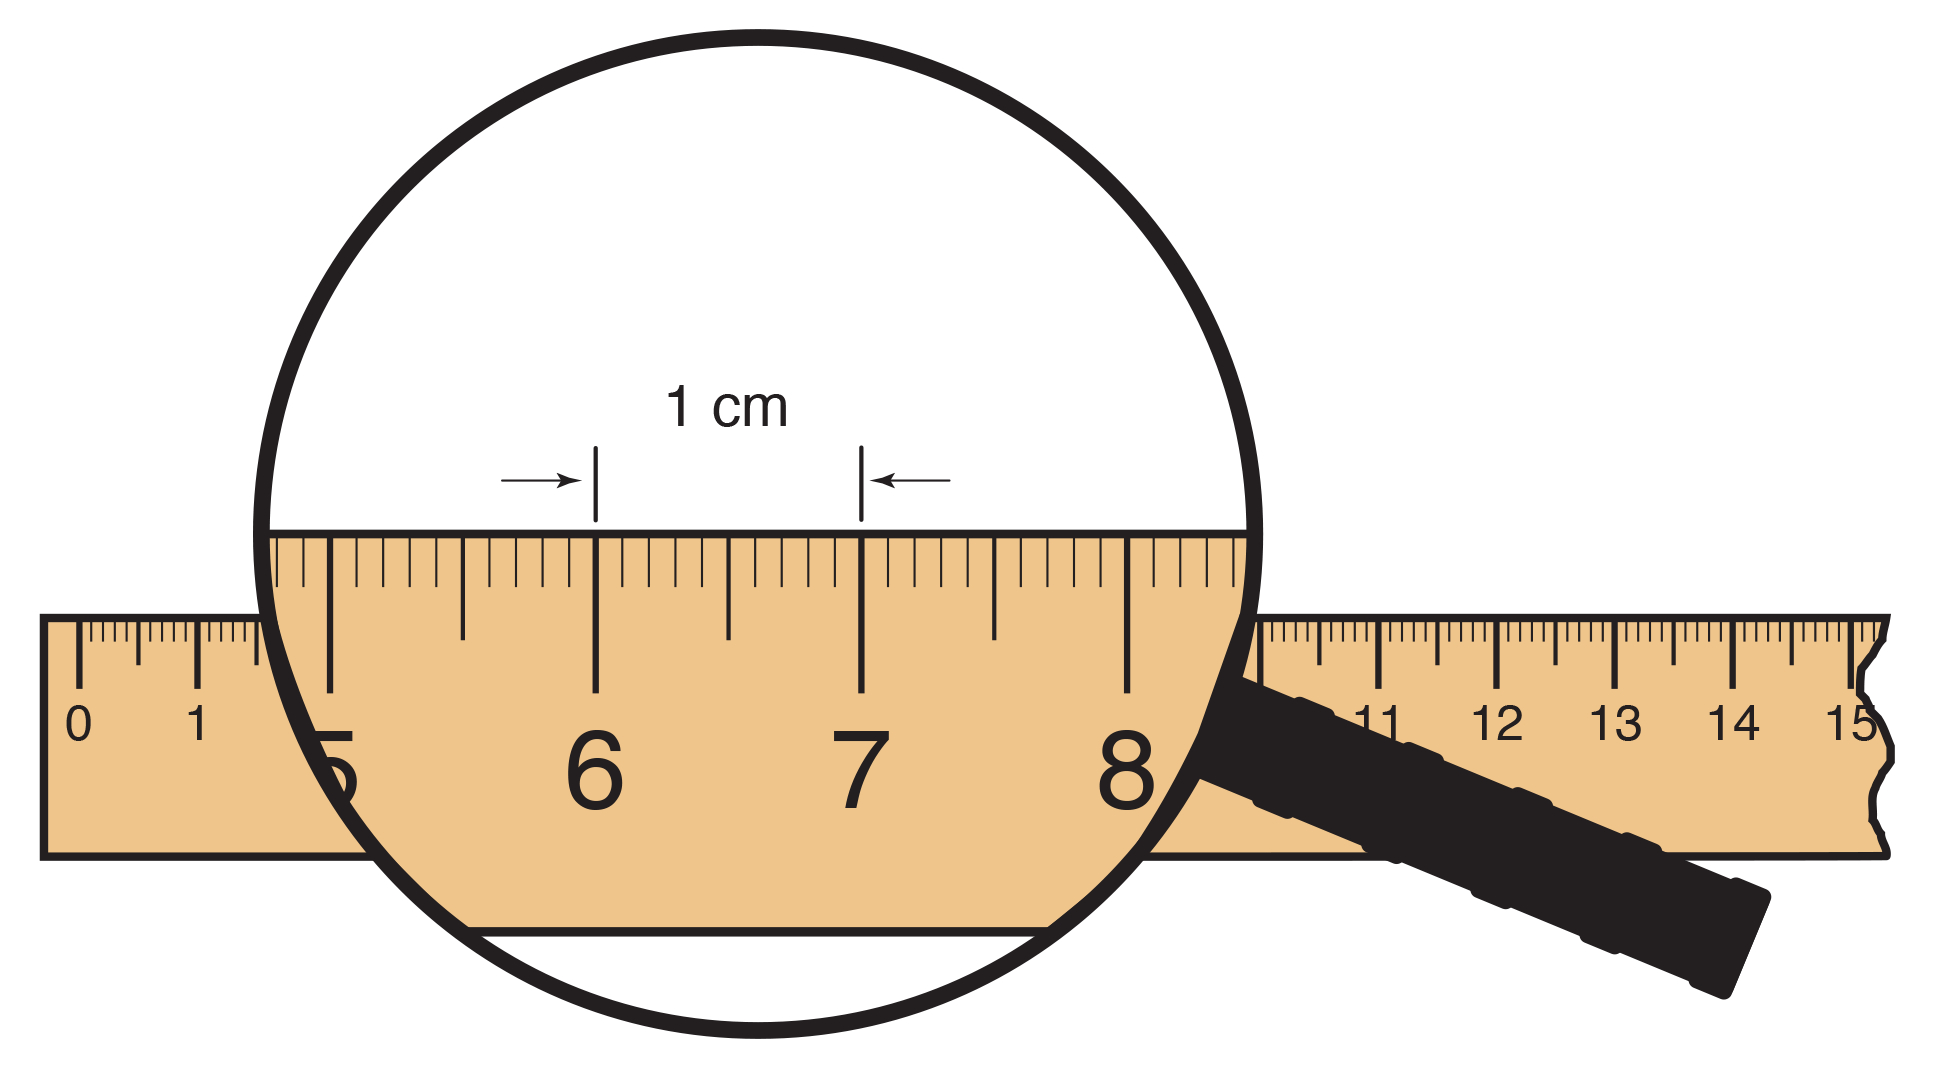
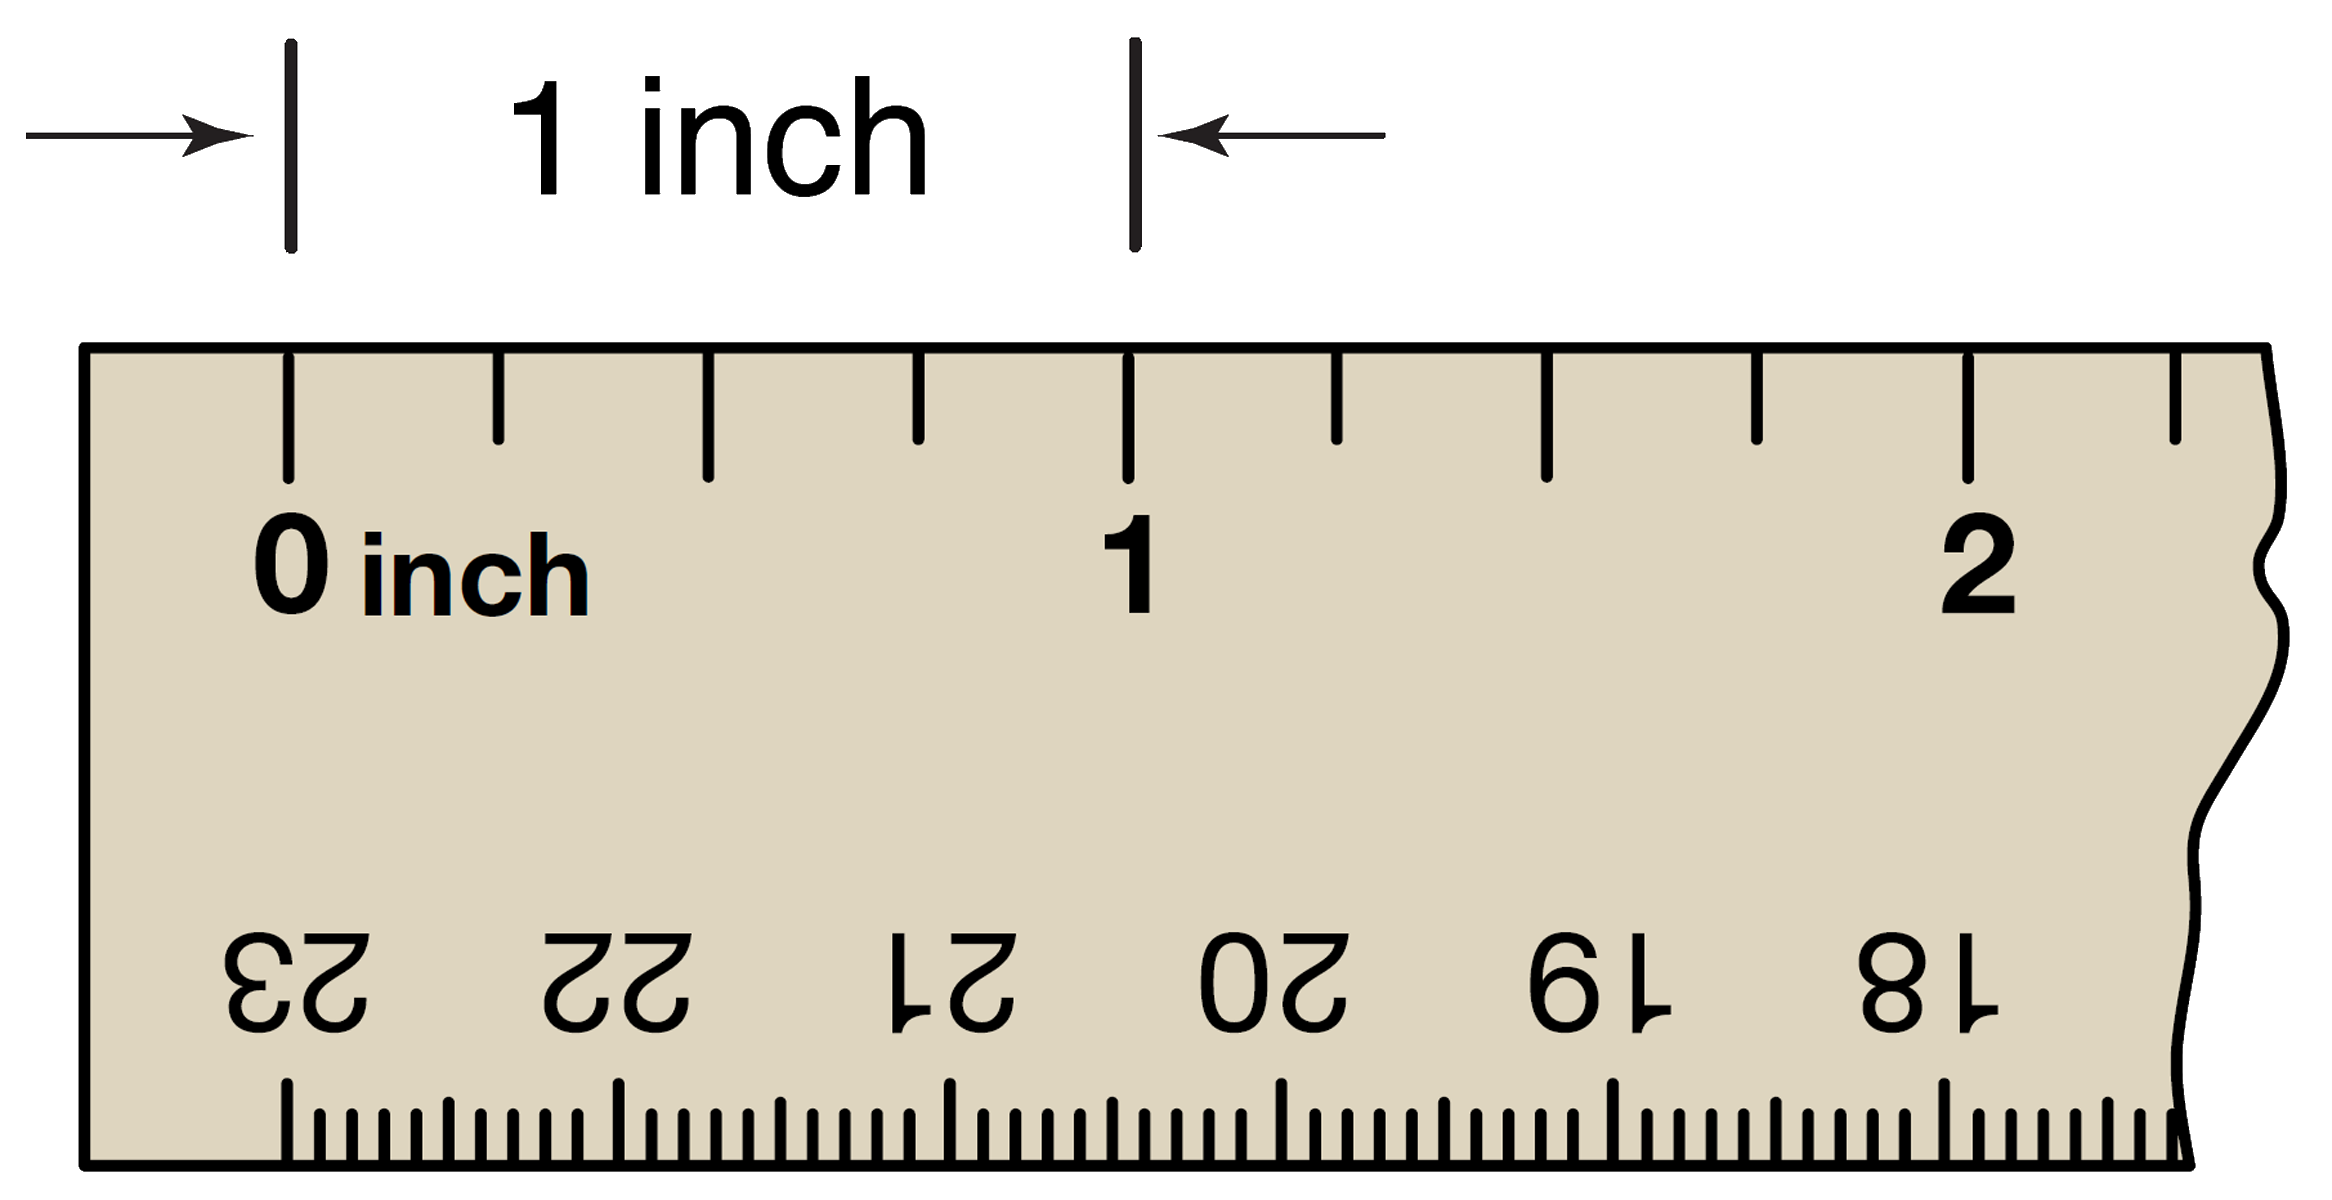
Gather Rulers. Students will need a ruler calibrated in centimeters and a ruler calibrated in inches.
These rulers often come together, where one side is a 12-inch ruler and the other side is a 30-centimeter
ruler. Student pairs will also need a yardstick and a meterstick. A meterstick often has
inches on the reverse side. If you do not have yardsticks, place a piece of tape after 36 inches on
the meterstick to show students a yardstick. Write "yard" on the tape.
Create Tape Lines on the Floor. Identify locations to place three masking tape lines of different
lengths on the floor. Each line should be straight and there should be space around each line for students
to work. Depending on the size of your class, you may want to make two of each length so
there are 6 stations for these long lengths.

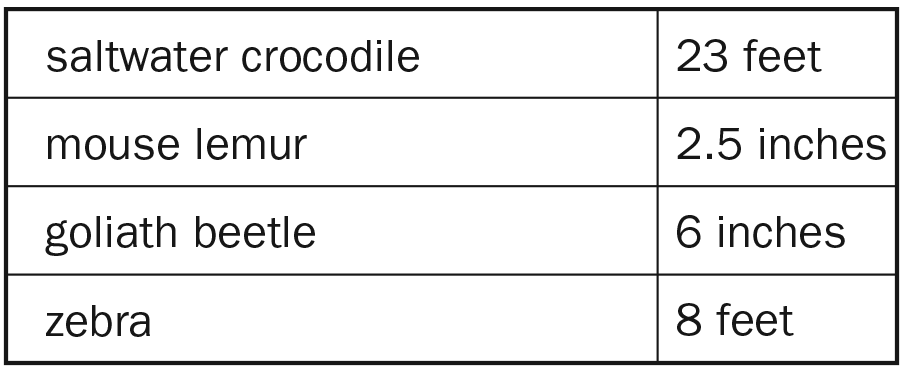
Figure 1: Lengths of long animals
TIMS Tip
Tape can be left for a few days, is durable, and does not move. If you cannot leave the tape on the floor for a few days, you may want
to try some of these alternatives: sidewalk chalk, string, or strips of adding machine tape.
Prepare Adding Machine Tape Lengths. Measure adding machine tape in four lengths, one to represent
the length of each animal. Label each piece with the name of the animal. See Figure 2. Fold up
the tapes representing the saltwater crocodile, mouse lemur, and goliath beetle and place on the
corresponding page in the book Actual Size. Cover the actual measurements shown in the book with
a self-adhesive note.

Figure 2: Animal lengths to use with the Actual Size book
Organize Tools. Place metersticks, yardsticks, 12-inch rulers, and centimeter rulers in a central location
or near the long tape lines you have prepared. Students will need access to all these tools while
they measure the various short and long animal lengths.
Prepare Optional Targeted Practice. Gather examples of all the tools and units students have used
to measure length and few they may not have used recently (e.g., paper clips, links, marshmallows).
Ask students to choose a distance and represent it with a drawing or by finding a picture of it. Then
ask students to choose a unit to measure that distance and explain why they would choose it.


