Lesson 2

Goldilocks and the Three Rectangles

Est. Class Sessions: 1–2

Developing the Lesson

Part 1: I’m the Biggest

Tell the Story. Review the story “Goldilocks and the Three Bears.” If some students are unfamiliar with the tale, ask volunteers to retell it. As you discuss the story, focus on Goldilocks comparing the sizes of various objects using herself, in a sense, as a unit of measure.

Tell students you are going to tell them a similar story called “Goldilocks and the Three Rectangles.” Read the story as presented here, or tell a version in your own words.

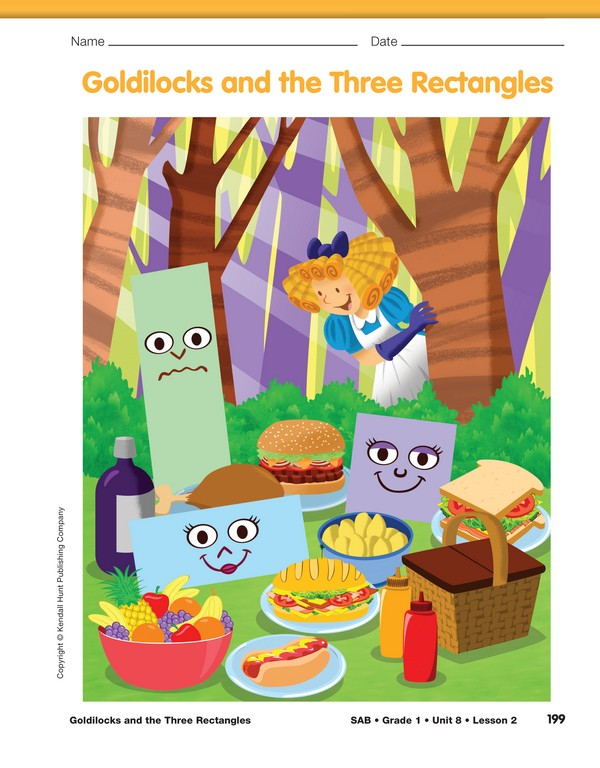
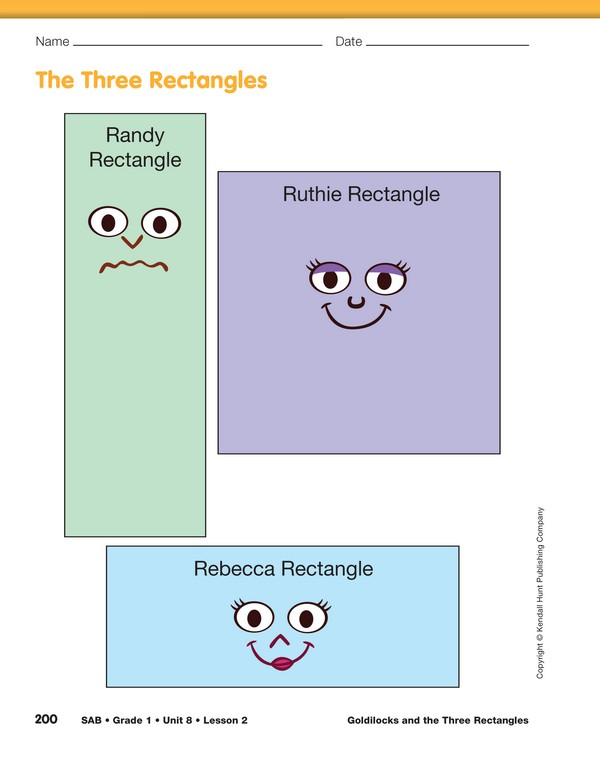
Display the first Goldilocks and the Three Rectangles page to accompany the story. Have students view The Three Rectangles section in their Student Activity Book.

    Goldilocks was once again walking through the woods, being careful to avoid any bears that might be around. She heard voices coming through the trees and went to investigate. Three rectangles were sitting on a picnic blanket having a very serious discussion. This is what Goldilocks heard:

    Randy Rectangle said, “I am the biggest rectangle in the family. I am the tallest.”

    Rebecca Rectangle said, “No, I am the biggest rectangle in the family. I am the widest.”

    Ruthie Rectangle said, “You are both wrong. I’m not the tallest rectangle or the widest rectangle, but I know I’m the biggest.”

    Goldilocks, who was always interested in any discussion about size, stepped out of the trees and walked over to the three rectangles. “If you really want to know who’s the biggest rectangle, I can help you,” she offered. All three rectangles said at the same time, “You are not a rectangle! How can you possibly help us?”

    “I like thinking about the sizes of things. Once I studied three chairs, three bowls, and three beds until the bears came home. I always carry special measuring tools with me now when I go walking. Please, let me help you,” she said.

    All three rectangles said at the same time, “Help us if you can. What do we need to do?”

    Goldilocks explained that they needed a special tool called a ruler to do some measuring. (She always carried a ruler in her pocket.)

    Goldilocks told the three rectangles she could measure them with the ruler and then record that information in a table, which she had drawn on the back of a napkin.

  • What do you think Goldilocks should measure?
    (the two sides of the rectangles)
  • A few weeks ago, we made an advice chart for measuring length. Can anyone tell me some of the things we wanted to remember?
    (Measure in a straight line, line up the 0 on the ruler with the end of the object being measured, tell the number and the unit.)

Measure Lengths of Three Rectangles. Ask students to help Goldilocks measure the rectangles. Demonstrate using a ruler to measure the rectangles on the display of The Three Rectangles section of the Goldilocks and the Three Rectangles pages in the Student Activity Book.

  • First I’ll measure how tall the rectangle is. How am I holding the ruler? In what direction am I measuring? (The ruler is going up and down, top to bottom.)
  • Next I will measure the width of the rectangle. When I measure how wide the rectangle is, how am I holding the ruler? In what direction am I measuring? (The ruler is going across from side to side, left to right. Wide is side to side.)

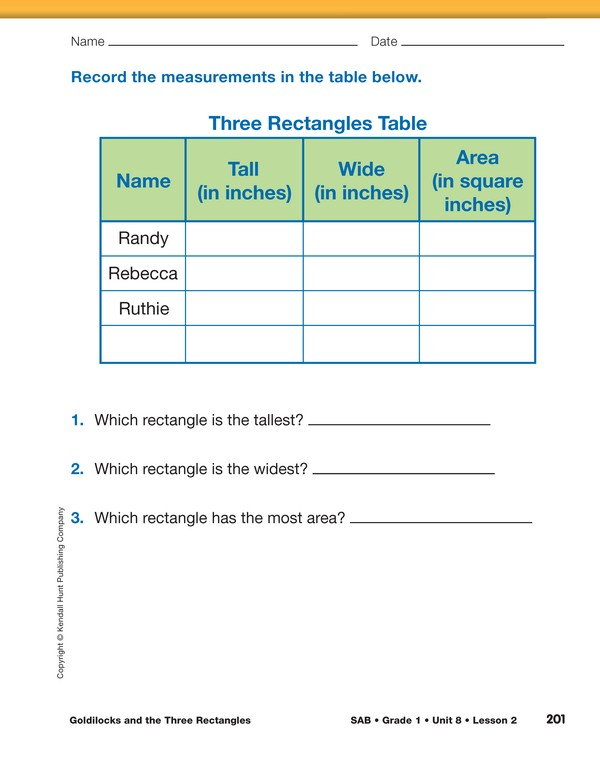
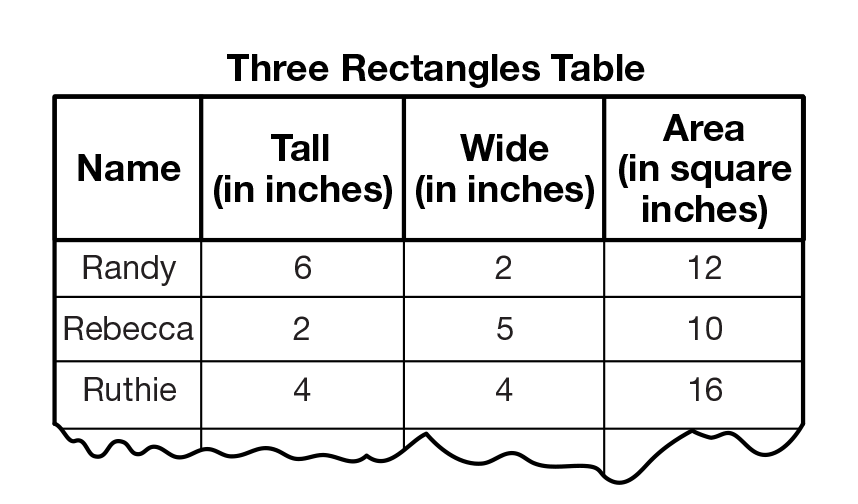
Then show the class where to write the measurements for “tall” and “wide” on the display of the Three Rectangles Table from the Student Activity Book. Have students use rulers to measure both sides of each of the three rectangles and record their data as shown in Figure 2 for the first two columns of the data table.

The longer of the two dimensions of a rectangle is sometimes considered the length. However, in Math Trailblazers, we define the length of a rectangle as one of the two sides. That is, one side of a rectangle is the length and an adjacent side is the width. Here we use the everyday language of “tall” and “wide” to describe the dimensions.

Compare measurements. Have students work with a partner to discuss their answers to Questions 1–2.

  • Which was the tallest rectangle? How did you decide? (Randy. When I look at the numbers in the column that says “tall,” Randy has the biggest number, so he is the tallest.)
  • Look at the “tall” measurements. Put the rectangles in order by how tall they are. (Rebecca, Ruthie, and Randy.)
  • How much taller is the tallest rectangle than the shortest rectangle? How do you know? (4 inches; Randy is tallest, 6 inches, and Rebecca is shortest,
    2 inches, so count on 2 to 6 and you get 4 inches.)
  • Is Ruthie taller than any of the other rectangles? (Yes, Ruthie is taller than Rebecca.)
  • Which was the widest rectangle? How did you decide? (Rebecca. When I look at the numbers in the column that says “wide,” Rebecca has the biggest number, so she is the widest.)
  • Is Ruthie wider than any of the other rectangles? (Yes, Ruthie is wider than Randy.)
  • In what order would I write the names of the rectangles from widest to smallest? Explain your thinking? (Rebecca, Ruthie, then Randy because Rebecca has the biggest number, 5 inches, Ruthie is a little smaller with 4 inches wide, then Randy has the smallest width with only 2 inches wide.)
  • Which was the tallest rectangle? (Randy)
  • Which was the widest rectangle? (Rebecca)
  • We did a good job figuring out which rectangle is the tallest and widest. When I think about how we measured the clouds yesterday I can think of another measurement that may be biggest. What could I be thinking about? (The area. One rectangle can have the biggest area.)

Measure Area of Three Rectangles. Review the idea of area as how much space a shape covers. Then remind students that the term biggest (or largest) also can refer to a shape‘s area. Ask them to describe what they did with pennies to find the bigger cloud in the last lesson. They should recall that they covered the clouds with pennies to estimate their areas. Now ask them to think about how else Goldilocks could measure the area of the rectangles as you continue the story.

Measuring with Square Inches. Until now, students have used the standard inch to measure. The inch is a linear measure. It measures only length. To measure the interior region of a shape, which is called the area of the shape, a different kind of measure is required. Area is always measured in square units, i.e., a two-dimensional measure. A square inch is two-dimensional because it is a square that measures one inch along two adjacent sides.

Some students get confused with the distinction between linear measure and square measure. As they gain experience, the distinction will become more natural. To assist students in their understanding, be sure to make the distinction in your conversations with them. Always refer to square units (whether they are square inches, square feet, square yards, square centimeters, etc.) when reporting area measurements. When using “plain” inches, remind students that they are measuring a length or an edge. Draw attention to their experience measuring lines using a ruler.

    Goldilocks said to the three rectangles, “We know Randy is the biggest if we are talking about height. We know Rebecca is the biggest if we are talking about width, but we still don’t really know which of you has the biggest area. I have another unit of measurement in my pocket. It’s called a square inch.”

Show several square-inch tiles on a display, and have a student measure each side with a ruler.

  • Remember how you used the pennies to cover the areas of the clouds. Can you think of a way to use the square-inch tiles to find the area of the rectangles? (We can put the tiles inside them like when we put the pennies in the clouds.)
  • What do we need to remember when placing the tiles on the rectangle? (We need to make the edges touch and keep them straight, no spaces between tiles. The edges of the rectangles will help if we start on a line and a corner, not the middle.)
  • What is different about measuring with a ruler and measuring with square inches? (Measuring with the ruler is just measuring the side, a straight line. Measuring with square inches is measuring, or covering, the space that is inside.)

Invite volunteers to demonstrate how to measure area in square inches by covering one of the three rectangles with the square-inch tiles.

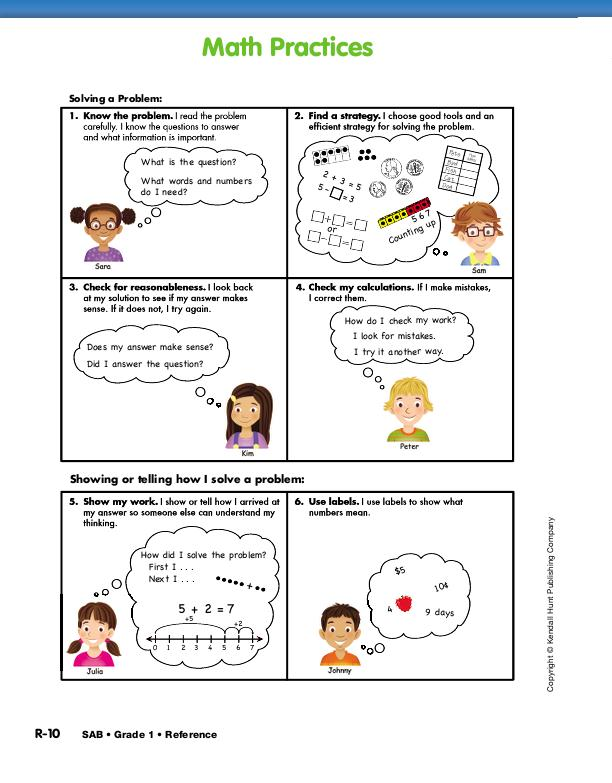
Distribute 40 square-inch tiles to student pairs and explain that you want students to work with a partner to help Goldilocks measure the area of the three rectangles using the tiles. Tell students to record their data in the last column of the data table on the page with the Three Rectangles Table from the Student Activity Book. Emphasize that the measurements are in square inches, not inches. Display the Math Practices page from the Student Activity Book Reference section. Discuss using Math Practice 6, Use labels, when reporting measurements.

  • When we used our ruler to find how tall and how wide the rectangles are, what information did we need to tell to report the measurement?
    (We measured and said “inches.”)
  • Yes, we used the good Math Practice of using labels to tell what the numbers mean. What label will we use for the area measurements? (Square inches because we’re using square tiles, not just a ruler to measure length.)

Have students discuss and answer Question 3 with their partner.

  • What is the order of the area measurements for the rectangles from smallest to largest? (10 sq. in., 12 sq. in., 16 sq. in.)
  • Which rectangle took the most tiles to cover? (Ruthie)
  • Which took the least? (Rebecca)
  • Which rectangle has the biggest or most area? How do you know? (Ruthie has the biggest area because we used the most tiles for her; 16 is the biggest number.)
X
SG_Mini
+
X
SG_Mini
+
X
SG_Mini
+
X
SG_Mini
+
Measuring Advice chart
X
+
A completed table
X
+