Mapping Rain Forest Trails
Est. Class Sessions: 3Developing the Lesson
Part 1: Creating Rain Forest Trails Models
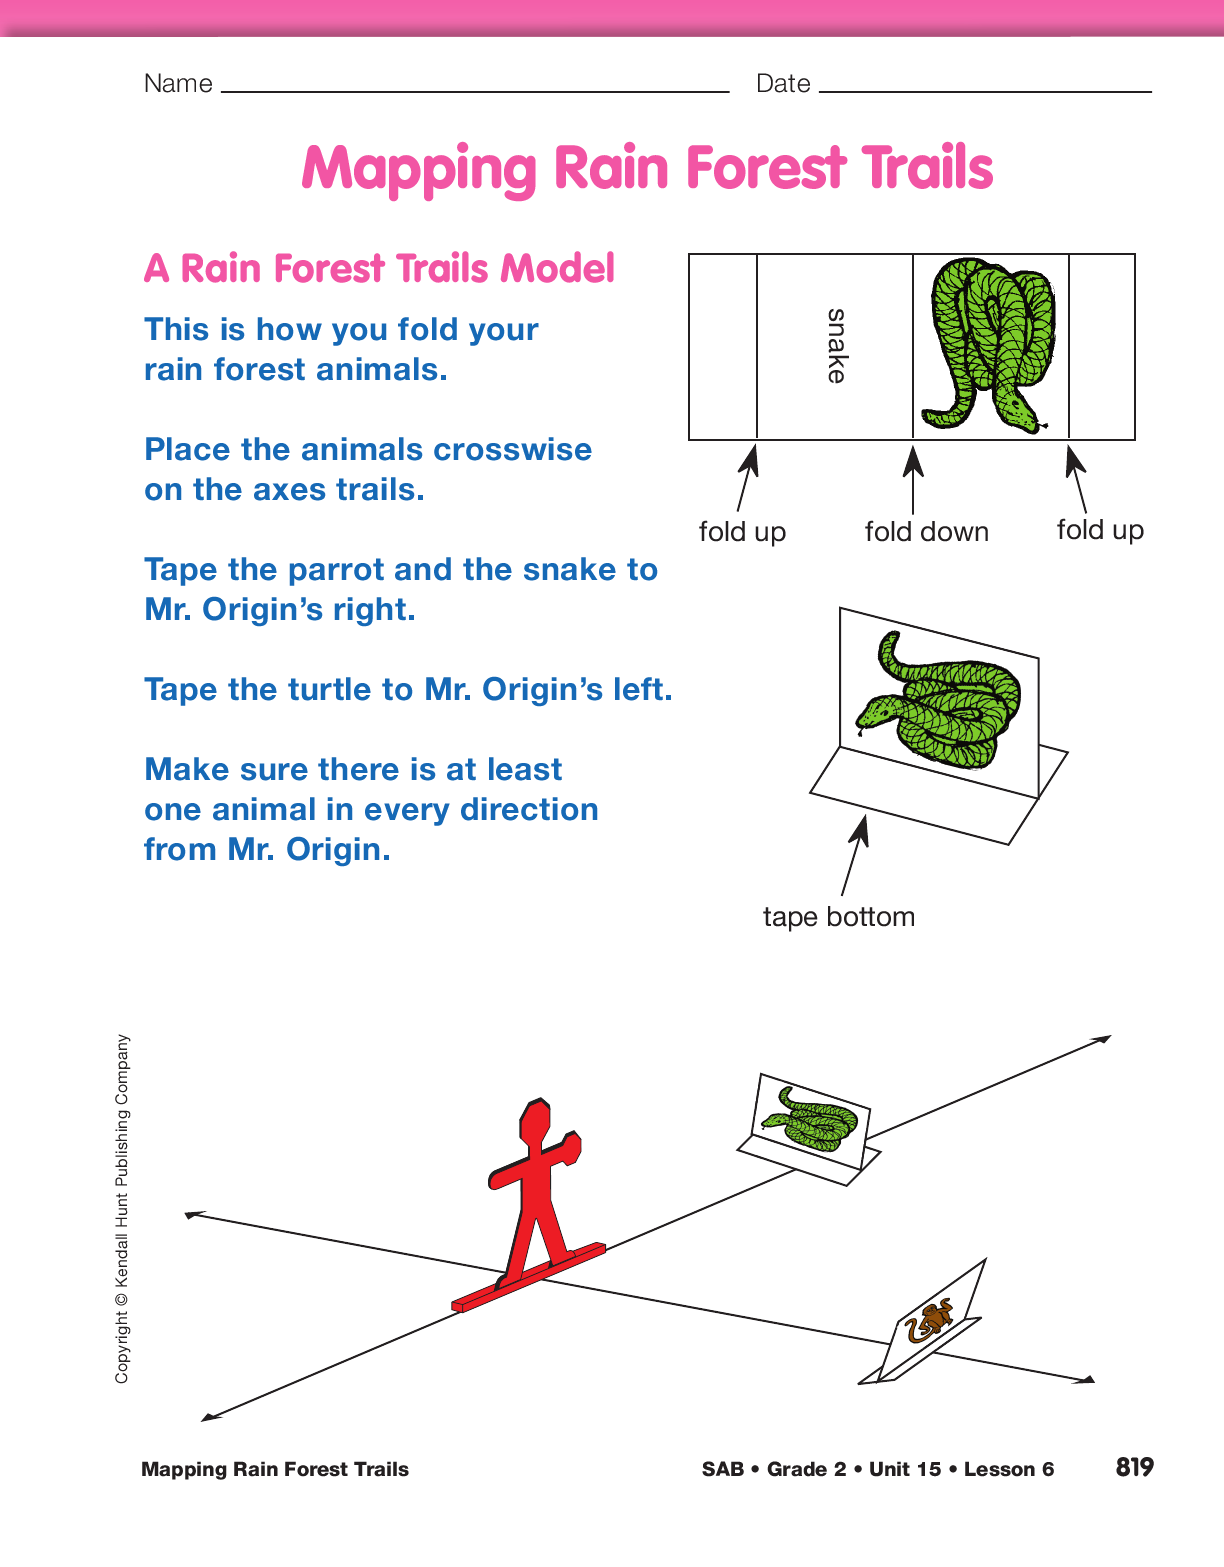
Make Group Models. Provide students with an overview of the activity. Explain that they will work in small groups and each group will place Mr. Origin in an imaginary rain forest where two trails intersect. Each trail is an axis. The term for more than one axis is axes. The axes cross each other at the point halfway between Mr. Origin’s legs as shown in Figures 1 and 2.
Show students the display model of the rain forest trails you prepared before the lesson. See Materials Preparation.
Ask:
Tell students that they will cut out animals that are typically found in a tropical rain forest and place them along the two trails in their group’s imaginary rain forest. Emphasize to students that their models will not be exact copies of yours.
Distribute a set of six animals from the Rain Forest Animals Master to each student group. Direct each group to the A Rain Forest Trails Model section of the Mapping Rain Forest Trails pages in the Student Activity Book. Read the directions aloud to demonstrate how students should cut, fold, and tape the rain forest animals. Direct each group to cut out, fold, and tape each of their six animals.
As described in the Materials Preparation, give each student group a prepared grid, some tape, and a Mr. Origin.
To make their model, tell students to tape Mr. Origin
at the point where the trails (axes) intersect. The
final step in making the model is to tape down the
animals on the rain forest trails. The animals must
not stray from the trails and must be placed crosswise
on the axes trails. Tell students to tape the animals
on the axes and that the bottom of the animal
cutout straddles the axis as shown in Figure 2. As
described on the first page of the Mapping Rain
Forest Trails pages, remind students to tape the
snake and parrot to Mr. Origin’s right and the turtle
to
Mr. Origin’s left. Students can choose where to
place the armadillo, spider monkey, and howler
monkey relative to Mr. Origin as long as there is at
least one animal in each direction.
It is especially important that students follow your directions for constructing the models since a different group of students will use the models in Part 2 of the lesson. Pose the following questions to help students double-check whether they have assembled their models correctly.
Ask:
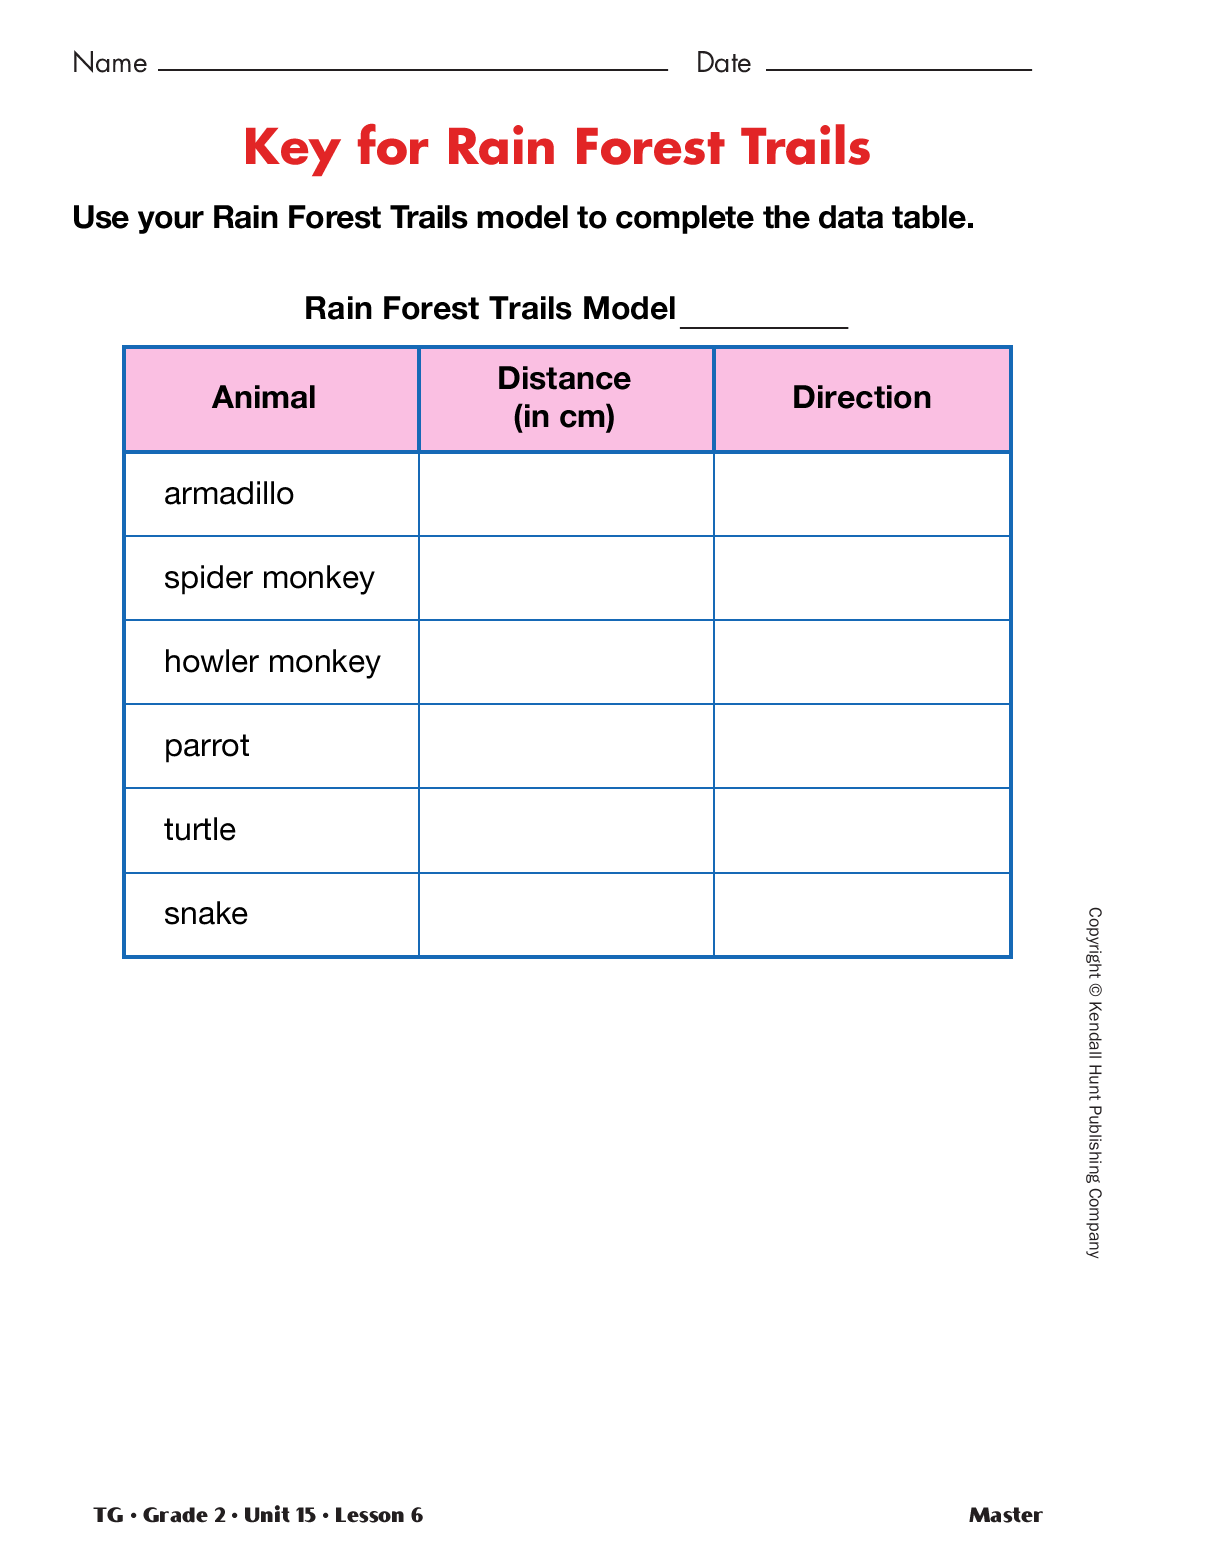
Measure to Create Keys for Models. After each group has finished their model, display a copy of the Key for Rain Forest Trails Master and your Rain Forest Trails model prepared prior to the lesson. Use the model to show students how they will measure from the center of Mr. Origin to one of the animals. Record the distance to the nearest centimeter and the direction from Mr. Origin on the display of the data table.
Ask:
Distribute one prepared copy of the Key for Rain Forest Trails Master to each student group. Make sure each prepared Master has a model number listed. Tell groups to write the model number listed on the page at the top of their models. This is important because in Part 2 of this lesson, student groups will exchange models. Instruct students to work with their group to record the location of each of their animals on the data table on the Master. Collect the completed Masters.
Assign the Nicholas Finds Some Coins Homework Master after Part 1. Students use distance and direction to describe the location of coins along a horizontal axis.


