


Measuring Area
Est. Class Sessions: 1–2
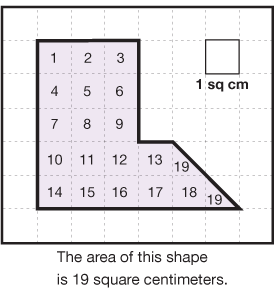
Professor Peabody is covering his living room and hall with square tiles. Students help him determine how many tiles he will need. Students expand their understanding of area by measuring the area of irregular shapes. They count whole square units and piece together the remaining fractional pieces to make whole tiles.
Content in this Lesson
- Understanding that area is the amount of surface to be covered [E1, E3].
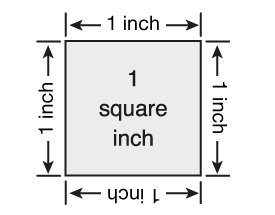
- Recognizing that the area stays the same though different units of measure are used.
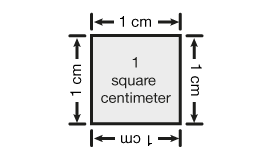
- Measuring area by counting whole and fractional parts of square centimeters [E3].
- Finding the area of shapes with curved and straight sides [E3].

Assessment in this Lesson
| Assessment | Expectation Assessed |
|---|---|
|
Measuring Area |
|