An analog clock or watch is a complicated instrument to read because it has two or more scales (hour, minute, and second) and is circular so that the beginning and the end of each scale are the same.
On a clock with two hands, the hour hand moves on a scale from one to twelve with twelve being both the beginning and the end.
The minute hand moves on a scale of zero to sixty with zero and sixty sharing the same point. On many clocks the minutes are shown in intervals of five.
(Reys, Lindquist, Lambdin, Smith, Suydam, 2004)
Hours in a Day. Begin this lesson by reviewing the position of the hour hand at different hours throughout a 24-hour day. Using a large demonstration clock or display of the Teaching Clock page in the Reference section of the Student Guide, ask students to look at the clock face and describe what they see.
- Look at the clock face. What do you notice about the numbers? (There are big red numbers that go around the clock from one to twelve. The twelve is at the top of the clock. There are also small blue numbers that count by fives up to 60.)
- What do the large red numbers from one to twelve measure? (They measure hours.)
- What do the small blue numbers measure? (They measure minutes.)
- What else do you see on the clock? (There are two hands on the clock: a long blue hand and a small red hand.)
- What do each of the hands show as they move on the clock? (The small red hand shows what hour it is and the longer blue hand shows the number of minutes in the time.)
Move the hands on the demonstration clock so that it shows 12:00.
- What time does the clock show when the hour hand is pointing to the twelve? (twelve o'clock)
- What are two names that we give to twelve o'clock? (When it is 12:00 at night it is called midnight and when it is 12:00 in the day it is noon.)
- How many hours are there from midnight one night to midnight the next night? (24 hours)
- What do we call that 24-hour period of time? (a day)
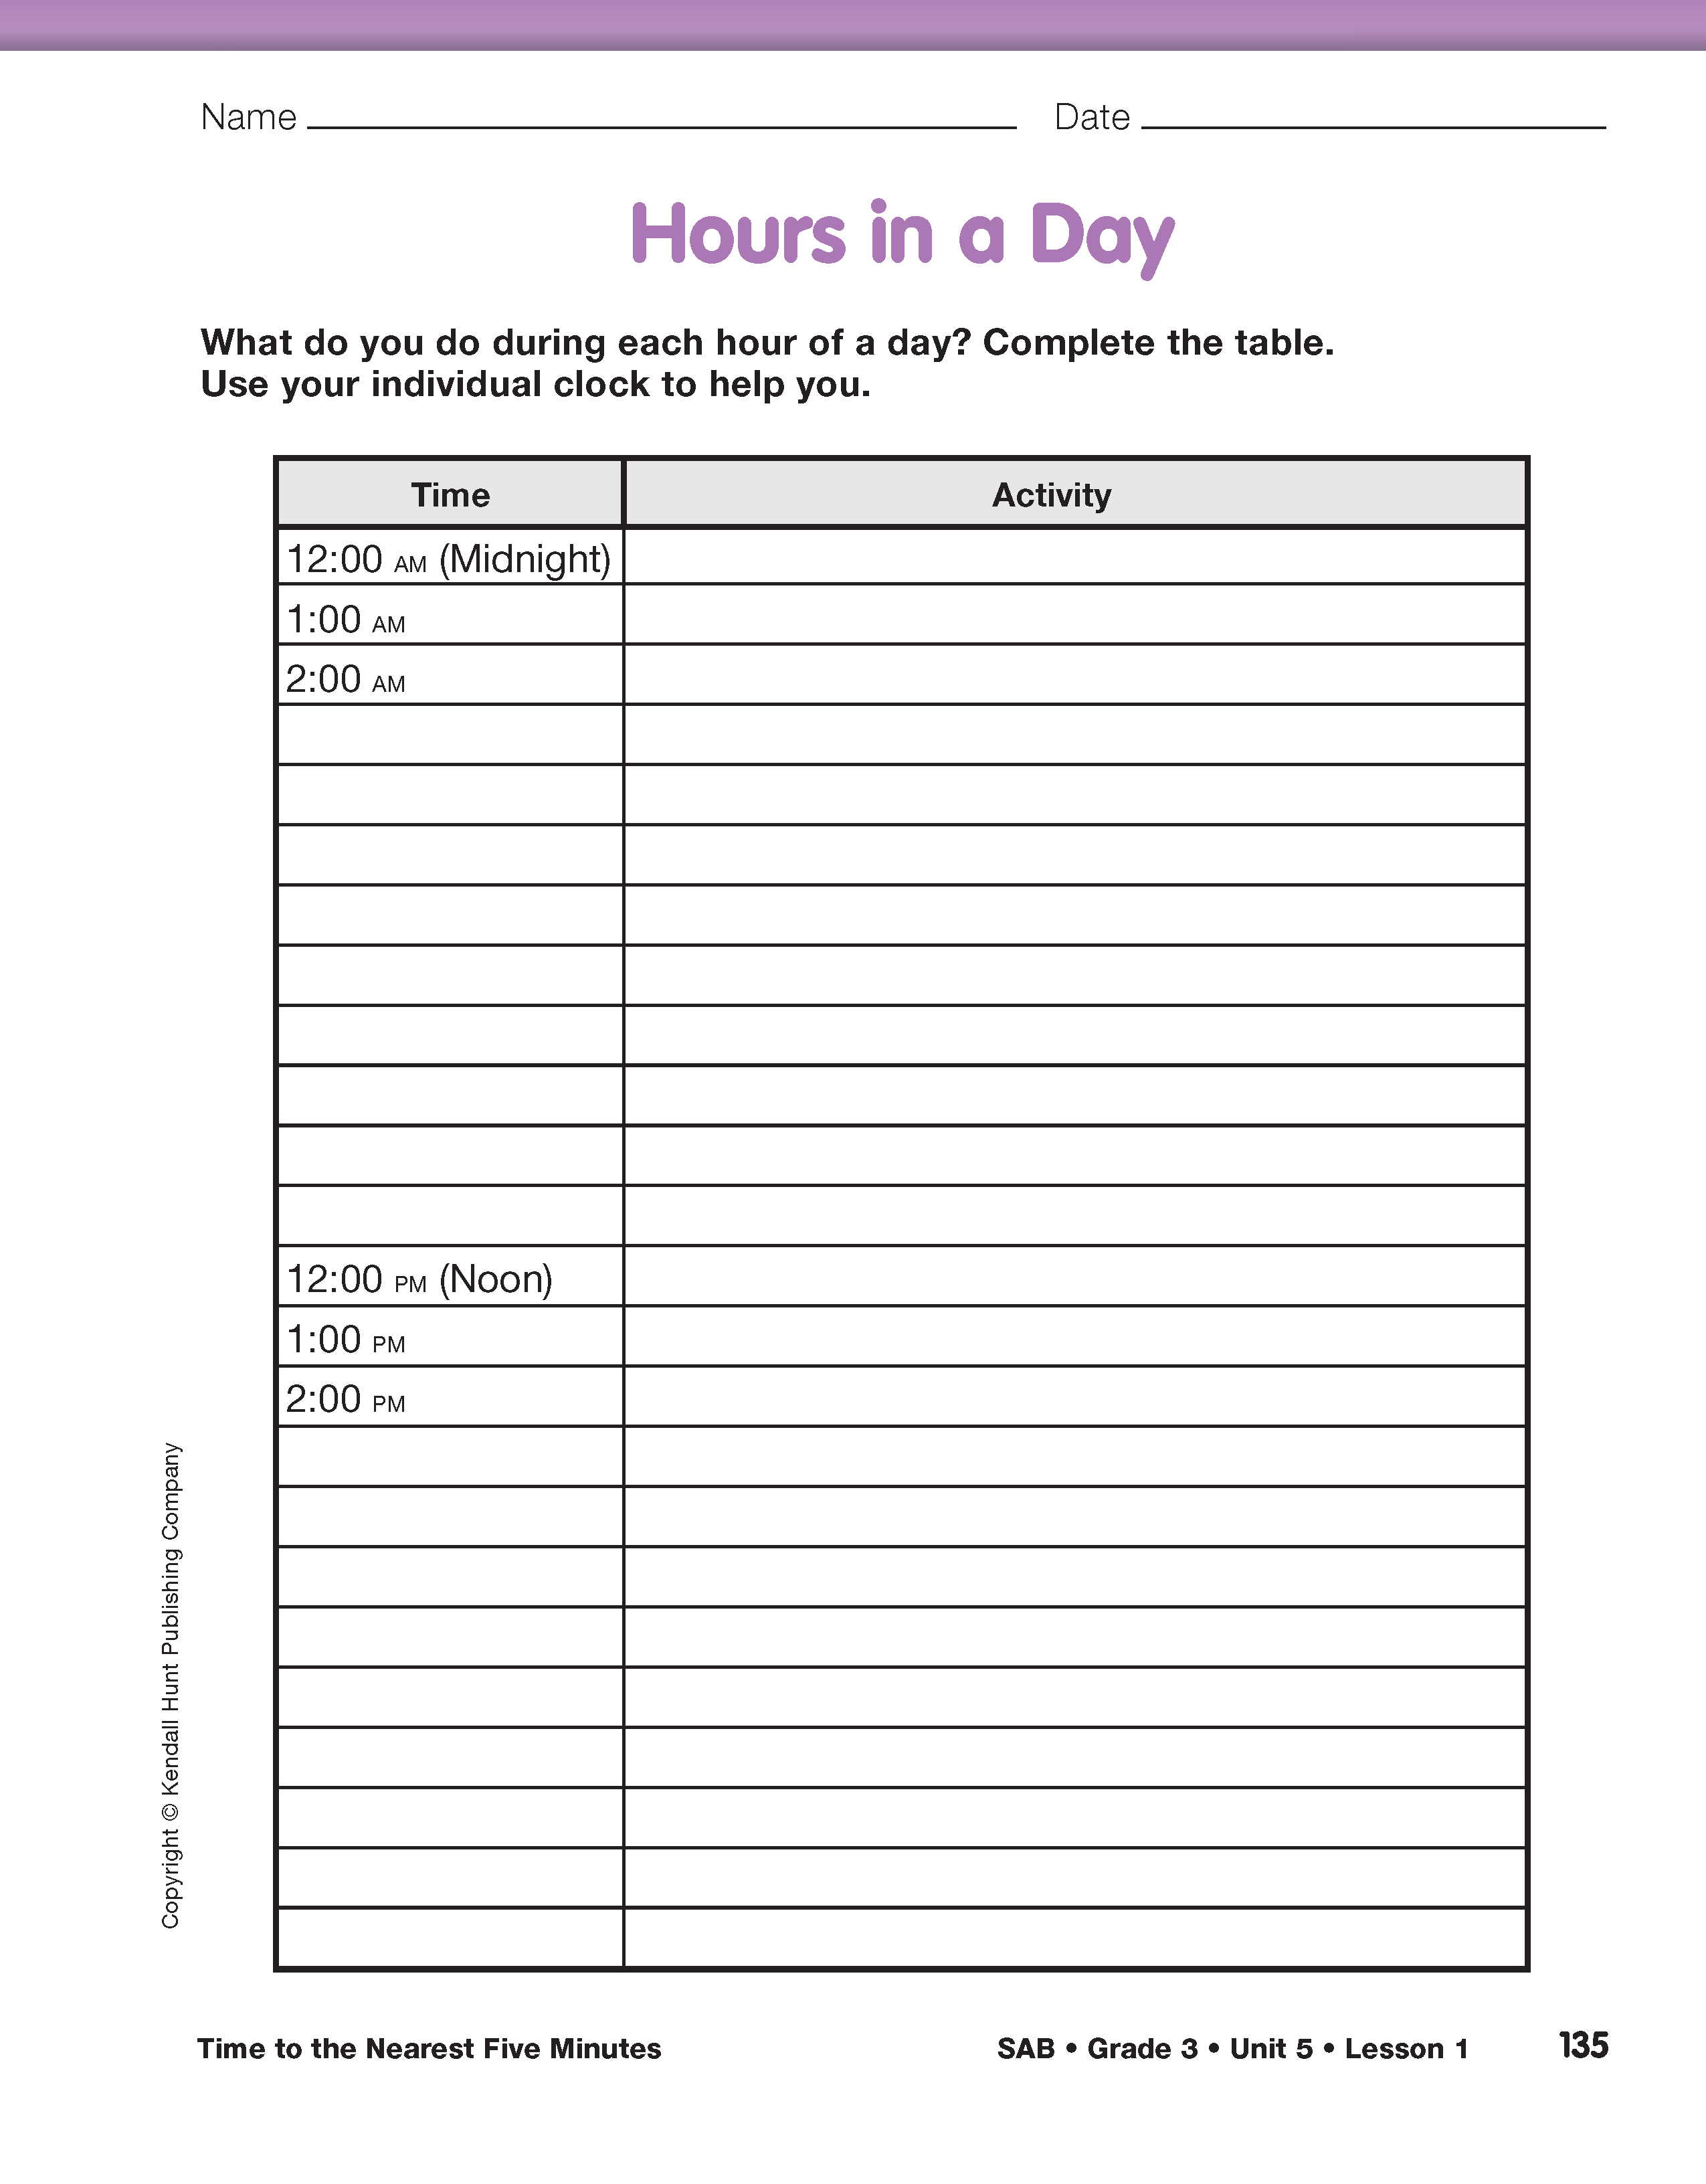
Display and direct students to the Hours in a Day page in the Student Activity Book. Students will also use the individual clocks for this part of the lesson. Tell students that they will focus on using the hour hand to tell time but will use the minute hand to see how the hour hand moves on the clock. Display 12:00 on the demonstration clock.
- Pretend that it is midnight. What are you usually doing at midnight? (sleeping)
Tell students to write “sleeping” in the Activity column of the table on their page as you write it on the display. Continue to move the blue minute hand around the clock directing students to focus on the movement of the red hour hand. Stop at one o'clock.
- What time does the clock now show? (one o'clock)
- What did you notice about the movement of the hour hand when the minute hand moved around the clock face one time? (The hour hand moved from the twelve to the one.)
- What are you usually doing at one o'clock in the morning? (still sleeping)
Have students complete their table for 1:00 AM as you fill in the table on your display. Continue and repeat this activity using similar questions until you feel students are able to complete the table independently or by working with a partner. Remind them to move the minute hands on their individual clocks to show each of the hours before filling in the activity.
Point out that the times between 12:00 midnight and 12:00 noon are followed by the abbreviation AM and the times after 12:00 noon are followed by the abbreviation PM. The content note provides further definition of these two abbreviations.
The 12-hour clock is a time convention in which the twenty-four hours of the day are divided into two periods, each twelve hours in length. 12:00 is either designated as midnight or noon. The abbreviation AM is used to designate the period of time between one minute after midnight and one minute before noon. The abbreviation PM is used to designate the period of time between one minute after noon and one minute before midnight.
The abbreviation AM means ante meridiem or “before midday” and the abbreviation PM means post meridiem or “after midday.”
As students are working, complete the display of the Hours in a Day table with typical activities that would occur during each hour of the day. A partially filled in table is shown in Figure 2. After students have had some time to complete their table, use the following discussion prompts to check their understanding and progress. Begin by setting the demonstration clock to 7:00 and asking students to do the same to their individual clocks.
- Look at the table on the display. What activity do you see listed for 7:00 AM? (Eat Breakfast)
- What activity did you list on your table for 7:00 AM? (Answers will vary but will likely include typical morning activities like getting dressed, eating breakfast, or going to the babysitter.)
- Now show me your clock set for 10:00 AM. What activity did you list on your table for 10:00? (If students focused on a school day, the activities listed will be similar. For example, if you typically have reading at 10:00, most students will likely have reading on their table.)
- Show your clock set to 12:00. What is another name for this time? (noon)
- What activity did you list on your table for 12:00 noon? (Probable responses include lunch or recess.)
- How many hours have passed since 12:00 midnight? (12 hours)
- How many more hours will pass until it is 12:00 midnight again? (12 hours)
- How many times will the hour hand move to each hour around the clock in one full day? (It will pass each hour two times.)
- If the hour hand moves around the clock twice in a full day, how many hours are in a day (from midnight one day to midnight the next day)? (24)
- How do you know? (When the hour hand goes around the clock once that is 12 hours so when it goes around twice that would be 24 hours.)
If needed, ask students to finish completing the table for homework.
Hour to Hour. In this part of the lesson, students review the movement of the hour hand throughout a single hour. Set the demonstration clock to the nearest hour. For example if the actual time is 9:15, set the teaching clock to 9:00. Have students focus on the movement of the red hour hand as you move the blue minute hand around the clock face.
- Where was the hour hand pointing when the minute hand started? (The hour hand was pointing directly at the 9.)
- Where was the hour hand pointing after the minute hand moved completely around the clock face? (It is now pointing directly at the 10.)
- How much time passed? (Students may respond that 1 hour or 60 minutes have passed. Remind them to focus on the movement of the hour hand and to use this hand to measure the amount of time that has passed.)
Set the demonstration clock to the nearest hour again (e.g., 9:00). Direct students to tell you to stop when the red hour hand is half way between 9:00 and 10:00. Slowly move the minute hand waiting for students to tell you stop. The minute hand should be pointing to 30 minutes past the hour, and the hour hand should be pointing halfway between 9 and 10.
- How much time has passed? (a half hour or 30 minutes)
- What do you write to show this time? (9:30)
Continue the discussion by talking about where the hour hand is at various times after the hour. Write each time on a display as you discuss it so students become familiar with the notation. Ask students to use their individual clocks to show each time as you demonstrate each time using the demonstration clock.
- My clock shows exactly ten o'clock. Show me ten o'clock on your clock. Where is the hour hand? (It is pointing right at the 10.)
Move the minute hand to show 15 minutes after 10:00.
- My clock shows 10:15 or 15 minutes after 10:00. Work with a partner to think of an activity that takes about 15 minutes. (Possible responses: It takes about 15 minutes to do the Daily Practice and Problems. We usually do silent reading for 15 minutes after lunch. It takes me 15 minutes to walk the dog each morning.)
- When it is 15 minutes past ten, is the hour hand closer to the 10, halfway between the 10 and 11, or closer to the 11? (It is a little after the 10, so it is closer to the 10.)
- Now my clock shows 10:30 or 30 minutes past 10. Show that time on your clock. Where is the hour hand now? (It is halfway between the 10 and the 11.)
- When the hour hand is halfway between two numbers we sometimes say it is half-past the hour. For example, when it is 10:30 we can also say it is half past ten. Why do you think people say this? (There are 60 minutes in an hour and 30 is half of 60, so people can say it is “half-past” because the minute hand has moved halfway around the clock.)
Show 10:50 on the demonstration clock. Ask students to make their individual clocks look like the demonstration clock.
- Look at your hour hand. Where is it on the clock? (It is still between the 10 and the 11, but it is closer to the 11 now.)
- If the hour hand is still between the 10 and 11 what hour is it? (The hour is still 10 because it has not reached 11 yet.)
- Is it before or after half-past ten? (It is after half-past 10.) Explain how you know. (The hour hand is more than halfway between the ten and eleven. It is almost all the way on the eleven.)
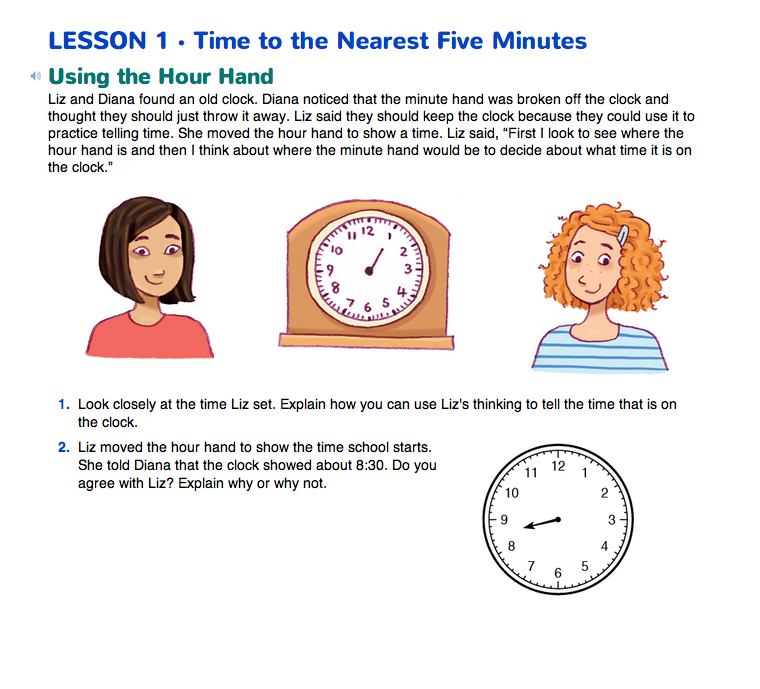
Using the Hour Hand. Refer students to the short vignette in the Using the Hour Hand section of the Time to the Nearest Five Minutes pages in the Student Guide. After reading the vignette, have students complete Questions 1–2 with a partner.
Question 1 asks students to use Liz's thinking to decide what time is shown on the clock face. Students should identify that the hour hand is pointing directly at the one and identify the time as one o'clock.
- How did you decide that the clock shows 1 o'clock? (Students may say that they knew the time was 1:00 because the hour hand was pointing to the one and not past the one at all. So it must be zero minutes past the hour, or 1 o'clock. Students may also share that they saw the hour hand pointing directly at the one and then imagined the minute hand pointing to zero minutes so they knew the time was one o'clock.)
The clock face in Question 2 shows the hour hand halfway between 8 and 9. Students should agree that the time shown on the clock is close to 8:30.
- Where do you think that Diana imagined the minute hand would be on this clock? (I think the minute hand would have traveled halfway around the clock.)
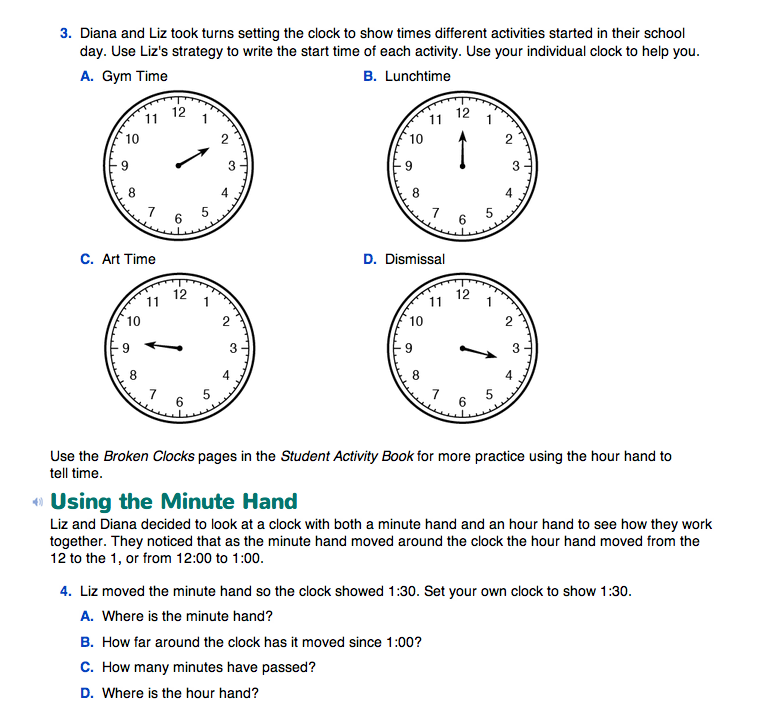
Students work with a partner to write the start time of each activity using only the hour hand. To complete Question 3, ask several students to share their answers and explain how they decided the time on each clock. Make sure students are able to identify the correct hour shown on each clock and that their estimate for the number of minutes past each hour is reasonable. For example, in Question 3C, the time shown is a little after nine o'clock. A reasonable estimate would be between 9:10 and 9:20.
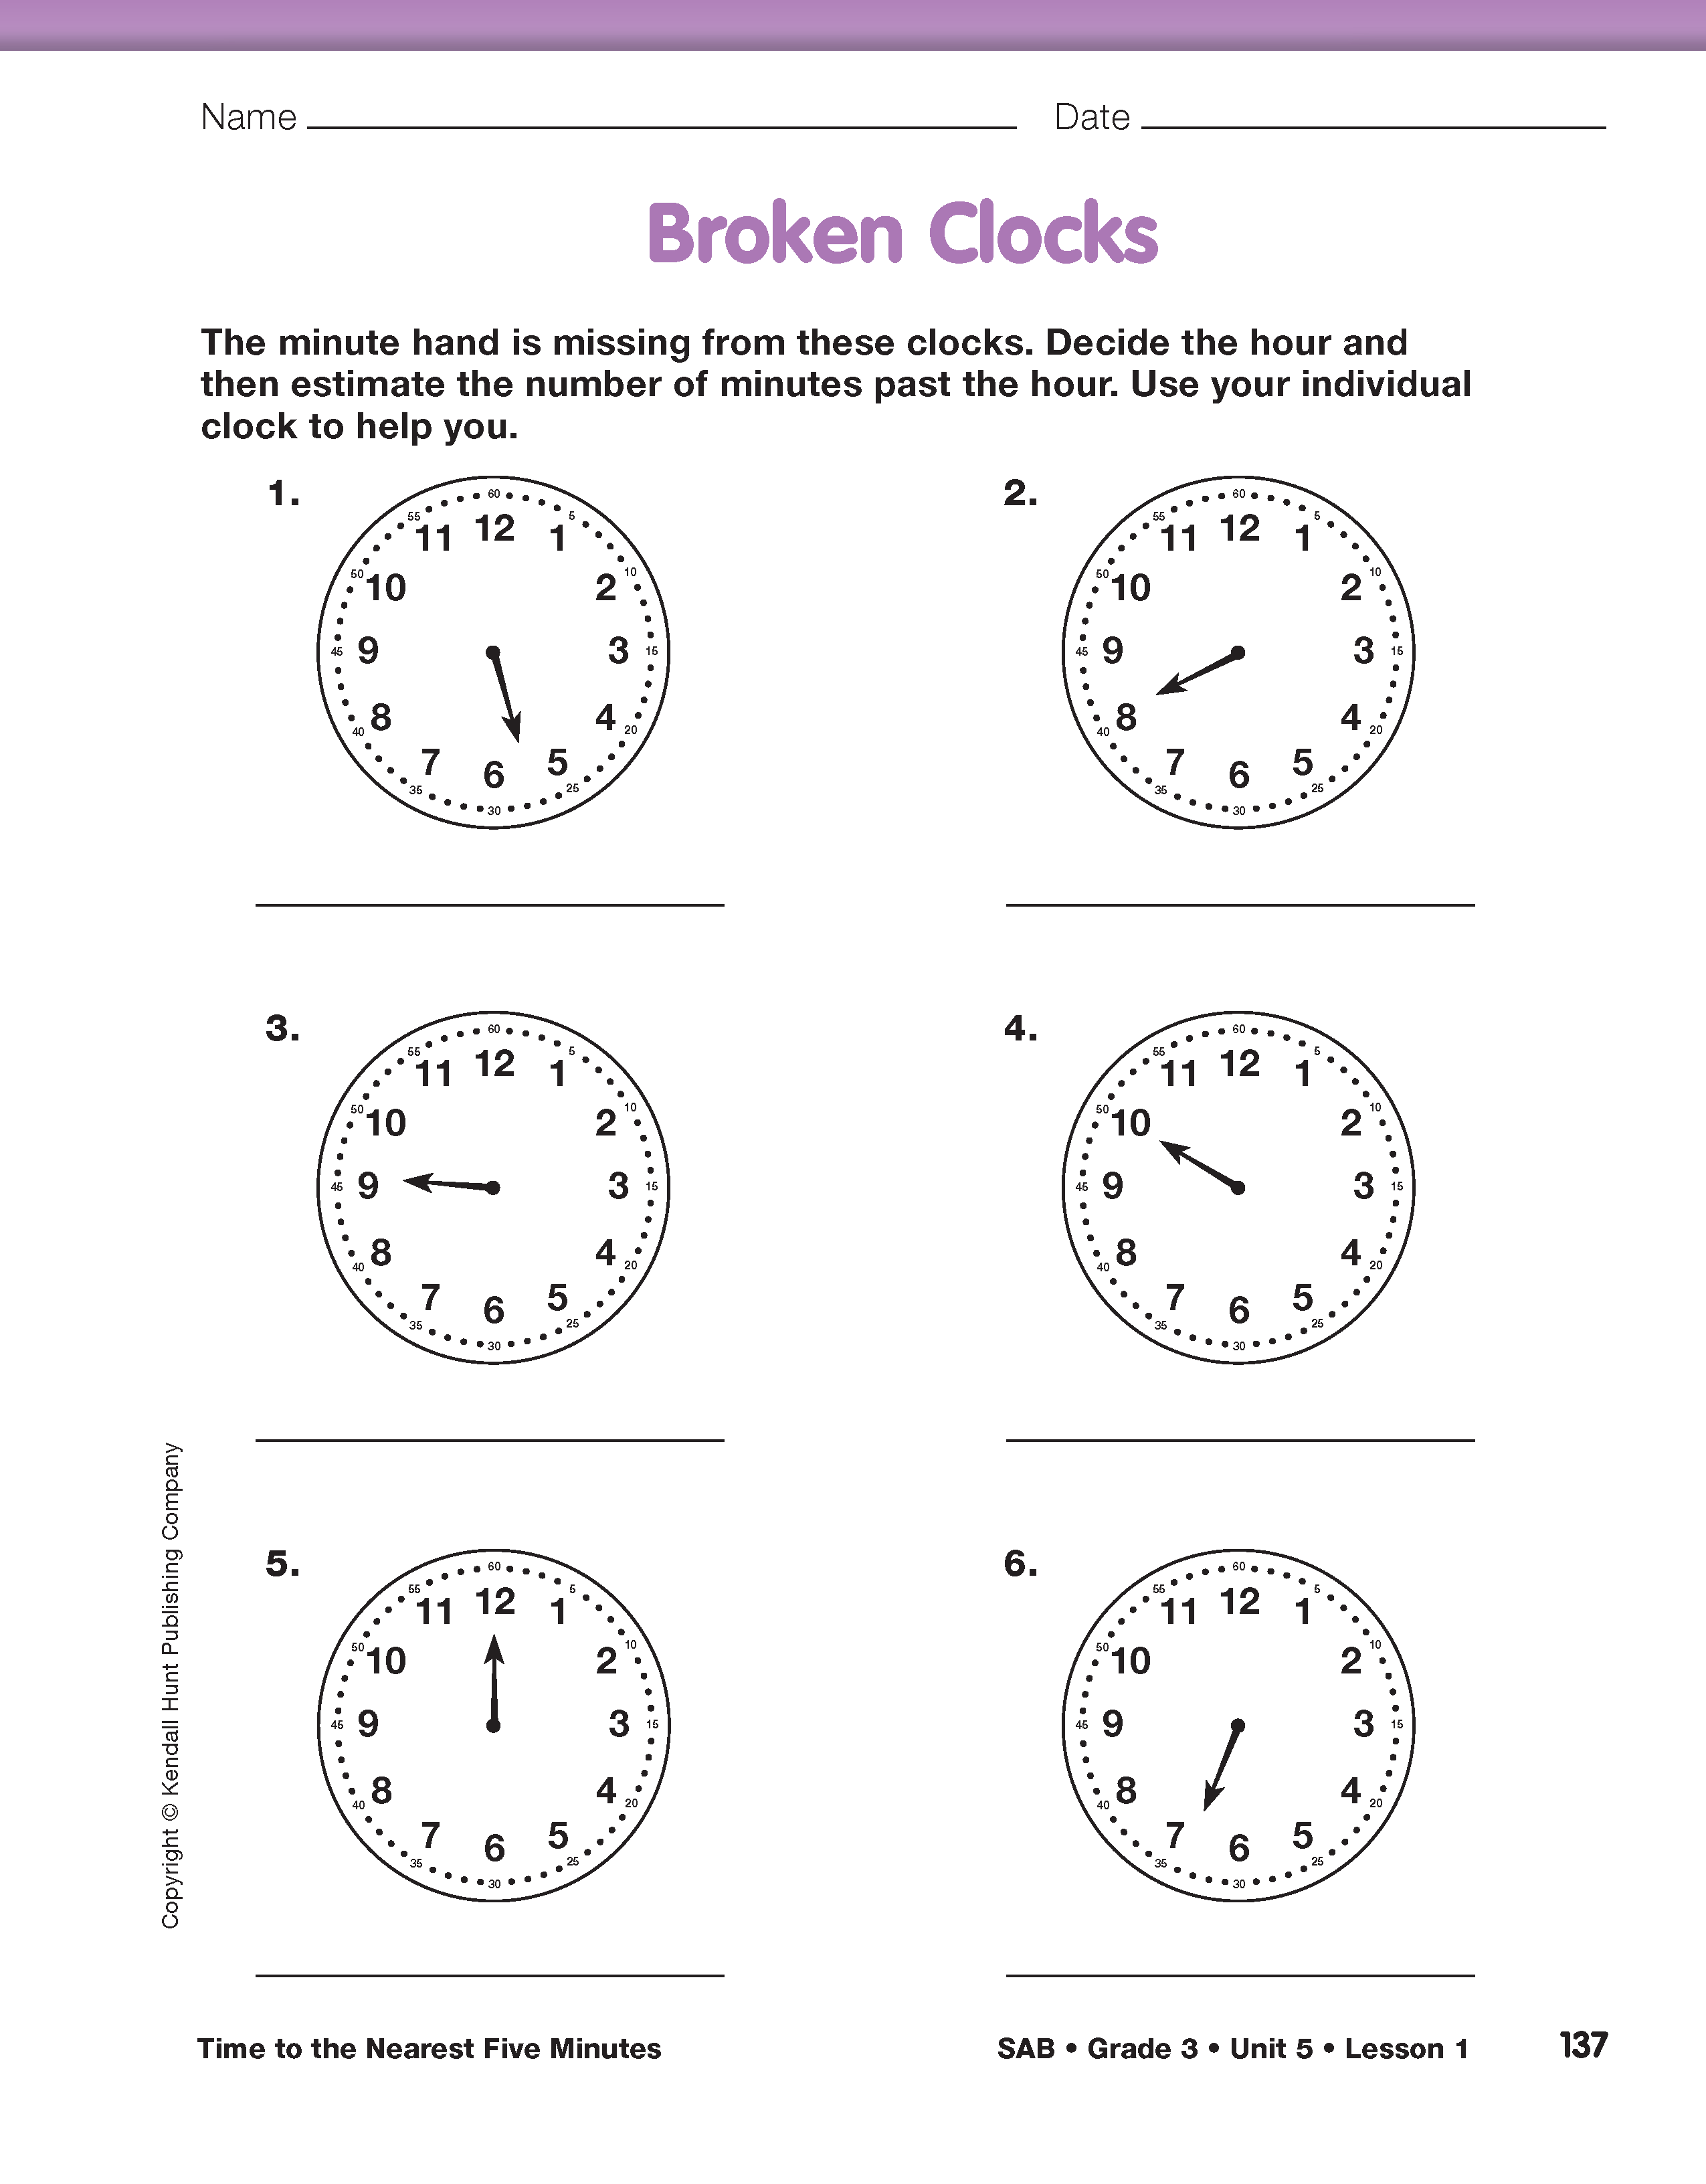
Direct students to complete Questions 1–6 on the Broken Clocks pages in the Student Activity Book to practice using the hour hand to tell time. As students are working, ask them to explain how they are deciding what time is shown on each clock.
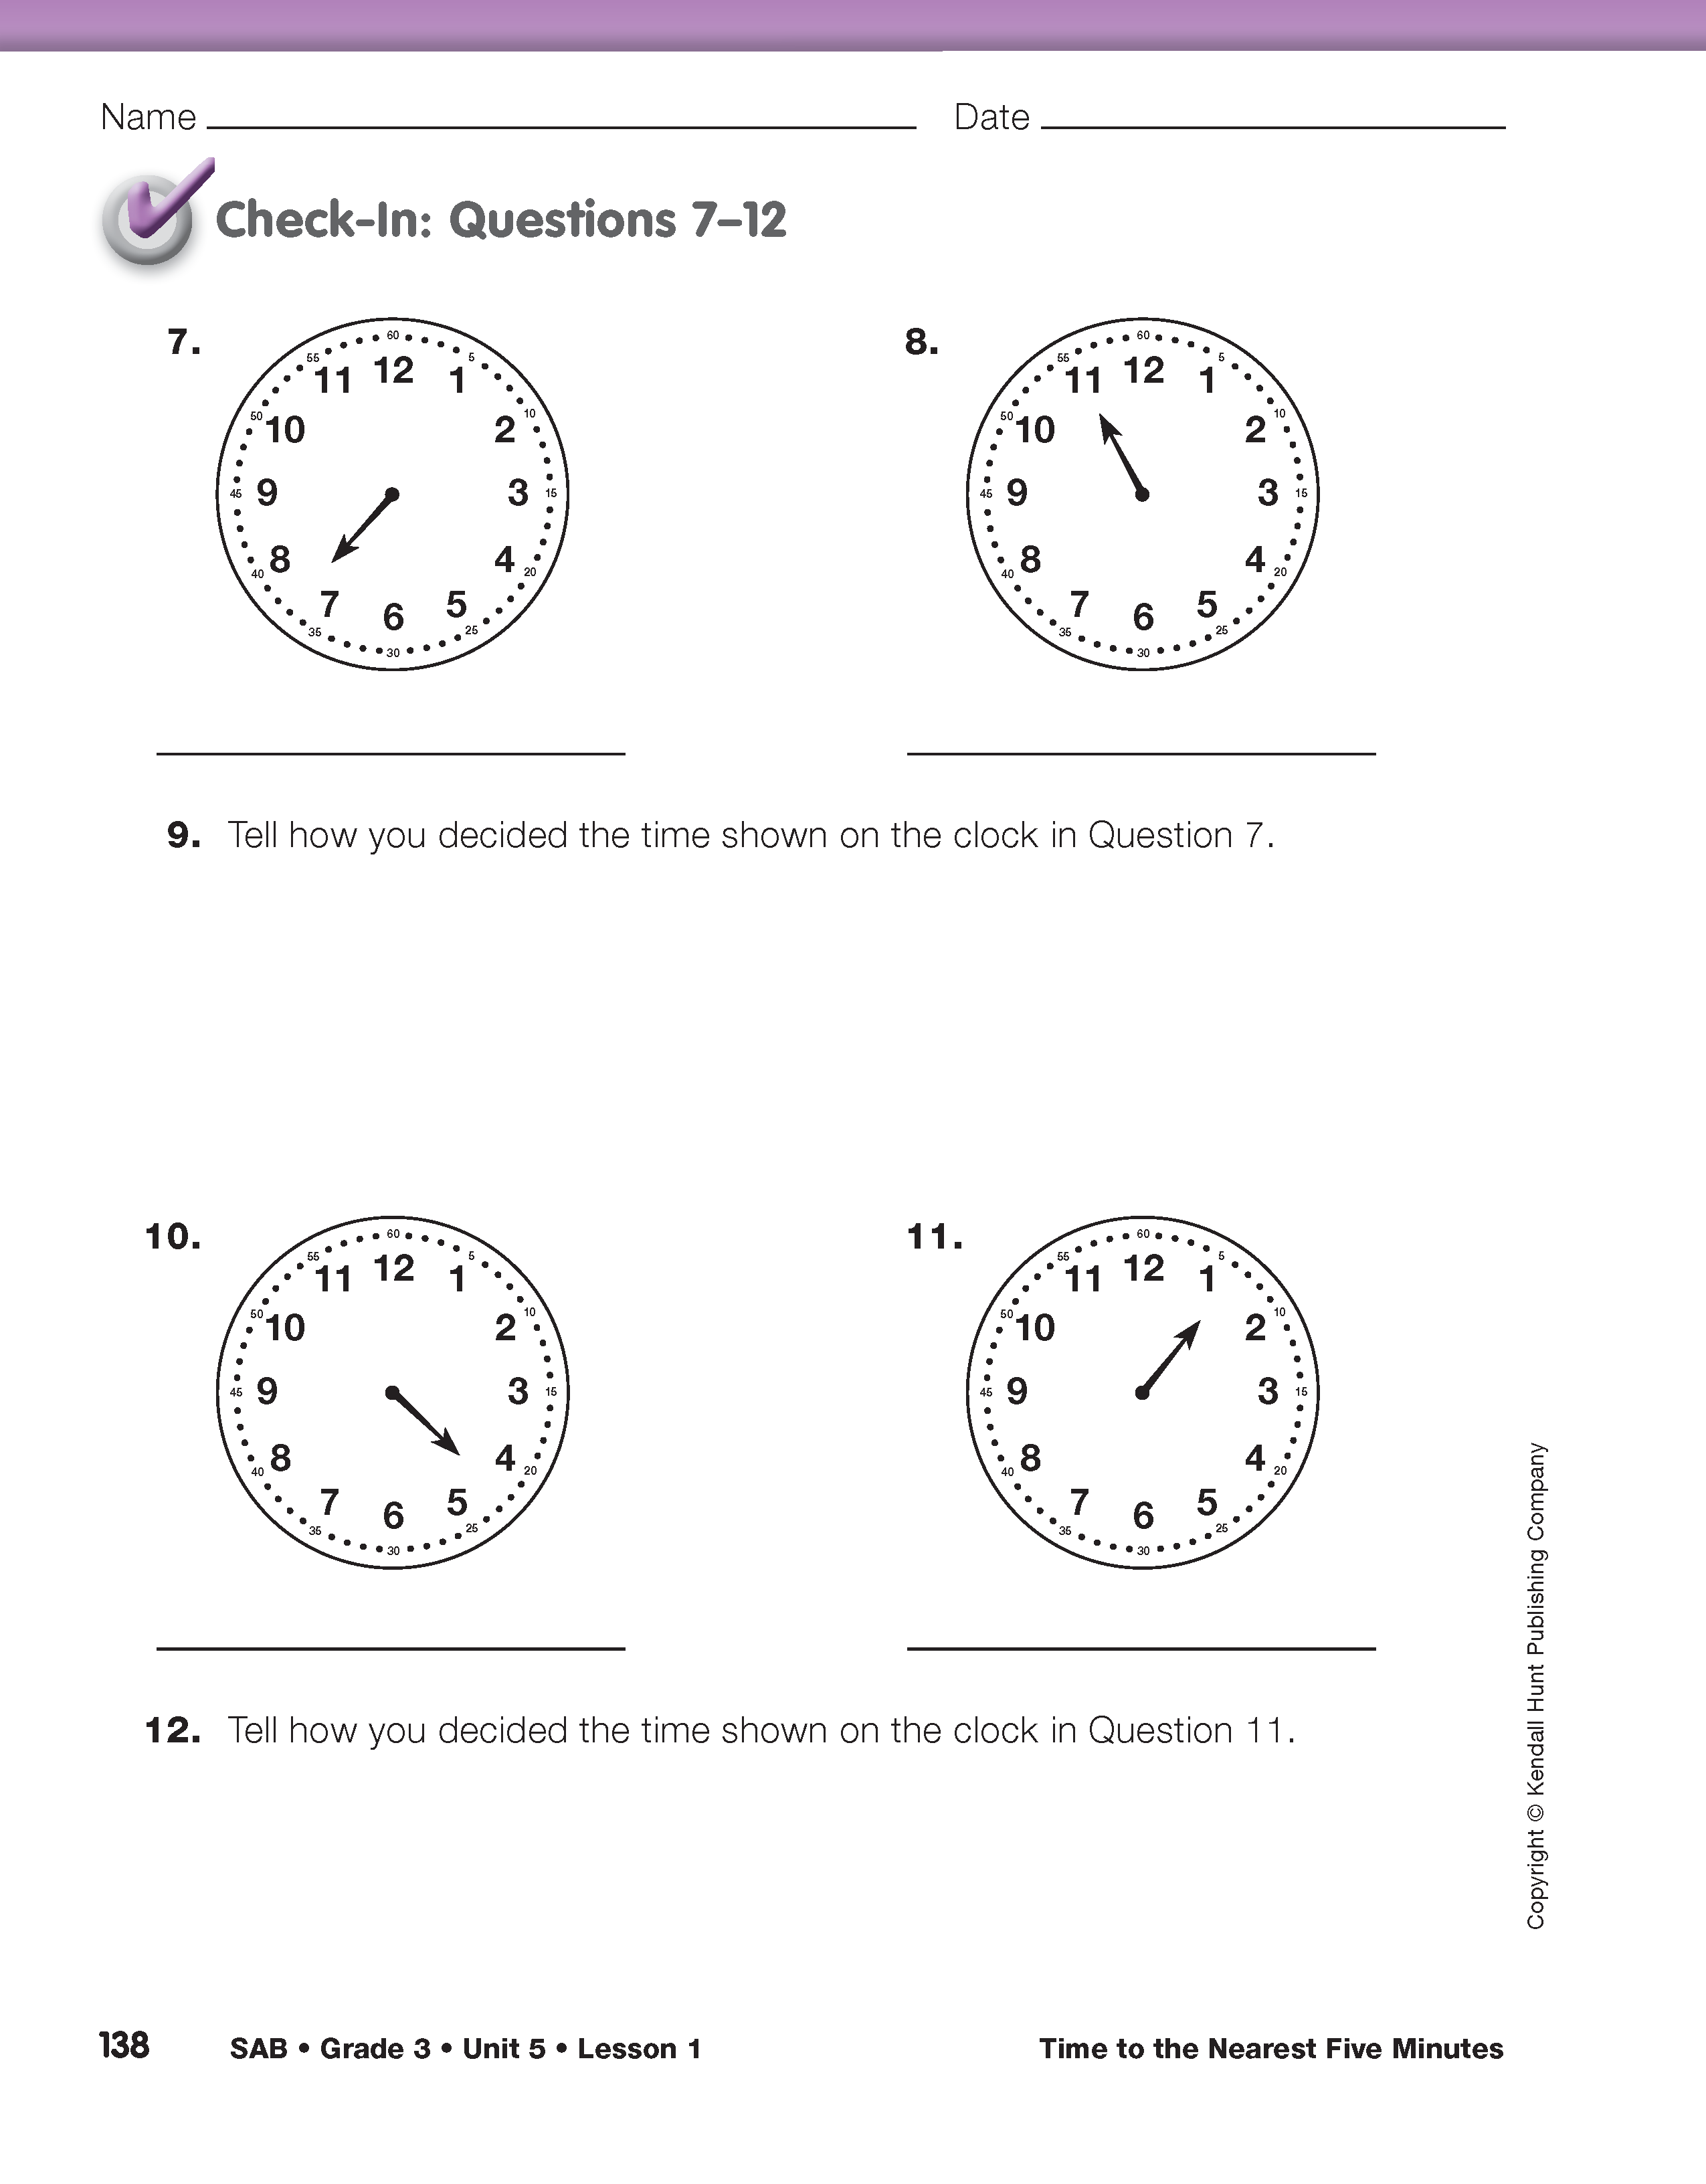
Assign Check-In: Questions 7–12 to students to complete independently. Encourage students to use their individual clocks to help them.
Use Check-In: Questions 7–12 on the Broken Clocks pages in the Studenty Activity Book to help you assess students' ability to write and tell time to the nearest five minutes using the hour hand [E4].
The Hour Hand at Home pages in the Student Activity Book can be assigned as homework after completing this part of the lesson.