Workshop: Shapes Classification
Est. Class Sessions: 1Developing the Lesson
Play Name That Property. Use the prepared Shape Sort Cards from Lesson 5 and the Shapes Zoo Pieces from Lesson 6 and any other representations of polygons to play Name That Property. This activity was first described in Lesson 5 of this unit. Make a two-column table. Label the columns “Yes” and “No.”
Tell students:
Figure 1 shows a possible table for the property, “one pair of congruent sides.” If there is not a single shape available that matches the rule, students can make a sketch of a polygon.
Continue to challenge student with other examples:
- has a right angle
- has an obtuse angle
- is a quadrilateral
- is a triangle
- all sides are equal
- all sides and all angles are equal
- has at least one pair of parallel sides
- has only one pair of parallel sides
- has no right angles
- has two sets of parallel sides
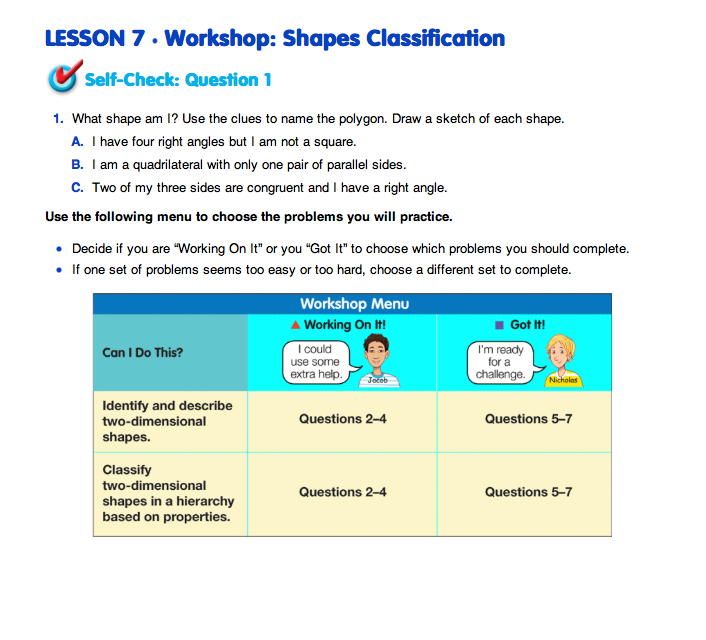
Set Up the Workshop. Direct students to the Workshop: Shapes Classification pages in the Student Guide. These pages start with Self-Check: Question 1. Students complete this question either individually or with a partner. This question serves two purposes. First, it clearly communicates the content of the related targeted practice to the students. Second, it helps students quickly assess their progress with the Expectations to help them choose which problems to work on in the Workshop.
Choose Targeted Practice. After students have completed Self-Check: Question 1, discuss the question with the whole class. Draw a parallelogram on the display.
Ask:
Draw a scalene right triangle: all the sides are different lengths. Ask:
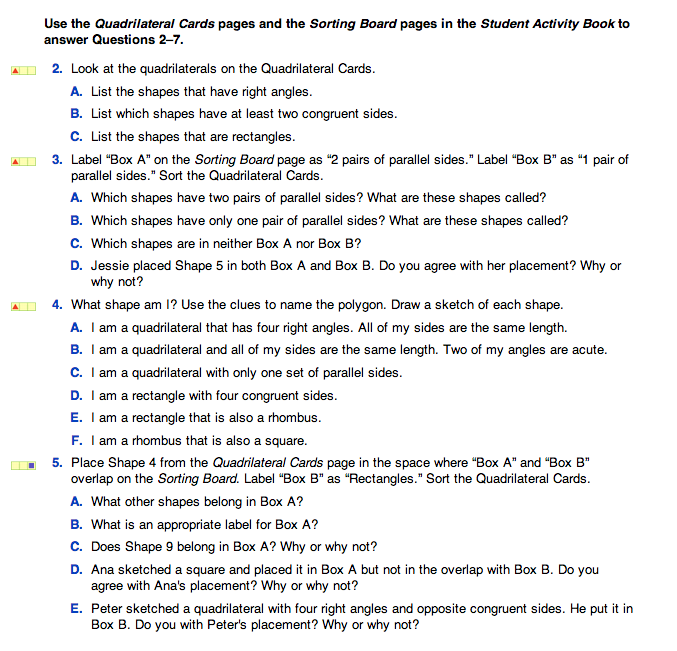
Next have students think about each “Can I Do This?” question in the menu in the Student Guide. Ask students to review their work to decide which problems to choose from the following groups:
- Students who are “working on it” and need some extra help should circle the problem set marked with a triangle (
 ). These problems provide scaffolded support for developing the essential underlying concepts as well as some opportunities for practice.
 - Students who have “got it” and are ready for a challenge or extension should circle problems marked with a square (
 ). These problems provide some practice and then move into opportunities for extension.
Check students' choices to see how well they match your own assessment of their progress on the related Expectations. Help students make selections that will provide the kind of practice they need. Figure 2 shows the Expectations for this Workshop and provides questions to help students decide what practice they need.
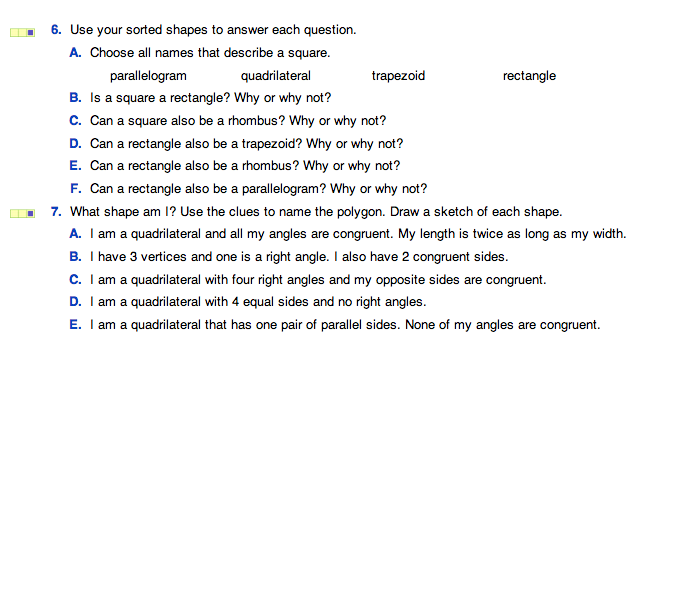
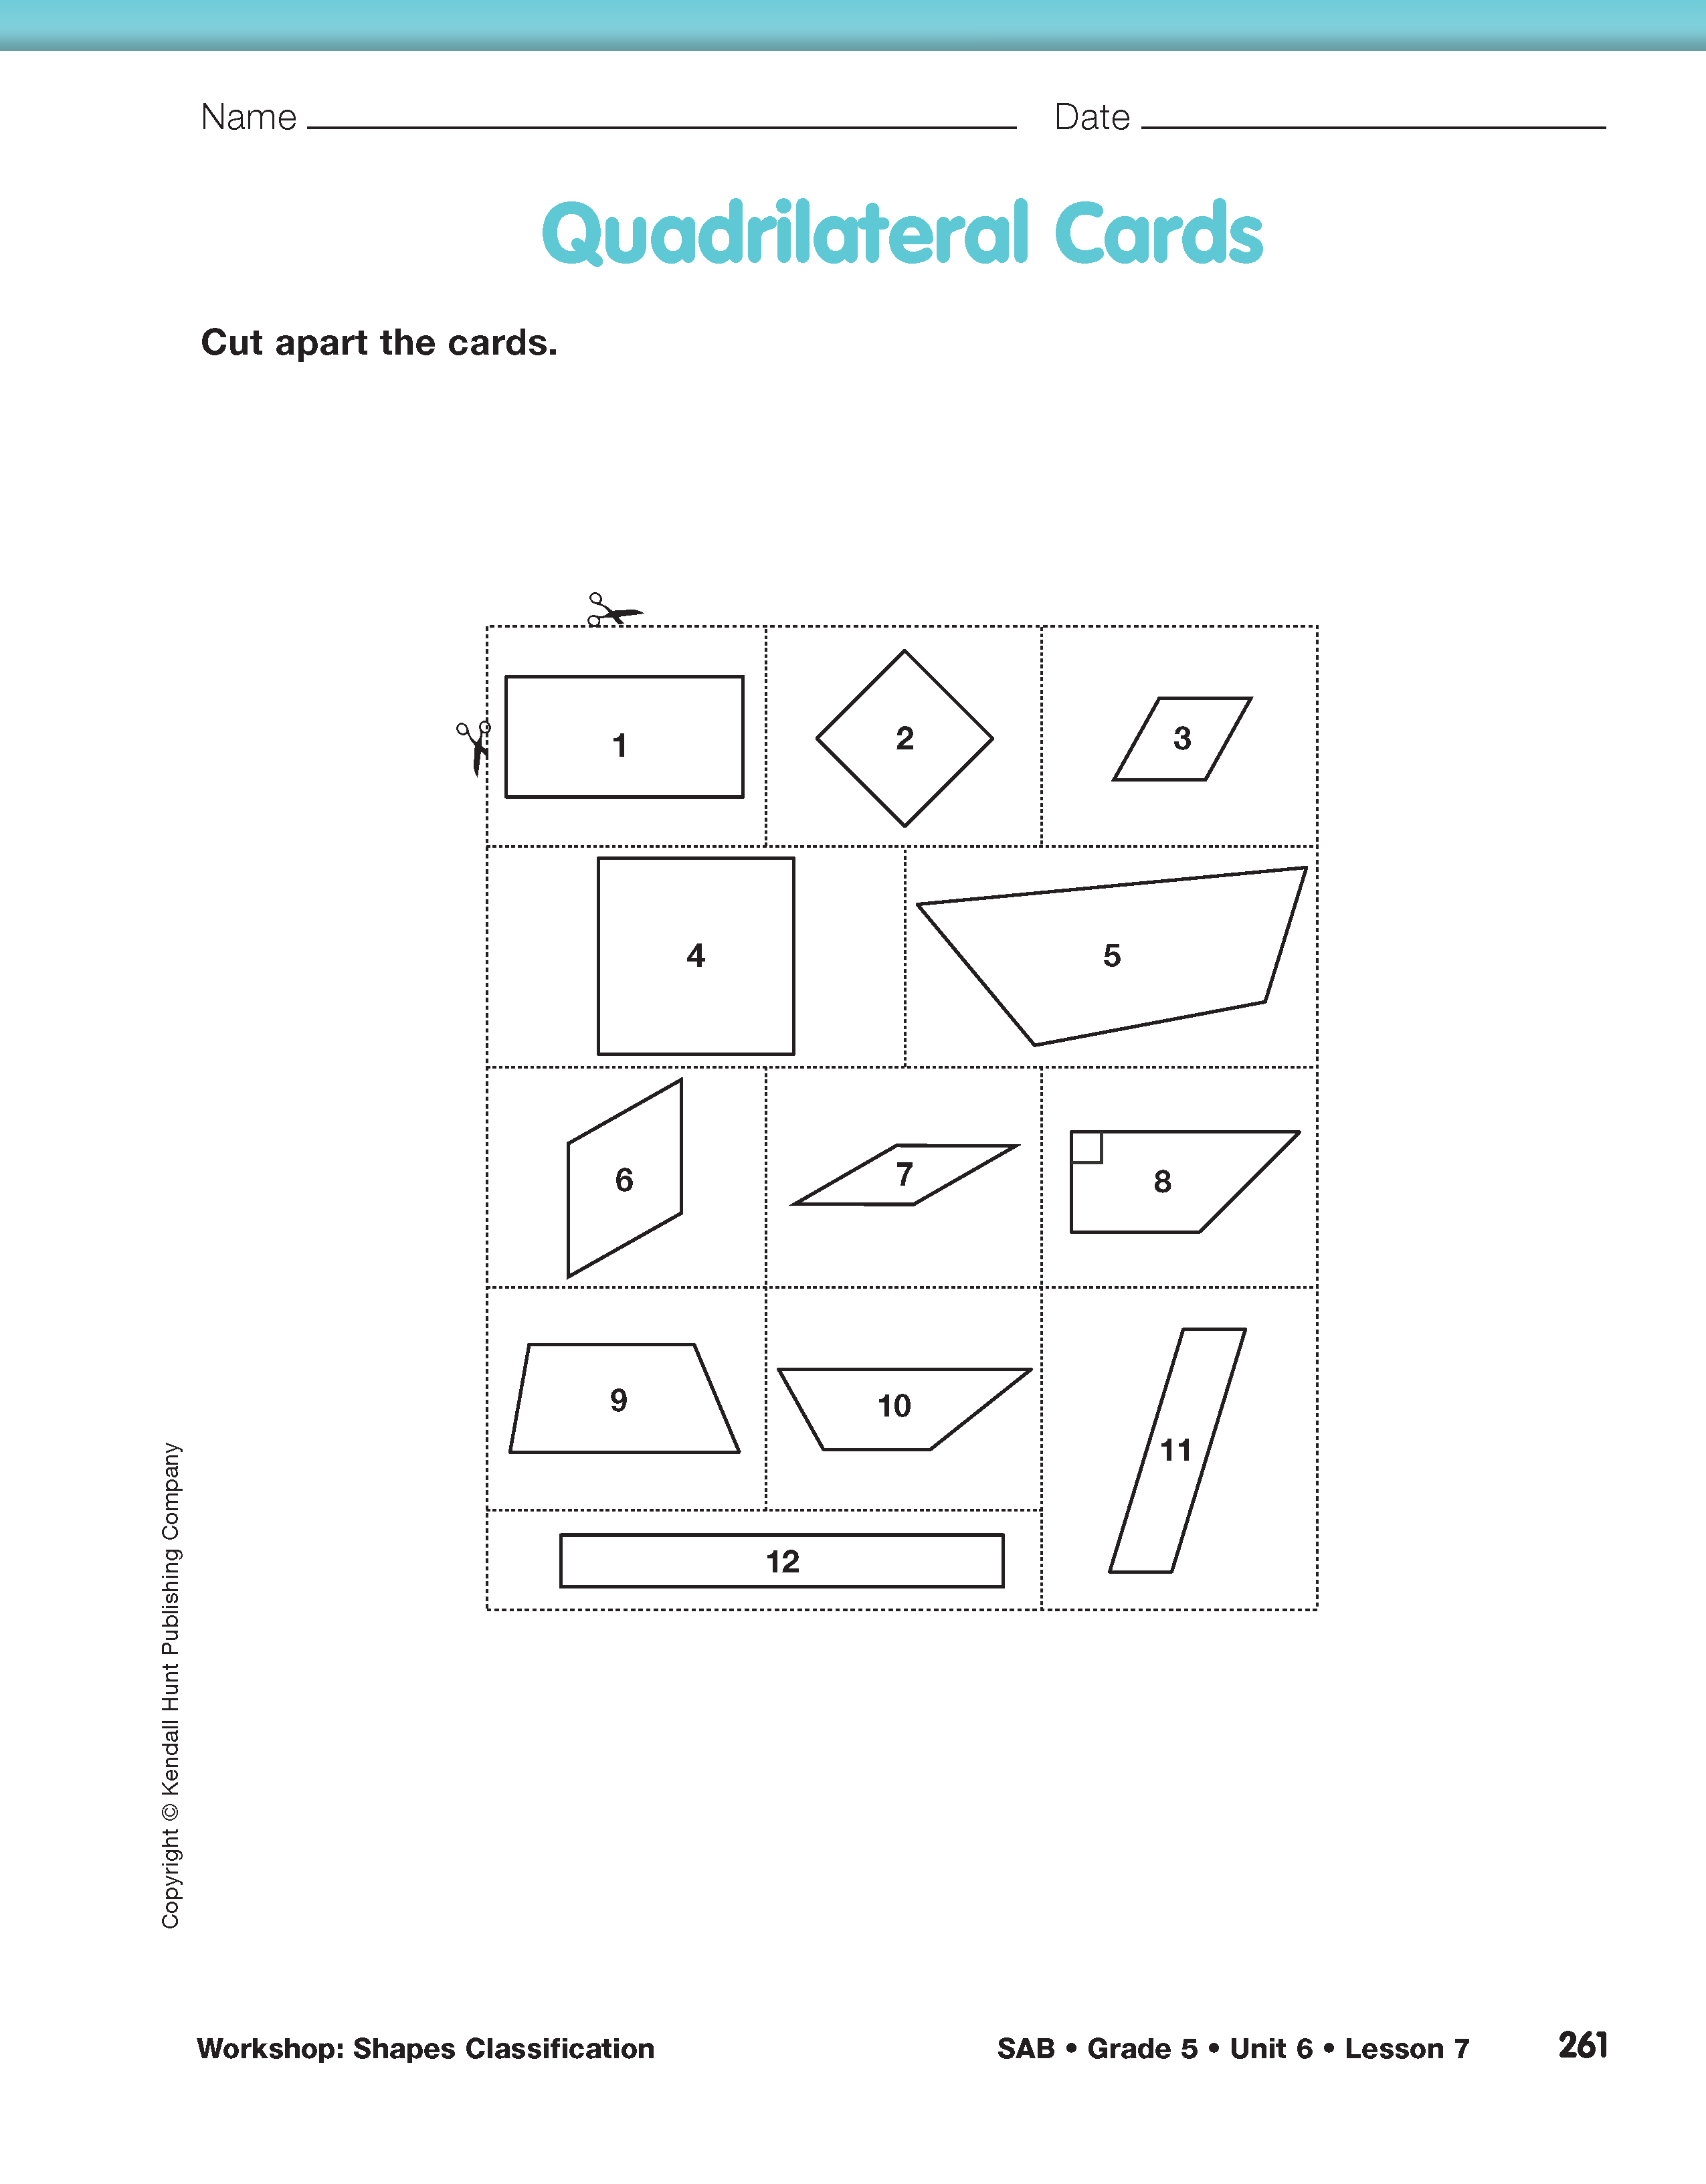
Once students select the questions to complete in the Workshop, match groups of students who have chosen similar sets of problems from the menu. Have students work together with a partner or in a small group to solve the problems they chose. The problems for this workshop are in the Student Guide and are supported with resources from the Student Activity Book. Students will need scissors and tape or glue sticks to prepare, sort, and attach shape cards.
As students begin working, circulate around the room to see if students are successfully completing the problems or need assistance. Provide assistance as needed.


