


Rolling Along with Links
Est. Class Sessions: 3–4Developing the Lesson
Part 2: Preparing for the Lab: Keeping Things Fair
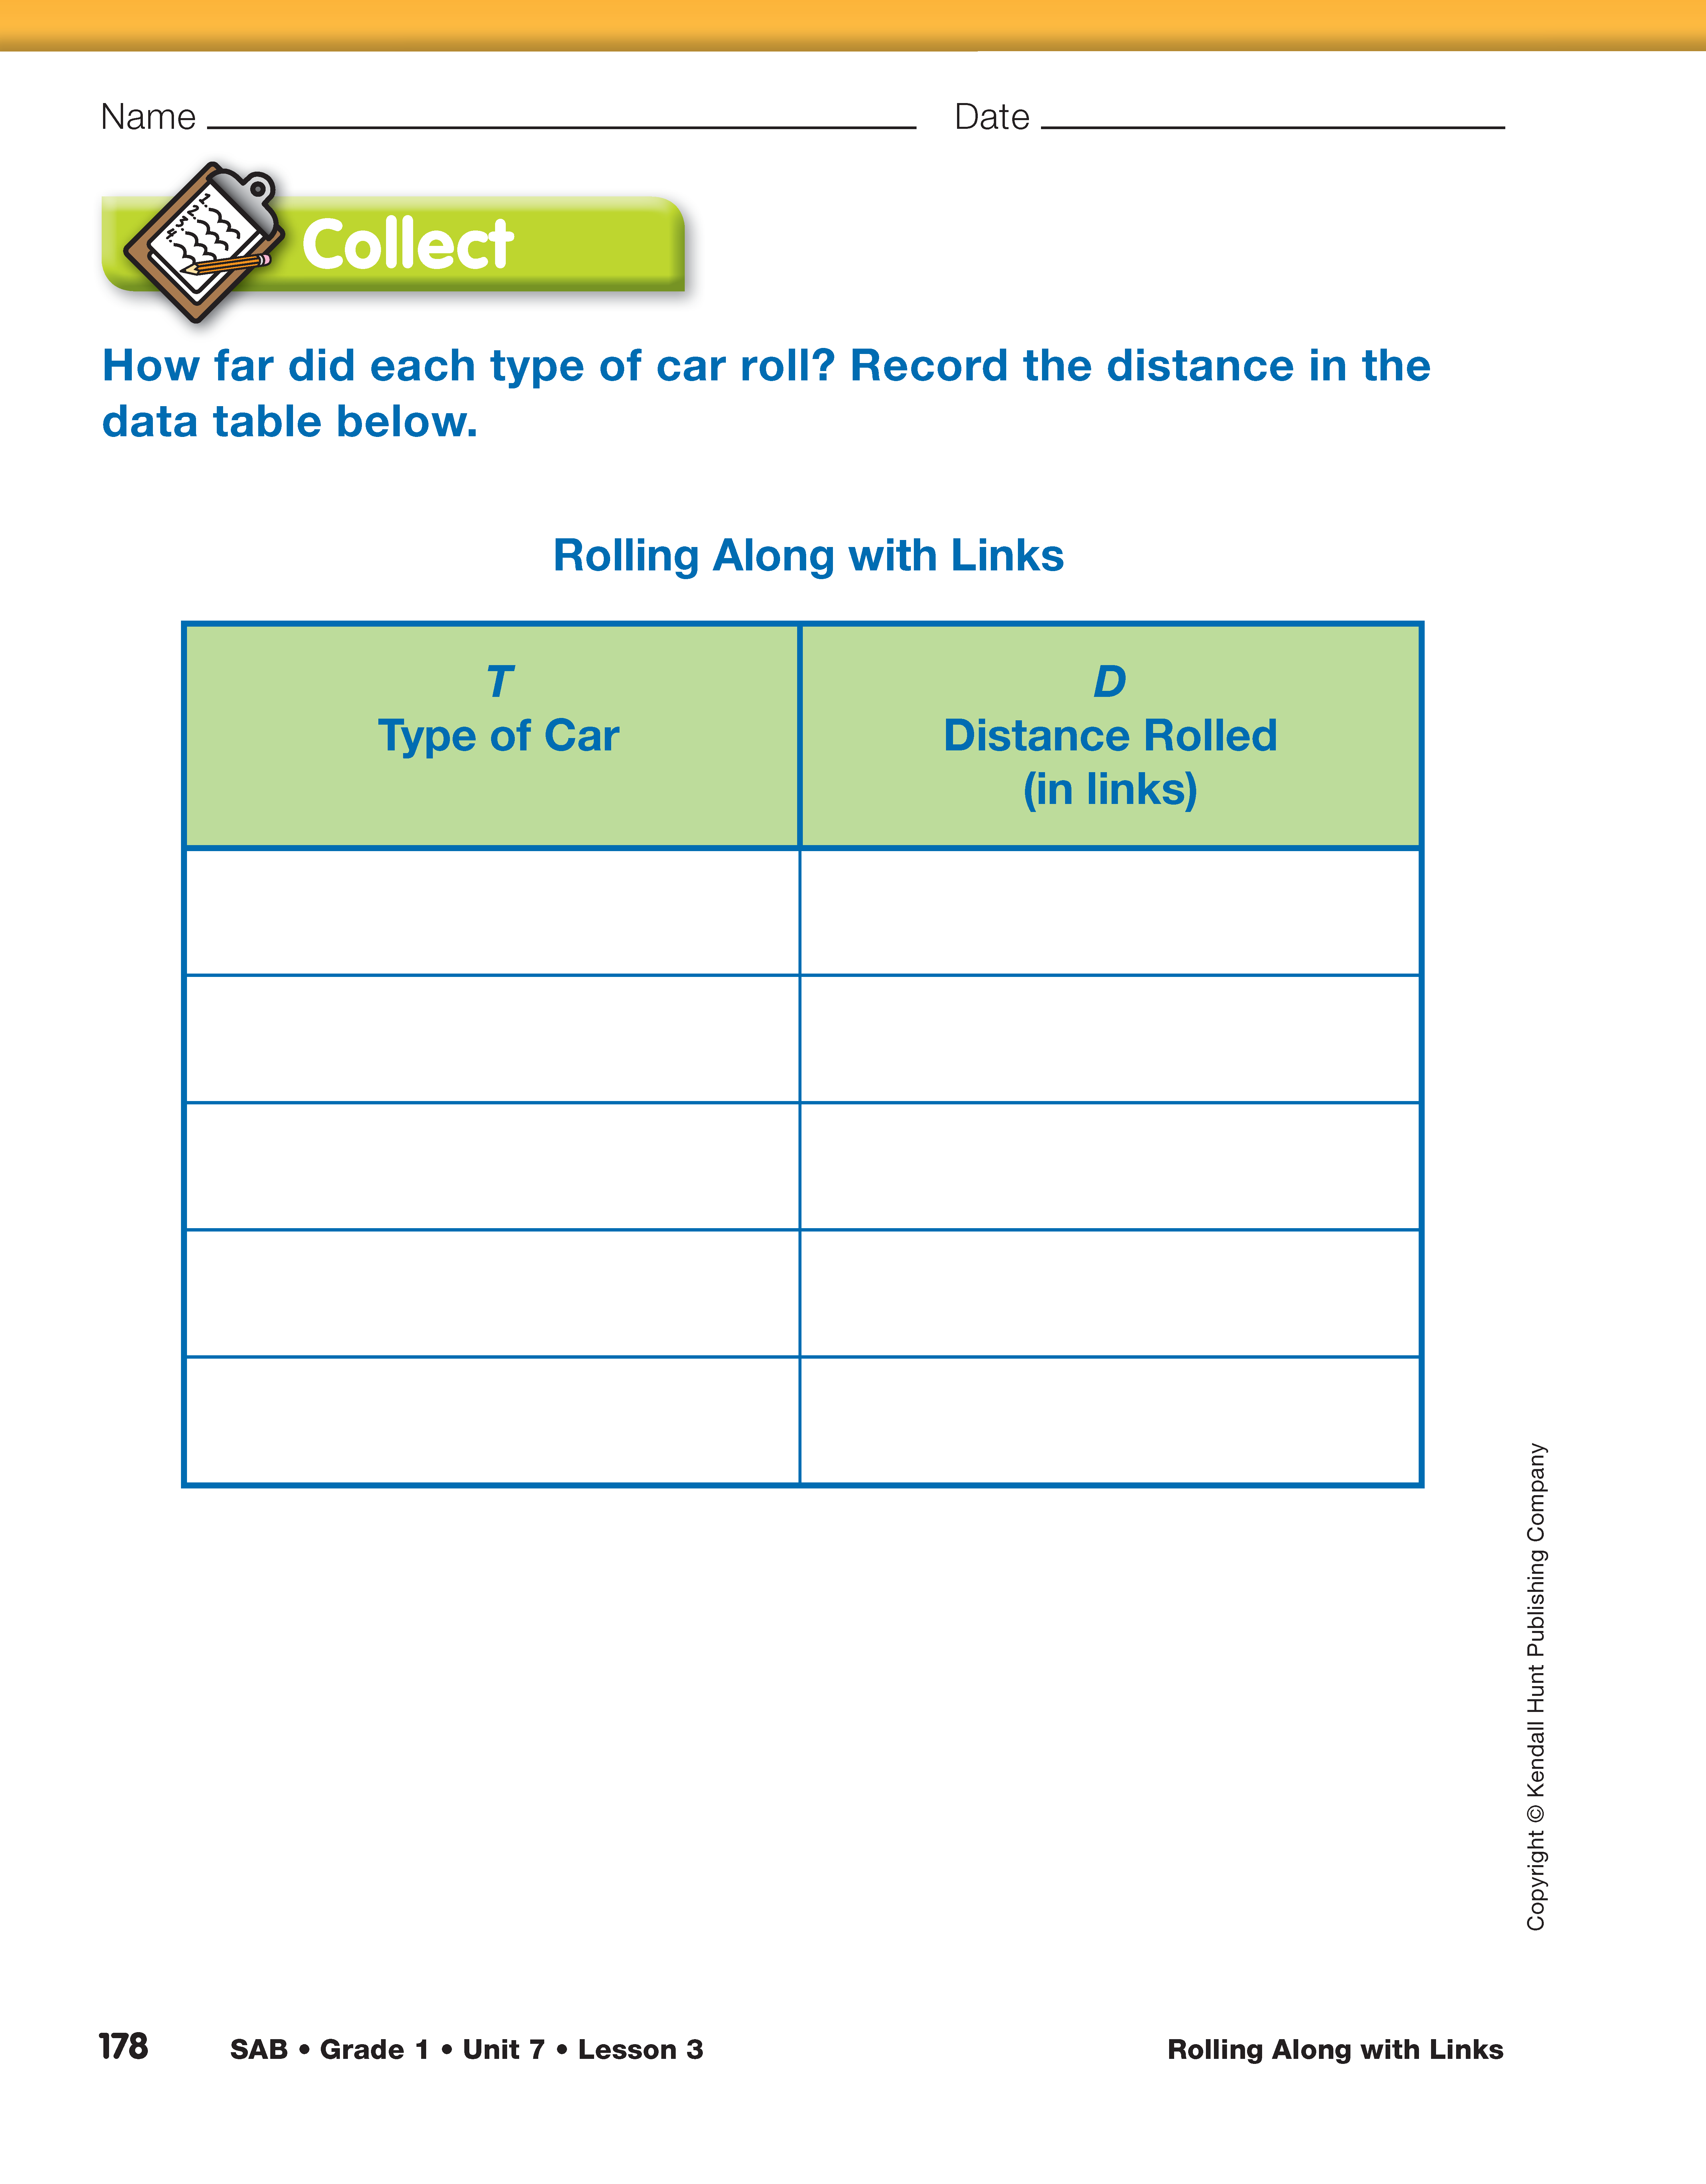
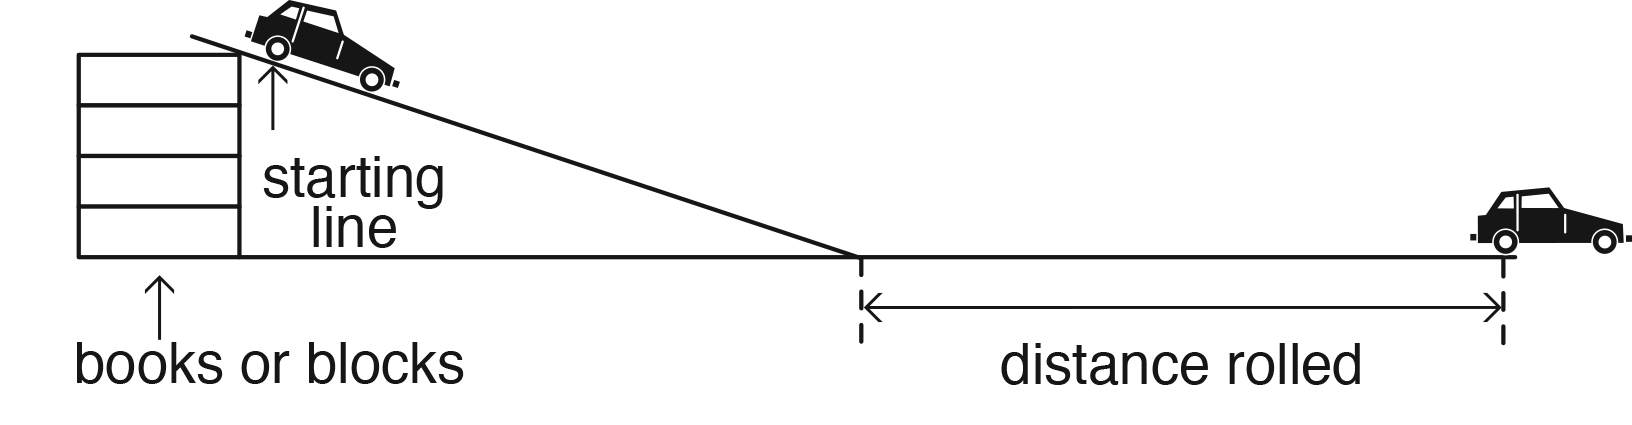
Hold Qualifying Round. The collection of cars (those students brought from home as well as those you gathered) will need to be limited to a total number of five for the lab. The five cars will need to travel between ten and sixty links when rolled down the ramp. Hold a qualifying round to remove cars that do not travel distances within this interval or that do not roll straight. With the setup illustrated in Figure 2 prominently displayed, demonstrate the procedure for selecting the cars.
After the five cars are chosen, write a description of each one on a separate index card (e.g., red car), and post the cards on the chalkboard or a bulletin board as described in Materials Preparation.
Begin a discussion of controlled variables by asking:

Discuss Controlled Variables. Explain that the class is going to determine which car is the "best roller." In planning the experiment, students should discuss how to keep everything "fair" including:
- Start each car from exactly the same place.
- Place the same part of the car on the starting line (back wheel, front wheel, front end, etc.).
- Release the car (just let it go, instead of pushing it).
- Use the same ramp and ramp height for all cars (or make the ramp and ramp height the same for all cars).
- Keep the surface on which the cars roll the same for all cars.
- Measure the distance the car rolled using the same procedure each time (from the bottom of the ramp to the same part of the car placed on the starting line).
Ask:
Demonstrate Lab Procedure. Demonstrate the complete lab procedure before students draw a picture of the lab.
- Demonstrate how to roll the car. Have a student using tape or a small self-adhesive note mark where the car stops. Remind students about keeping each trial fair.
- Tell students that if scientists and engineers were testing the cars, they would roll each car more than one time. They would conduct several trials.
Ask:
Repeat the process two more times, again discussing the procedures that keep the roll-off fair. The three trials will very likely result in three distances that, while close to one another, are not exactly the same.
- Instead of recording all three distances, explain that students will make a chain that is the same length as the middle distance. Students can organize their chains so that they can count by fives or tens.
- Engage students in a discussion about why scientists use a single value, the middle distance (median), to represent the three trials.
Ask:
While students' reasons are not likely to be precise, lead them to the idea that the middle value is a good representative of how far the car rolls since it is neither the shortest nor the longest.
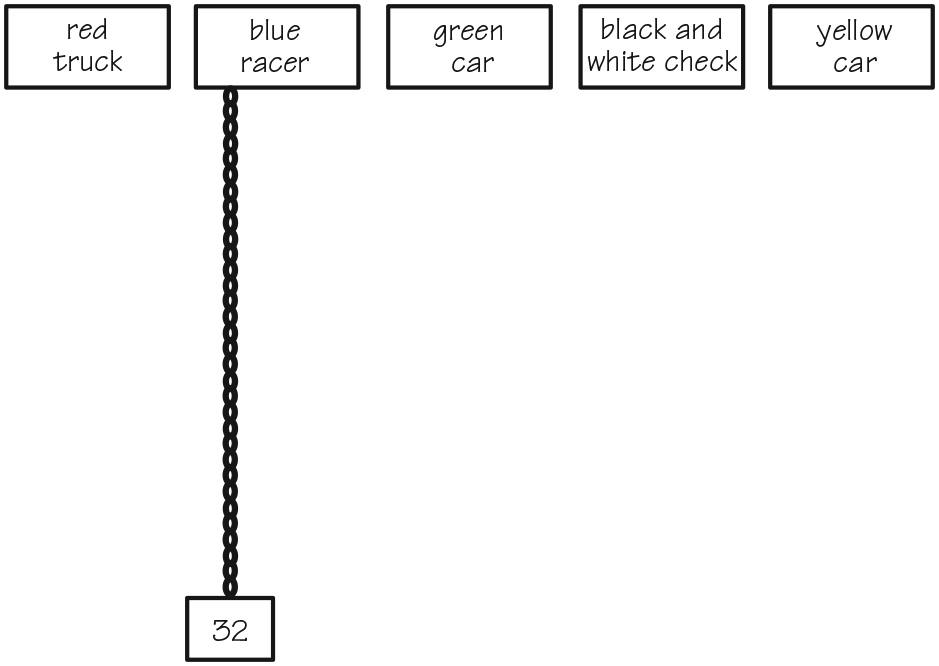
- Place the chain beneath the appropriate index card.
- Ask students to skip count the links by fives or tens and count leftovers by ones to find how many links the car rolled. They should write the number of links on a self-adhesive note.
- Place the note with the number of links below the chain, as shown in Figure 3.
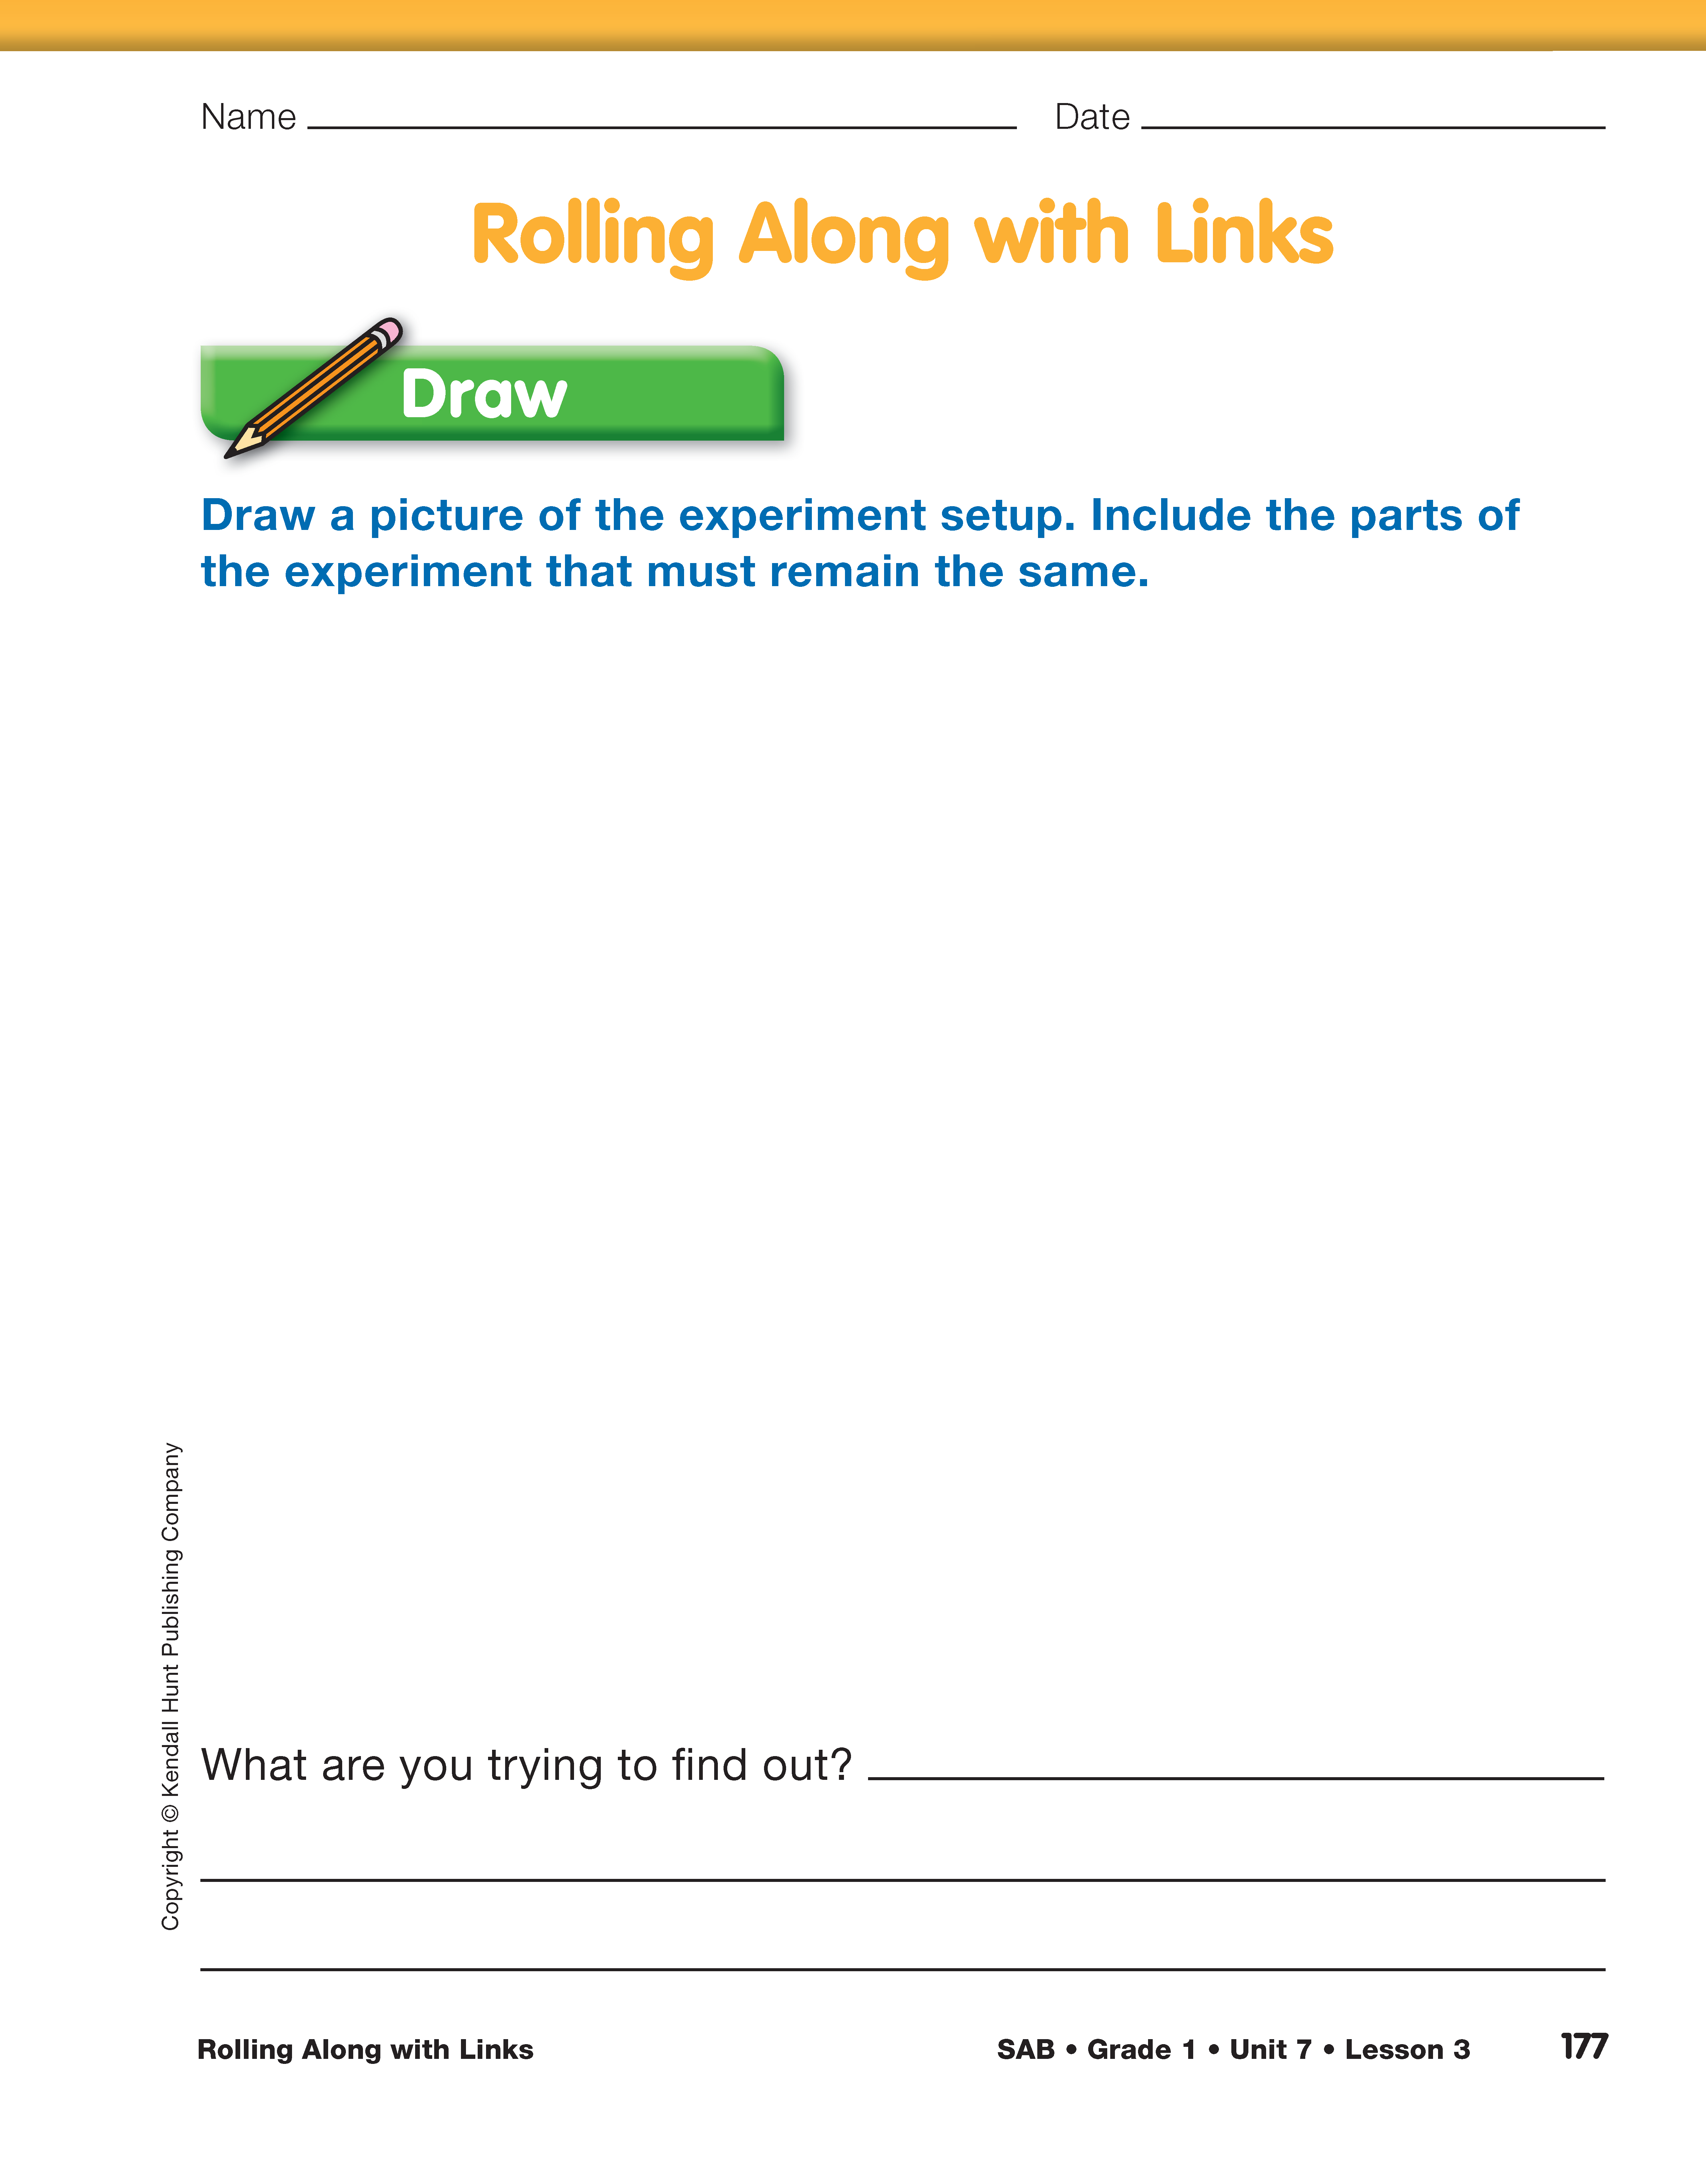
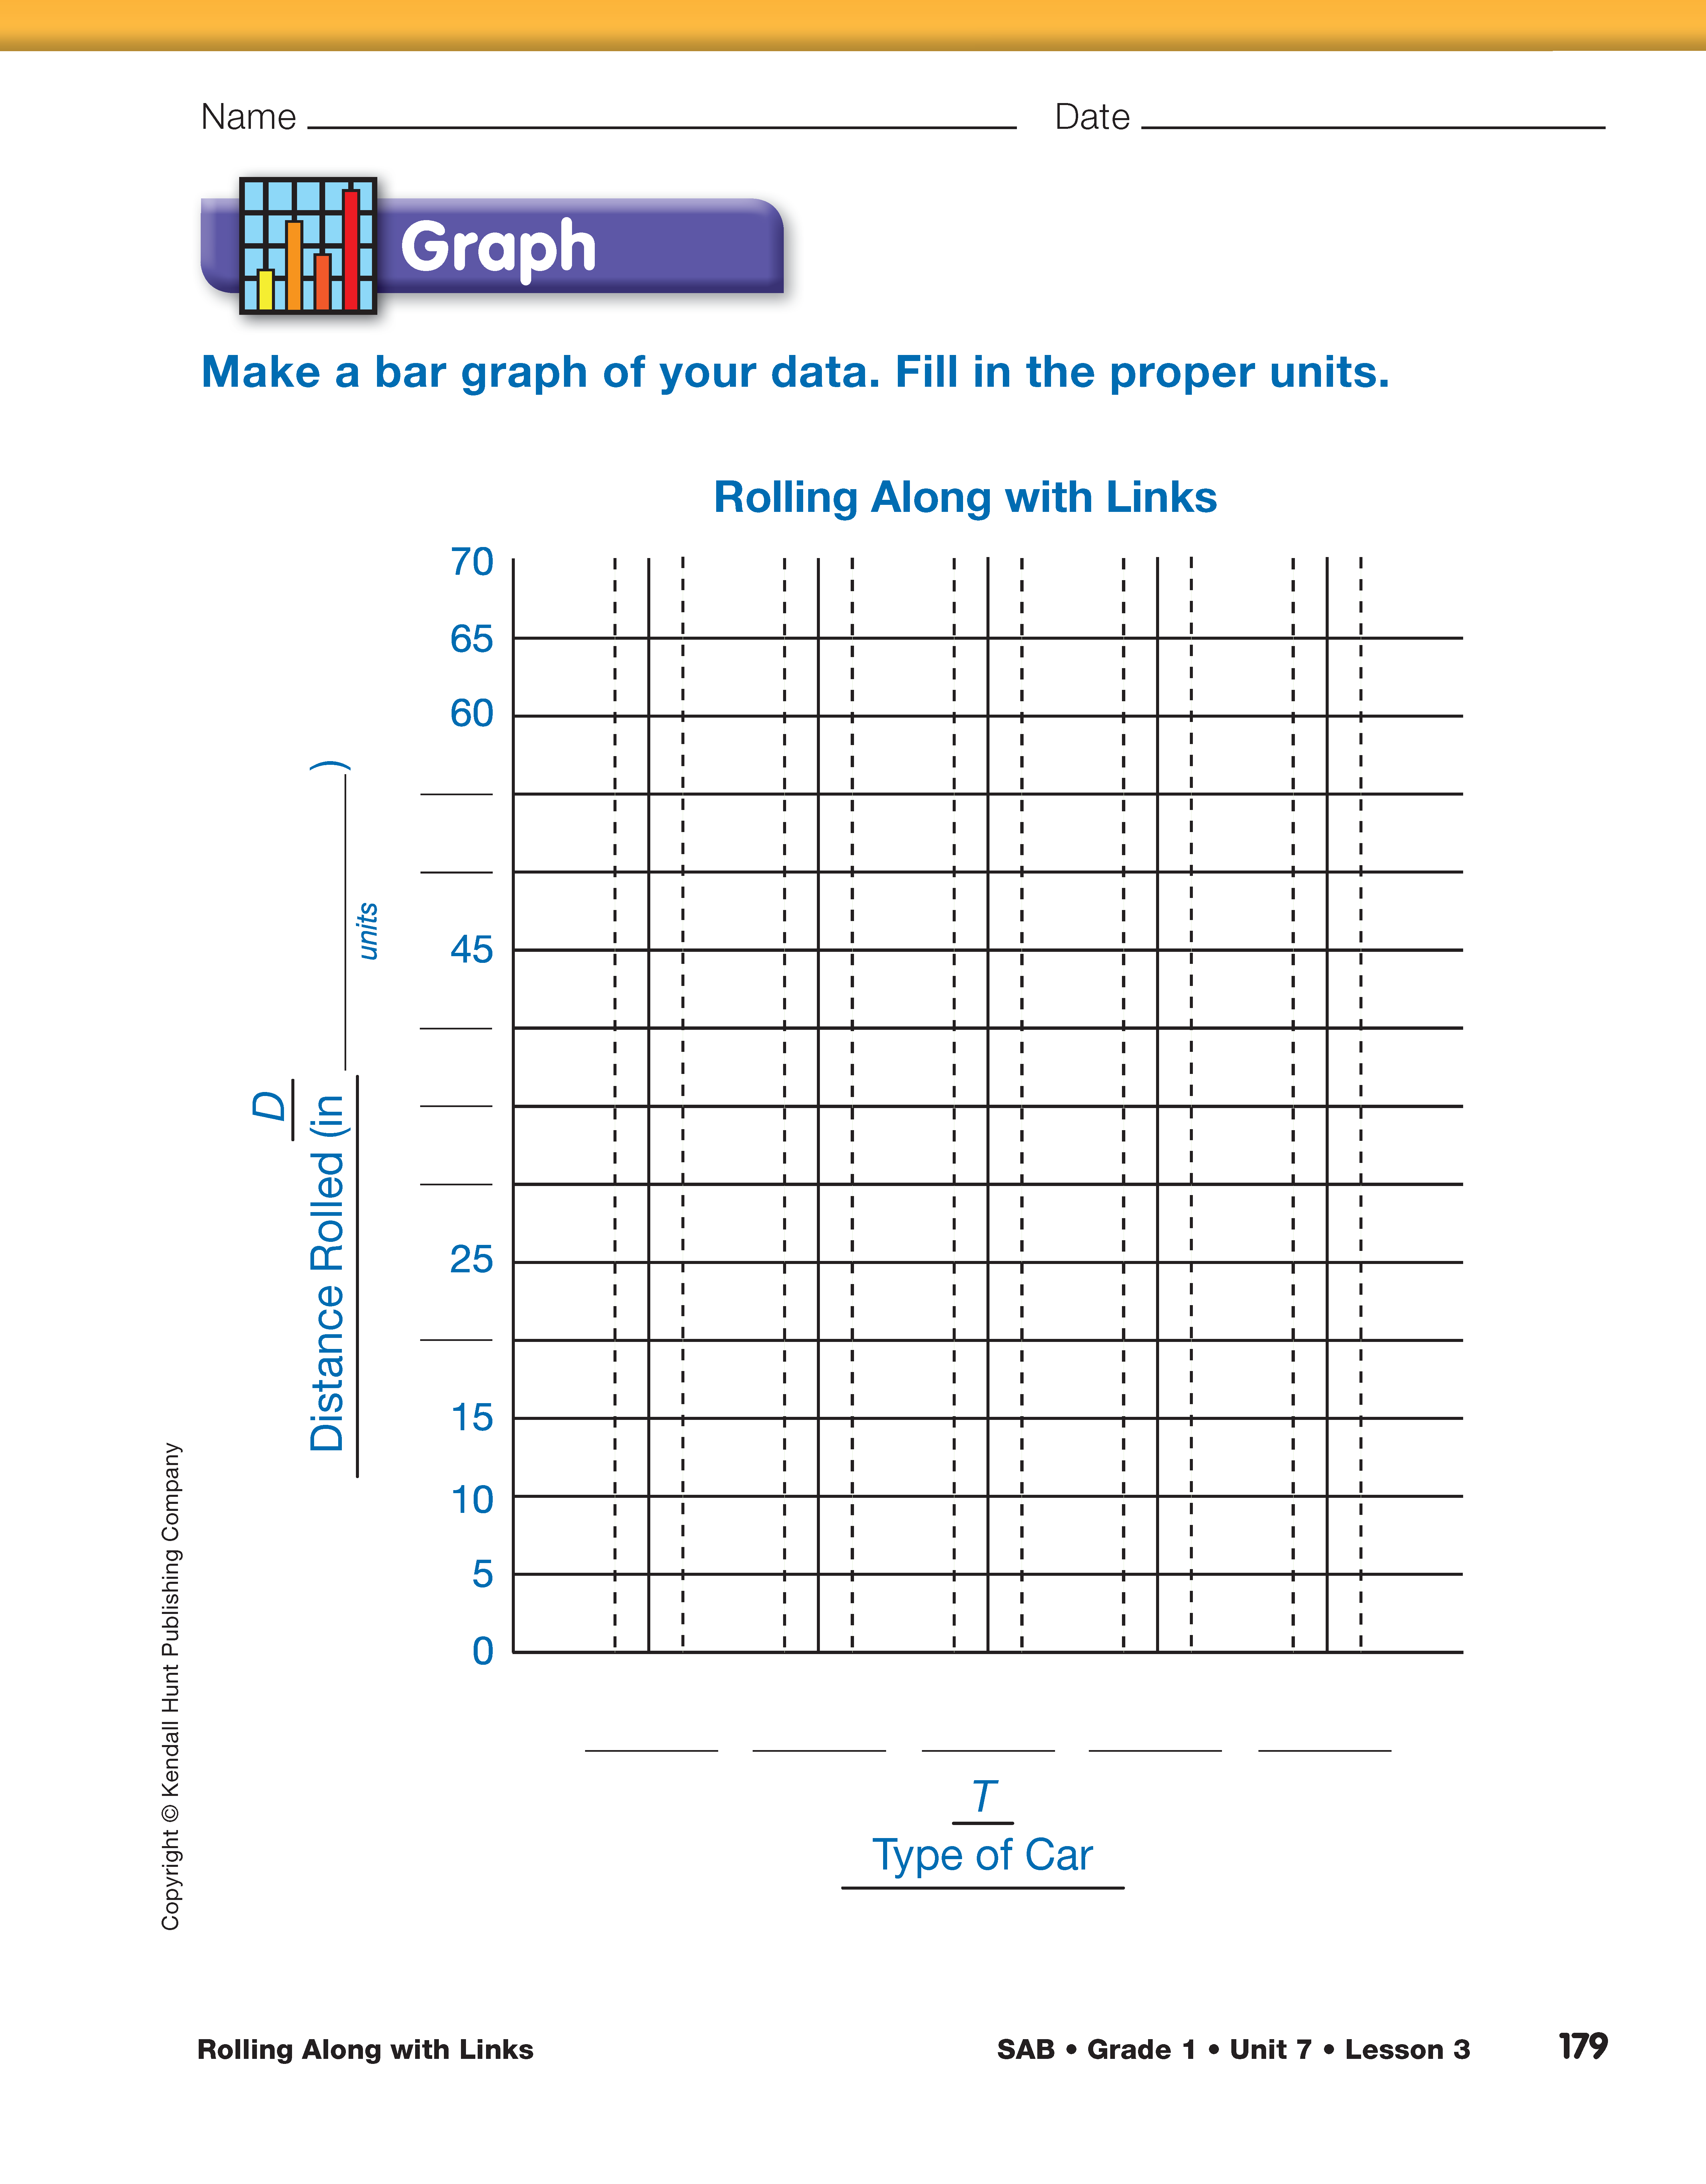
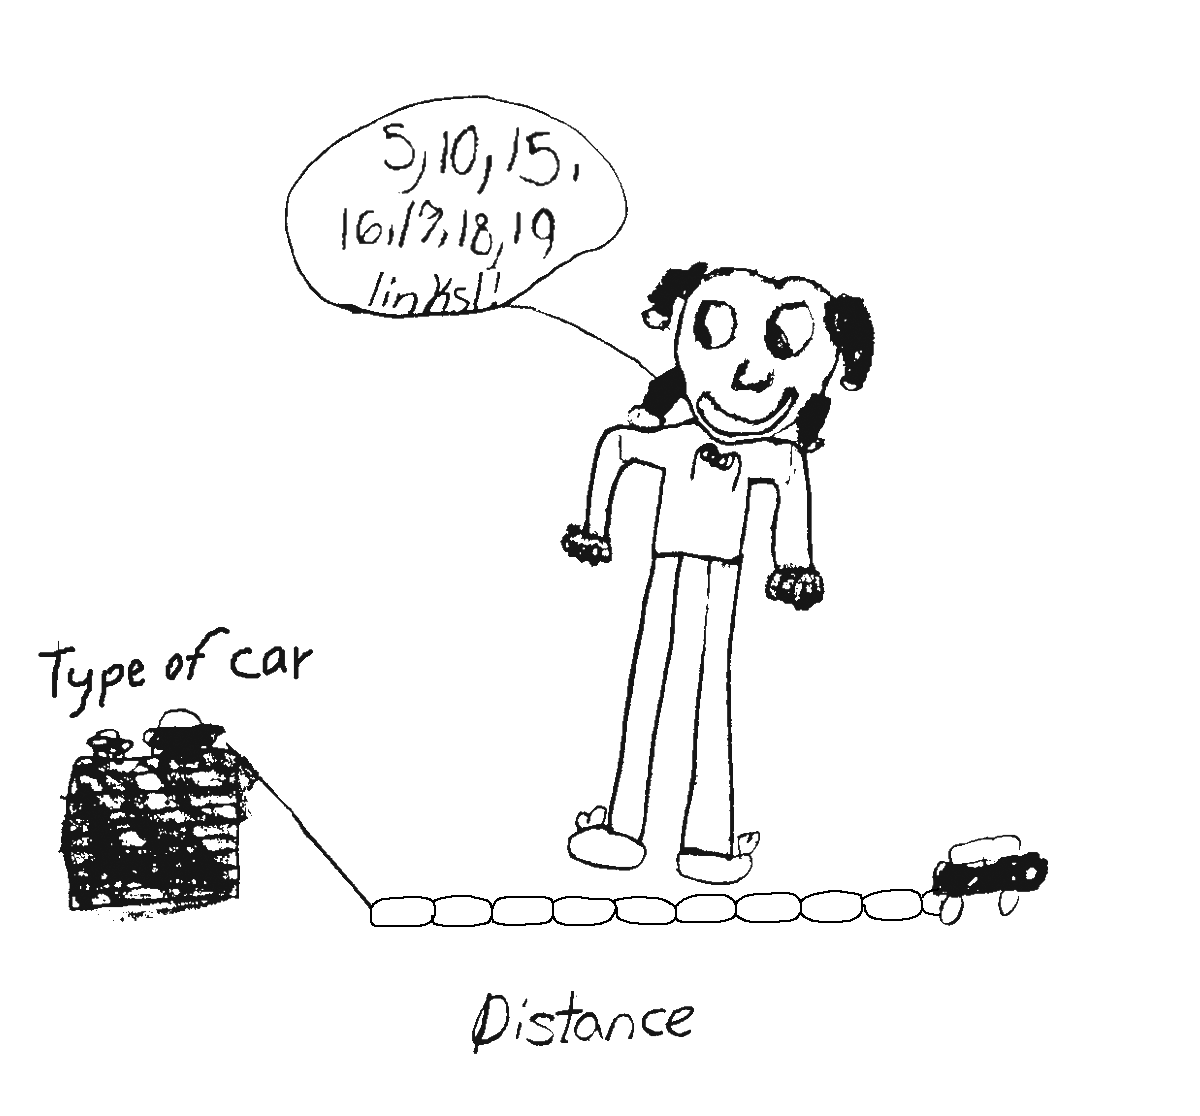
Draw a Picture. Tell students they will draw a picture of the lab to plan their experiment before they begin. Students will use the Draw section in the Rolling Along with Links pages in the Student Activity Book. Help students visualize a drawing that will represent the experiment's main variables (type of car and the distance the car rolled) as well as the parts of the setup that remain the same (the supported ramp with a starting line).
Ask:
When reviewing the drawings, look for the experiment's main variables as well as the parts of the lab that will remain the same as stated above. Note the example of a student's drawing in Figure 4.