


3-D to 2-D
Est. Class Sessions: 2Developing the Lesson
Part 1. Analyzing Faces of 3-D Shapes
Focus on Faces of 3-D Shapes. Display a skeleton of one of the three-dimensional shapes students constructed in the previous lesson. Briefly review the terms edge and vertex (vertices).
Ask:
Tell students that they are going to trace the faces of three-dimensional shapes then play a game to identify the shape by its faces and properties. Select one shape from the set of Power Solids® and show students how to trace each face leaving space between each. Each face should be shown, even if congruent to other faces. For example, a tracing of the cube should display six congruent squares. Color each face with the same color to help draw student's attention to the shape of each face. See the Faces of 3-D Shapes Cards Masters for examples.
Display and focus students' attention on a cube, a rectangular prism, sphere, cylinder, and cone from the set of Power Solids®.
Ask:

Faces, edges, and vertices. For this unit, students will blend everyday language with mathematical language to define properties and types of objects in space.
The easiest objects to describe are the polyhedra. A polyhedron is a connected three-dimensional shape whose surface is made of polygons. Each polygon meets exactly one other polygon along a common edge. The polygons that make up the surface are called faces. The edges meet at points called vertices. For example, a cube is a polyhedron that has 6 faces, each of which is a square. A triangular pyramid is a polyhedron that has 4 faces, each of which is a triangle. It should not be too hard for students to correctly identify vertices, edges, and faces of polyhedra.

Vertices, edges, and faces can also be defined for certain three-dimensional objects that are not polyhedra. In that case the definitions can get quite technical, so we rely on everyday language for discussing the properties of objects like spheres, cones and cylinders. Deciding on definitions helps students see the connections among shapes and their properties.
Every point on a sphere is the same distance from a point called the center. Because a sphere is not a polyhedron, it does not make strict mathematical sense to talk about its faces, vertices, and edges. An ordinary sphere does not have edges or vertices, but students may decide that it has one face. The central idea, which may be difficult for students to verbalize, is that faces are two-dimensional (i.e., surfaces), edges are one-dimensional (i.e., lines or curves) and vertices are 0-dimensional (i.e., points).
Cones are shapes with a base and all points on the base connected to a top vertex. The base may be any shape. Using this definition, all pyramids are special cones. A circular cone has a base in the shape of a circle.
Cylinders are shapes with two congruent and parallel faces. Moreover, lines joining the corresponding points on the two bases are always parallel. All prisms are special kinds of cylinders. A circular cylinder has two congruent and parallel circles as bases.
One possible approach that students might come up with is to decide that faces are the flat side of a solid. In that case, for example, a cylinder will have two faces. Other students may think of faces as surfaces separated by edges. In that case, a cylinder would have three faces. A third way students might define the faces of a solid would be the parts of the surface separated by edges. In that case, a cylinder would have three faces and a cone would likely be considered to have two faces. Finally, there are some special cases such as the sphere. Again, since we don't want to get too technical, the class can decide whether the sphere has one face or none.
To sum up, the goal of this lesson is to get students thinking about properties and classification of three-dimensional shapes. So for shapes that are not polyhedra, we rely on definitions using everyday language that the students arrive at by consensus.
Help students decide if the curved surface on the cone, cylinder, and sphere are considered a face of the shape. It all depends on how face is defined. See the Content Note.
Encourage students to use words and descriptions from the Properties of 3-D Shapes chart made and displayed during Lesson 6 as they discuss and compare the shapes. Present the cones and cylinders as a challenge, and explain that these shapes will be more difficult to trace. Having students think about how to cover the cone and cylinder may help them figure out what these faces look like.
Trace Faces of Power Solids®. Distribute the sets of Power Solids® you prepared, drawing paper, and some crayons to each pair of students. Provide time for student pairs to trace their assigned shapes. Tell students to trace each face so that the number of traced faces equals the number of faces on the solid. One partner can hold the first three-dimensional shape firmly in place while the other partner traces. See Meeting Individual Needs. Ask students to color and label their tracing with the name of the shape for a display. If they do not know the name this will provide an opportunity later in the lesson to discuss properties and how a shape is named. As students finish, post at least one example of each shape where it is visible for all to see.

As students work on tracing the three-dimensional shapes, note their varying approaches for completing this task. For example, some students may decide to trace one face several times if the faces of their particular shapes are the same. Another student may systematically trace the shape of each face while others will draw one of each type of shape. If a student pair finishes early, give them another three-dimensional shape to trace.
Manipulating and describing three-dimensional objects helps students identify characteristics of geometric solids. Circulate through the classroom as students are working asking them to describe the shapes they traced. Below are some students' descriptions:
Student A
I traced rectangles and triangles from my triangular prism. There are 5 faces and 6 vertices.
Student B
This is a rectangular prism. It has 6 faces. Two faces on the sides are matching. The front and back faces are matching. The top and the bottom faces are matching. The faces are rectangles.
When tracings are complete, ask:
Have the student pairs who worked with the cylinders and cones explain to the class any problems they encountered while trying to cover these shapes. For example, one student traced the top and bottom of her cylinder and then kept experimenting until she was able to trace the curved surface of the cylinder. She explained her procedure to the class:
Student C
I put the cylinder down on the paper, and made the top and bottom. I rolled the can, and I kept tracing the top and bottom. When I thought the paper would go around, I cut it out. But I had to make another and another because the paper didn't fit. When it fit, I traced the cut out.
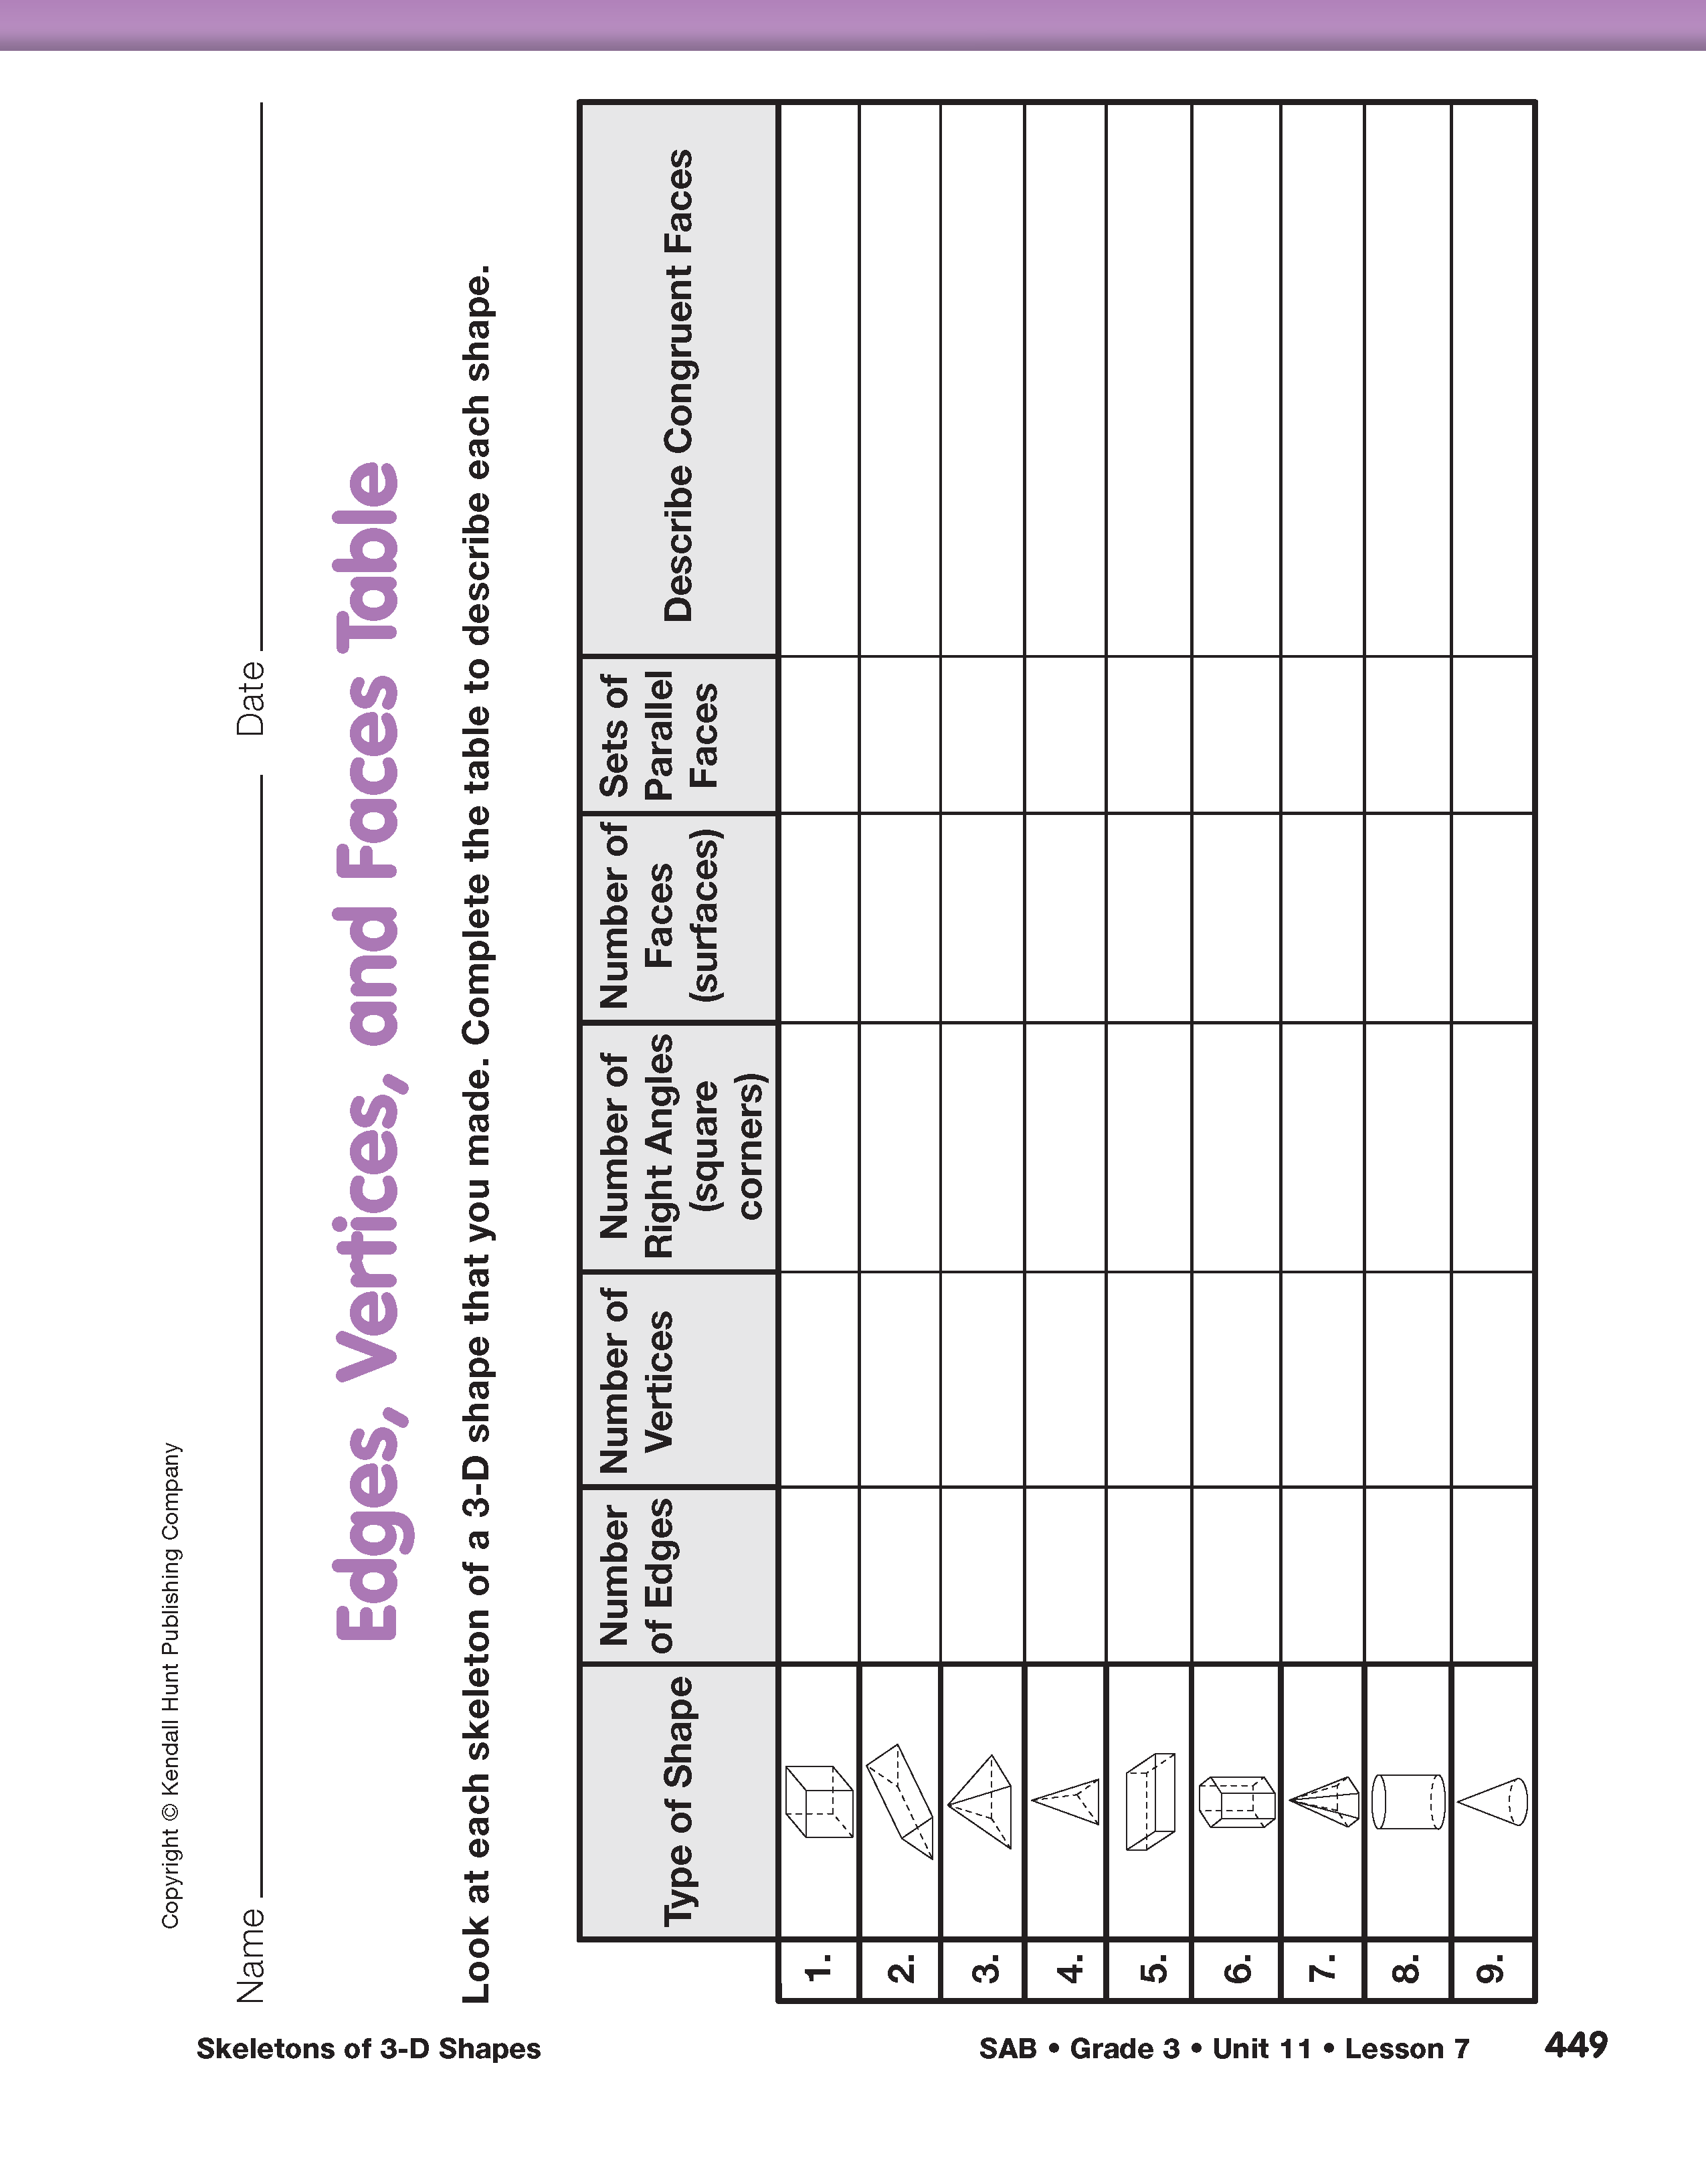
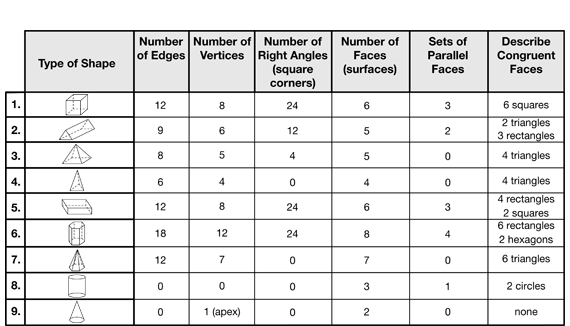
Describe Faces of 3-D Shapes. As students complete the tracing, ask them to count the number of faces, parallel faces, and the number of congruent faces on the shapes they traced. Students should complete the appropriate rows and columns of the Edges, Vertices, and Faces Table page from the Student Activity Book that they partially completed in Lesson 7. See Figure 2. As students finish their analysis, ask some students to complete the display version of the same chart you prepared and to post at least one example of face tracings where it is visible for all to see. Ask students to use the information in the displayed table to complete their own table. Students will refer to the information in this table in the next lesson.
Label Names on Tracings of 3-D Shapes. Students may not know the names of some of the shapes that were traced, as they have not yet encountered them in this unit. Ask students to match the solid from the classroom set to the tracings and verify the name of the three-dimensional shape.
If the name of a shape is unknown, using the hexagonal pyramid as an example, conduct a discussion using questions similar to the following:
Once all tracings have been labeled with the correct name and the display of the Edges, Vertices, and Edges Table is complete, continue the lesson with the Guess My Shape game.
Play Guess My Shape. Display the Faces of 3-D Shapes Cards Masters you prepared and challenge students to identify each shape. These masters either display the faces of shapes scattered or organized to form a net. A net is a pattern that can be cut and folded to make a model of a solid shape. Since these cards are similar to the tracings students already completed and have displayed, start the game by showing them the cards with the scattered faces.
Ask:
Continue playing the game with the cards that show the nets of shapes. Some cards are close representations of the Power Solids® and others do not match the Power Solids®. Students should use the properties of shapes to justify their thinking.
Ask:
Yet another way to play the game is to display the shapes on a card revealing one at time until the shape is guessed. For example, show the card with the faces of the square pyramid scattered.
Ask:
Play Guess My Shape with a few other shapes.