Seeing Doubles
Est. Class Sessions: 1–2Developing the Lesson
Part 1: Creating a Visual Representation of Doubling Numbers
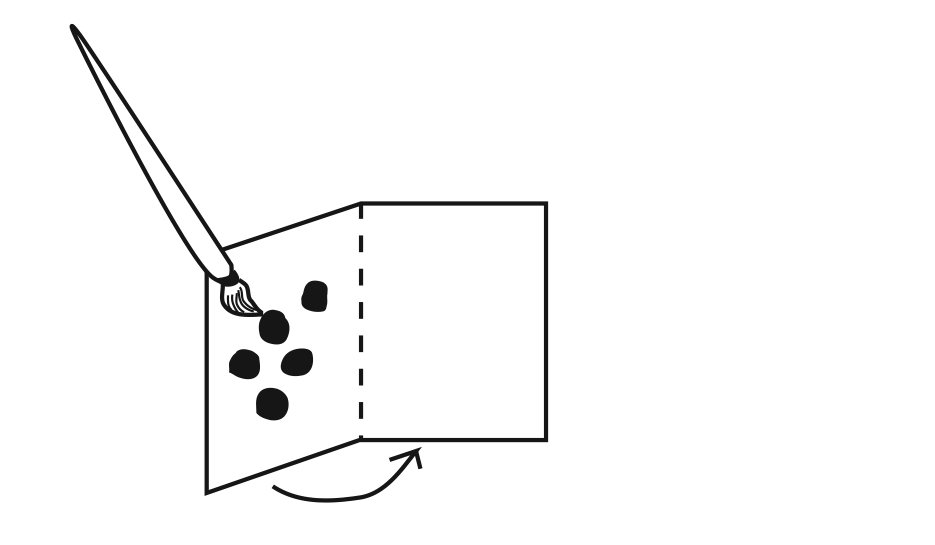
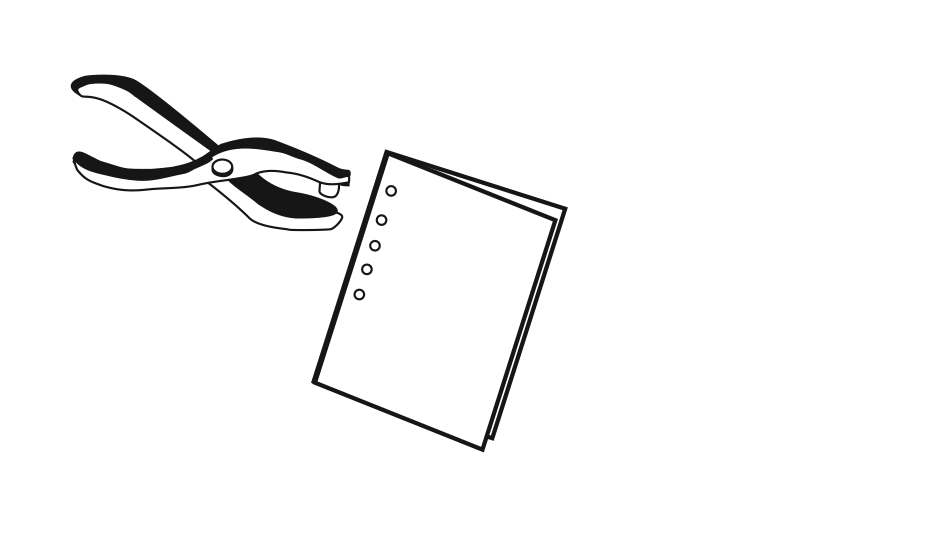
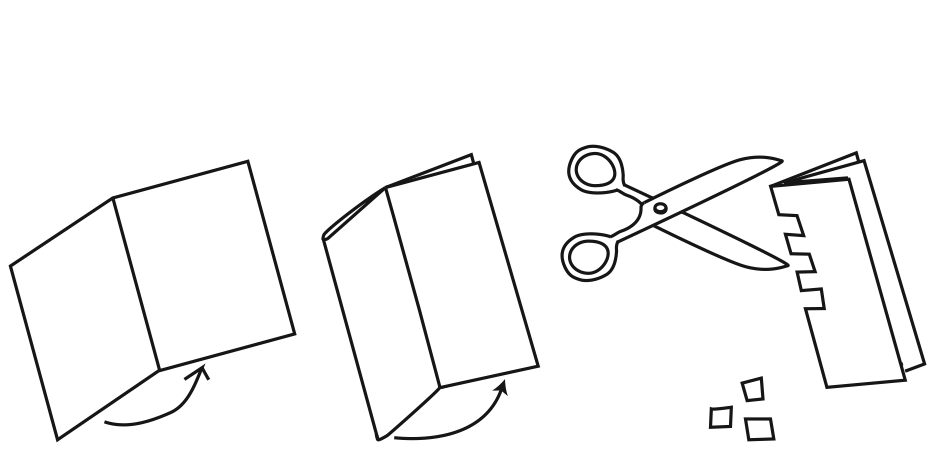
The purpose of this section is for students to create visual representations of doubles. Three possible ways are listed here and are depicted in Figures 1, 2, and 3. Choose the one that best suits your class.
- Each student folds a sheet of paper in half and then opens it. They dab a number of dots of paint on one half of the paper. (They may put any number of dots up to 25. To be certain of having examples of all the doubles, assign a number of dots to each child.) To double the number of dots, students refold the paper while the paint is still wet.
- Students fold a paper in half. Using a hole punch, they make a row of holes close to the fold. When the paper is opened, there will be double the number of punches. Assign numbers to ensure a representative display.
- Students fold a paper in half and then in half again. They use scissors to cut out small pieces of paper along the fold. Assign the number of cuts you need represented. When the paper is opened, they will have doubled the number of cuts.
After students make their representations, talk about what they did.
Ask:
Have a few students discuss the numbers represented by the paint dots, holes, or cutouts. Model recording the amount in number sentences and ask students to write the number sentence representing their work on their folded paper. For example, "6 + 6 = 12." It is also appropriate to use the language of multiplication without introducing symbols. "6 two times is 12" or "two sixes is 12."
To make the holes or cutouts more visible and decorative, students can back their work with colored paper. Display the work on your "Doubles" board.


