


Doubles and Halves
Est. Class Sessions: 2Developing the Lesson
Part 1: Doubling and Halving as Inverse Operations
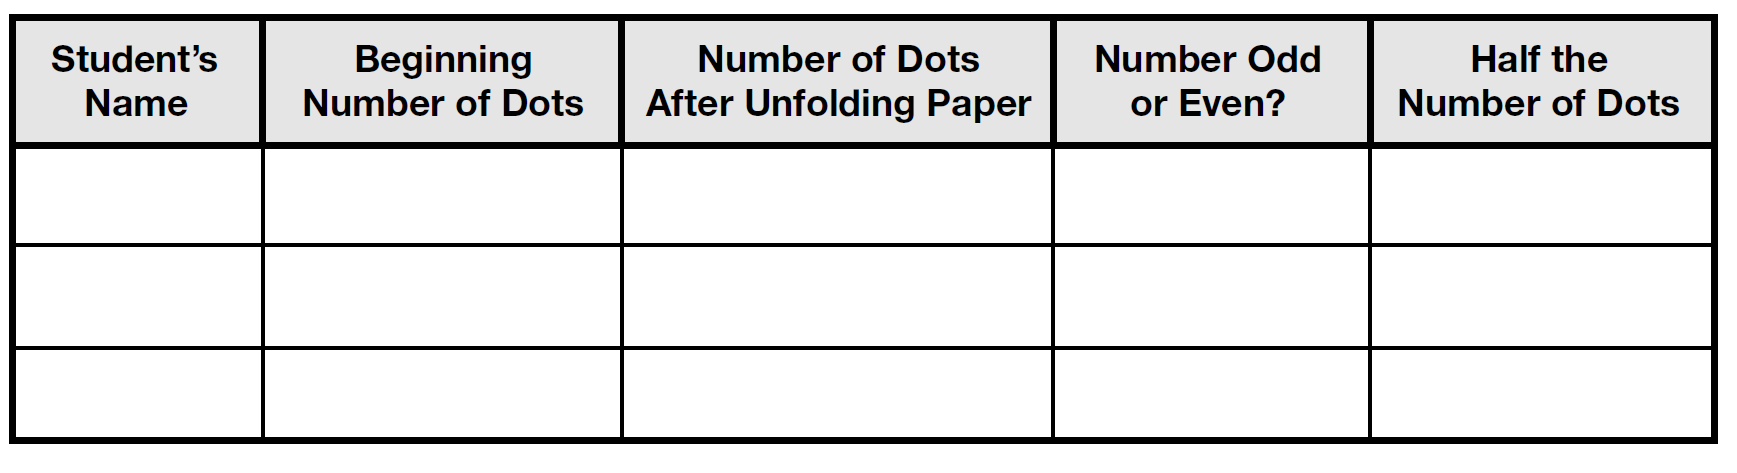
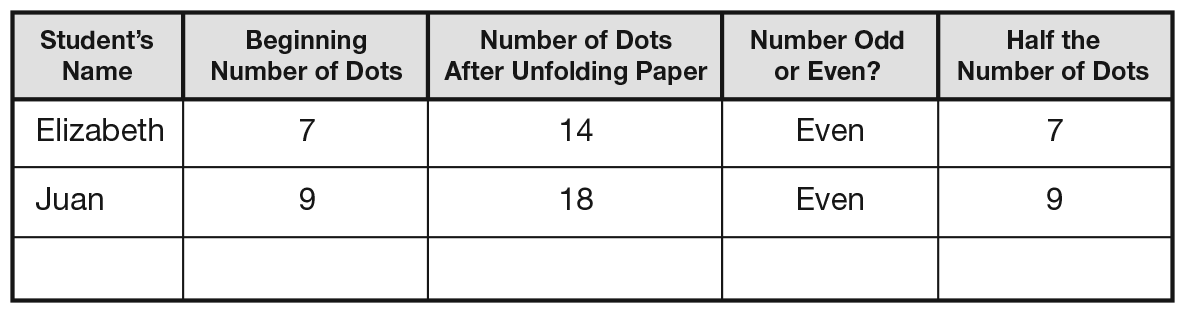
Launch the lesson by referring to the visual representations (with painted dots, punched holes, or cutouts) students made or the homework returned from Lesson 2 Seeing Doubles. Invite volunteers to describe their papers to the class. Encourage students to include the following ideas in their descriptions by completing a table as shown in Figure 3.
- The number of dots (holes or cutouts) the student first made
- The number of dots (holes or cutouts) after the student unfolded the paper to show the double
- Is the doubled number odd or even? (even)
- The number of dots (holes or cutouts) that are half of the total number
Write the word half on the board and ask students if they can use the word to describe this situation. Help the class observe that, in this instance, half is the number the student started with. Repeat with several other student volunteers reporting how they analyzed their papers.
Ask students:
Keeping the data table on the board will facilitate the discussion for whether all doubles are even and will let students observe that doubling and halving a number are inverse operations.
Ask students: