In Unit 7 Lesson 6 students were encouraged to draw before-and-after pictures to illustrate an event or activity that could
be completed in a few seconds, about a minute, about 5
minutes, and about an hour. These student pictures can be
used as part of the review to introduce this lesson.
Introduce the Analog Clock. Begin this lesson by
reviewing the time intervals for completing different
activities.
- What is something that you can do in a few seconds?
(Answers will vary but should include simple
activities such as write my name, put on my
coat, or take a bite of a cookie.)
- What can you do in a minute? (Answers will vary
but may include the following activities: sharpen
your pencil, tie your shoes, eat a whole cookie, or
wash your hands.)
- What are some activities that would take you about
5 minutes to complete? (Answers will vary but
may include the following activities: get ready for
bed, eat a piece of pizza, or find a book in the
library.)
- Now let's think about an hour. What are some things
that take about an hour to complete? (Answers
may vary but may include: play a soccer game,
watch a show on television, or go grocery shopping
with a parent.)
Show the demonstration clock and explain that this
type of clock is called an analog clock. An analog
clock uses the position of an hour hand (the red hand)
and minute hand (the blue hand) to show you the
time. Explain that some analog clocks have a third
hand that is used to show seconds. Ask students to
think about analog clocks that they have seen.
In First Grade, students will learn about two different types of
clocks, analog clocks and digital clocks. An analog clock uses
angles formed by the position of the minute and hour hands
to show the time. A digital clock provides a numeric
representation of the time.
Ask the students to look carefully at their individual
clock face while displaying the demonstration clock
and then ask:
- What do you notice about the numbers on your
clock face? (There are big red numbers and little
blue numbers on the clock. The red numbers are
from 1 to 12 and the blue numbers count by 5s to
60.)
- What do you think the red numbers on the clock
represent? (hours)
- How many hours are shown on the clock face? (12)
- What do you think the blue numbers on the clock
represent? (minutes)
- How many minutes does the clock face show? (60)
- What do you notice about the hands you see on
your clock? (Possible response: There are two
hands, one is blue and one is red. The blue hand is
longer than the red hand. The blue hand points to
the blue numbers, or to the minutes, and the red
hand points to the red numbers, or the hours.)
Explain the longer hand, the blue hand on the demonstration
clock, is used to measure minutes and the
shorter hand, the red hand on the demonstration clock,
is used to measure hours. Explain to students that
today they are going to think about how the hour hand
can be used to help us tell time.
Tell Time Using the Hour Hand.
Introduce students
to the one-handed clock prepared earlier. Set the hour
hand on this clock so it is pointing to the one. Explain
that when the hour hand is pointing to the one, we say
that it is one o'clock. Use the One-Handed Clocks
Master to draw in the hour hand on the first clock face
to show one o'clock and write the time underneath.
See Figure 1.
By its design an analog clock uses at least two distinct scales
for telling time, hours, and minutes. (It uses a third scale if it
also shows seconds.) The hands that measure each of these
scales also move in a circular fashion. Because of this,
learning to tell time can be a challenge for many students.
Focusing first on the movement of the hour hand on the clock
allows students to tell time with relative accuracy. Students
should be encouraged to use approximate language to
describe the position of the hour hand.
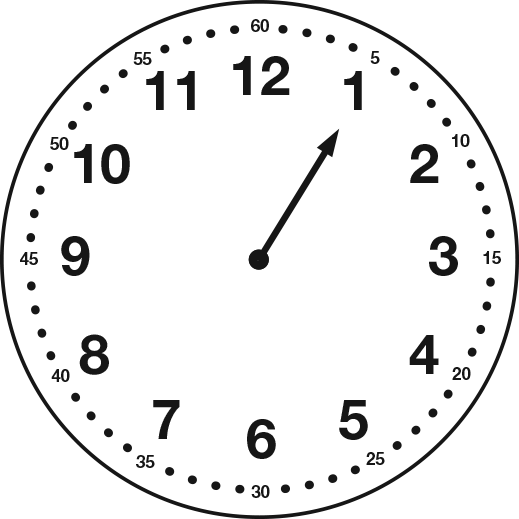
Now move the hour hand so that it is pointing close to
but not directly to the two.
Ask students to look at the
hour hand and then ask:
- Where is the hour hand on the clock pointing now?
(Possible responses include: It is almost on the two.
It is a little before the two. It is close to the two.)
- What time do you think the clock is showing now?
(Possible responses: It is about two o'clock. It is
close to two o'clock.)
Draw in the hour hand and write about two o'clock
under the second clock on the display of One-Handed Clocks master.
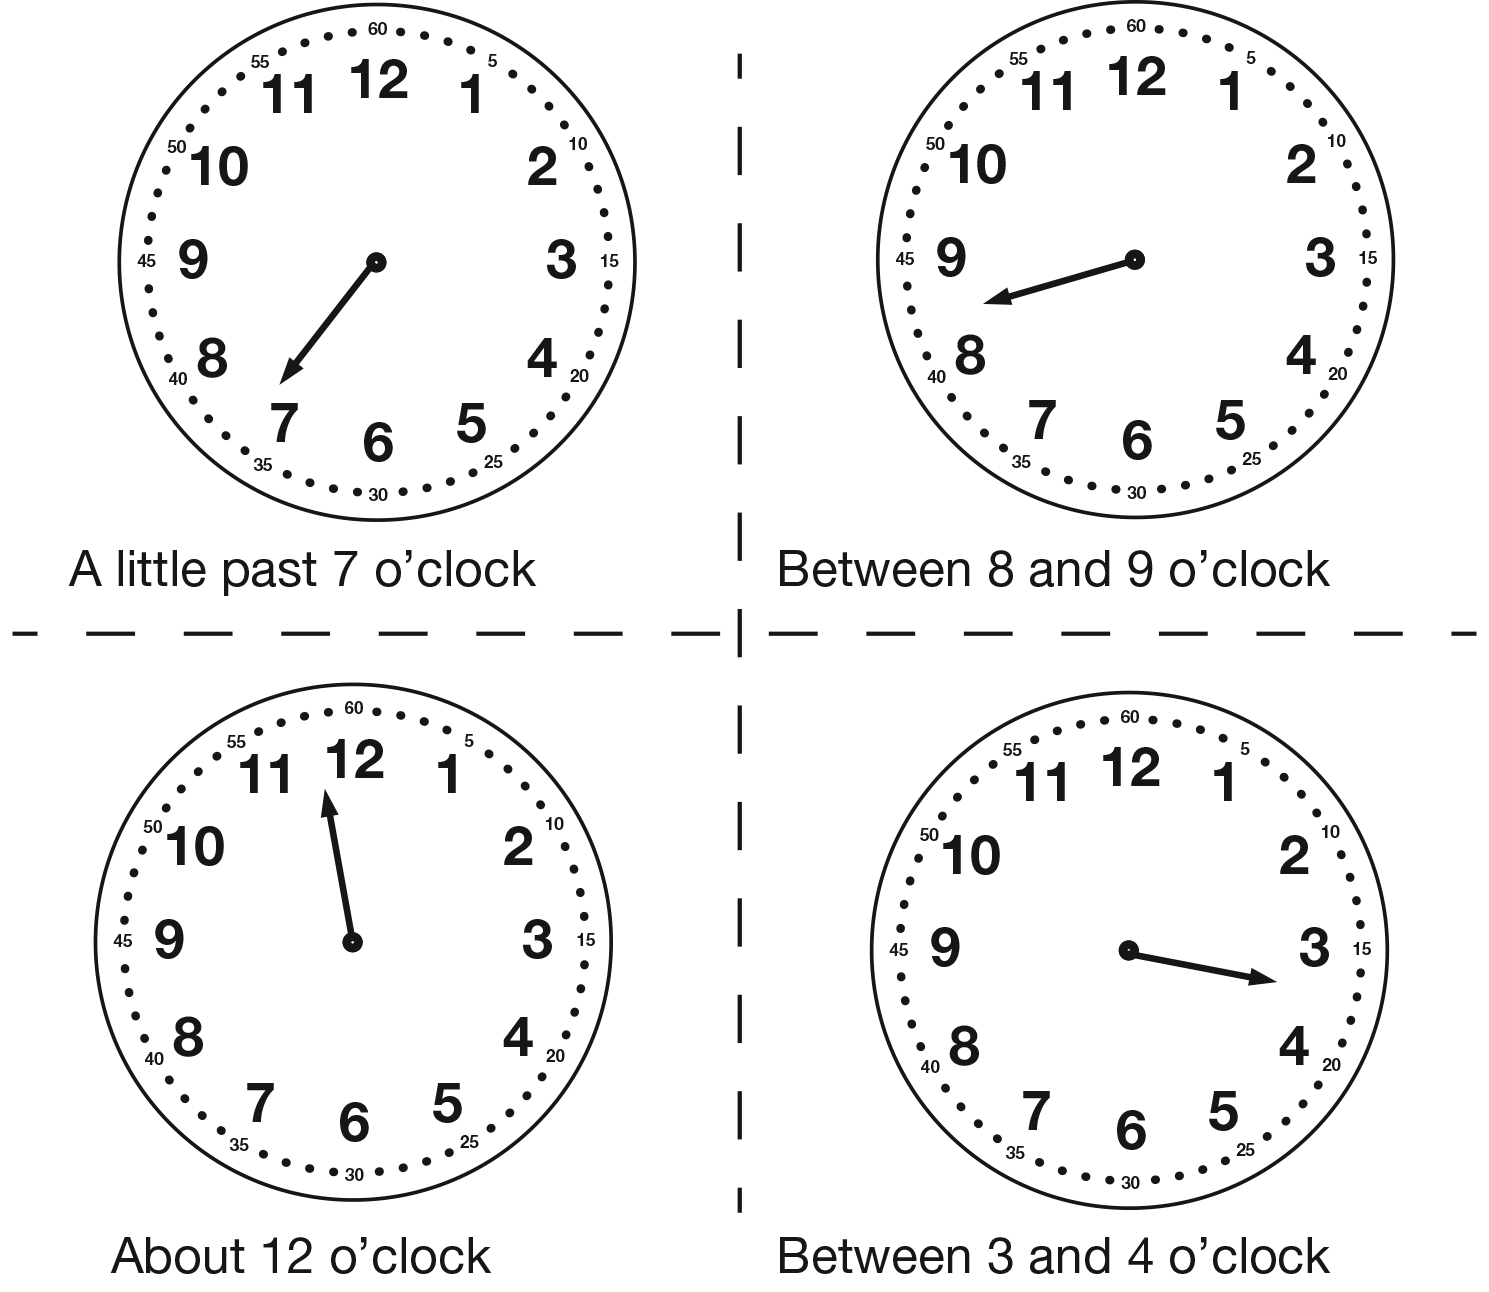
Continue to move the hour hand on the clock, asking
students to describe the time shown on the clock using
approximate language; for example, a little past seven
o'clock, between eight o'clock and nine o'clock, and
a little before twelve o'clock. Record the position of
the hour hand and use approximate language to record
each time on the display. Figure 2 shows an example
of a completed display.
To help students focus on the approximate language, record
those words in a different color or highlight them.