Sorting Shapes
Est. Class Sessions: 2Developing the Lesson
Part 1: Sorting All Shapes
Sort by Number of Sides. If you collected the students' Fill in the Shapes pages from the Student Activity Book at the end of Lesson 9, redistribute one set of pages to each student. Instruct students to cut along the lines on the pages so that they each have a set of shape cards.
Ask students to study the number of sides on each shape. Instruct students to sort the shapes on the cards by the number of sides (three sides, four sides, etc.).
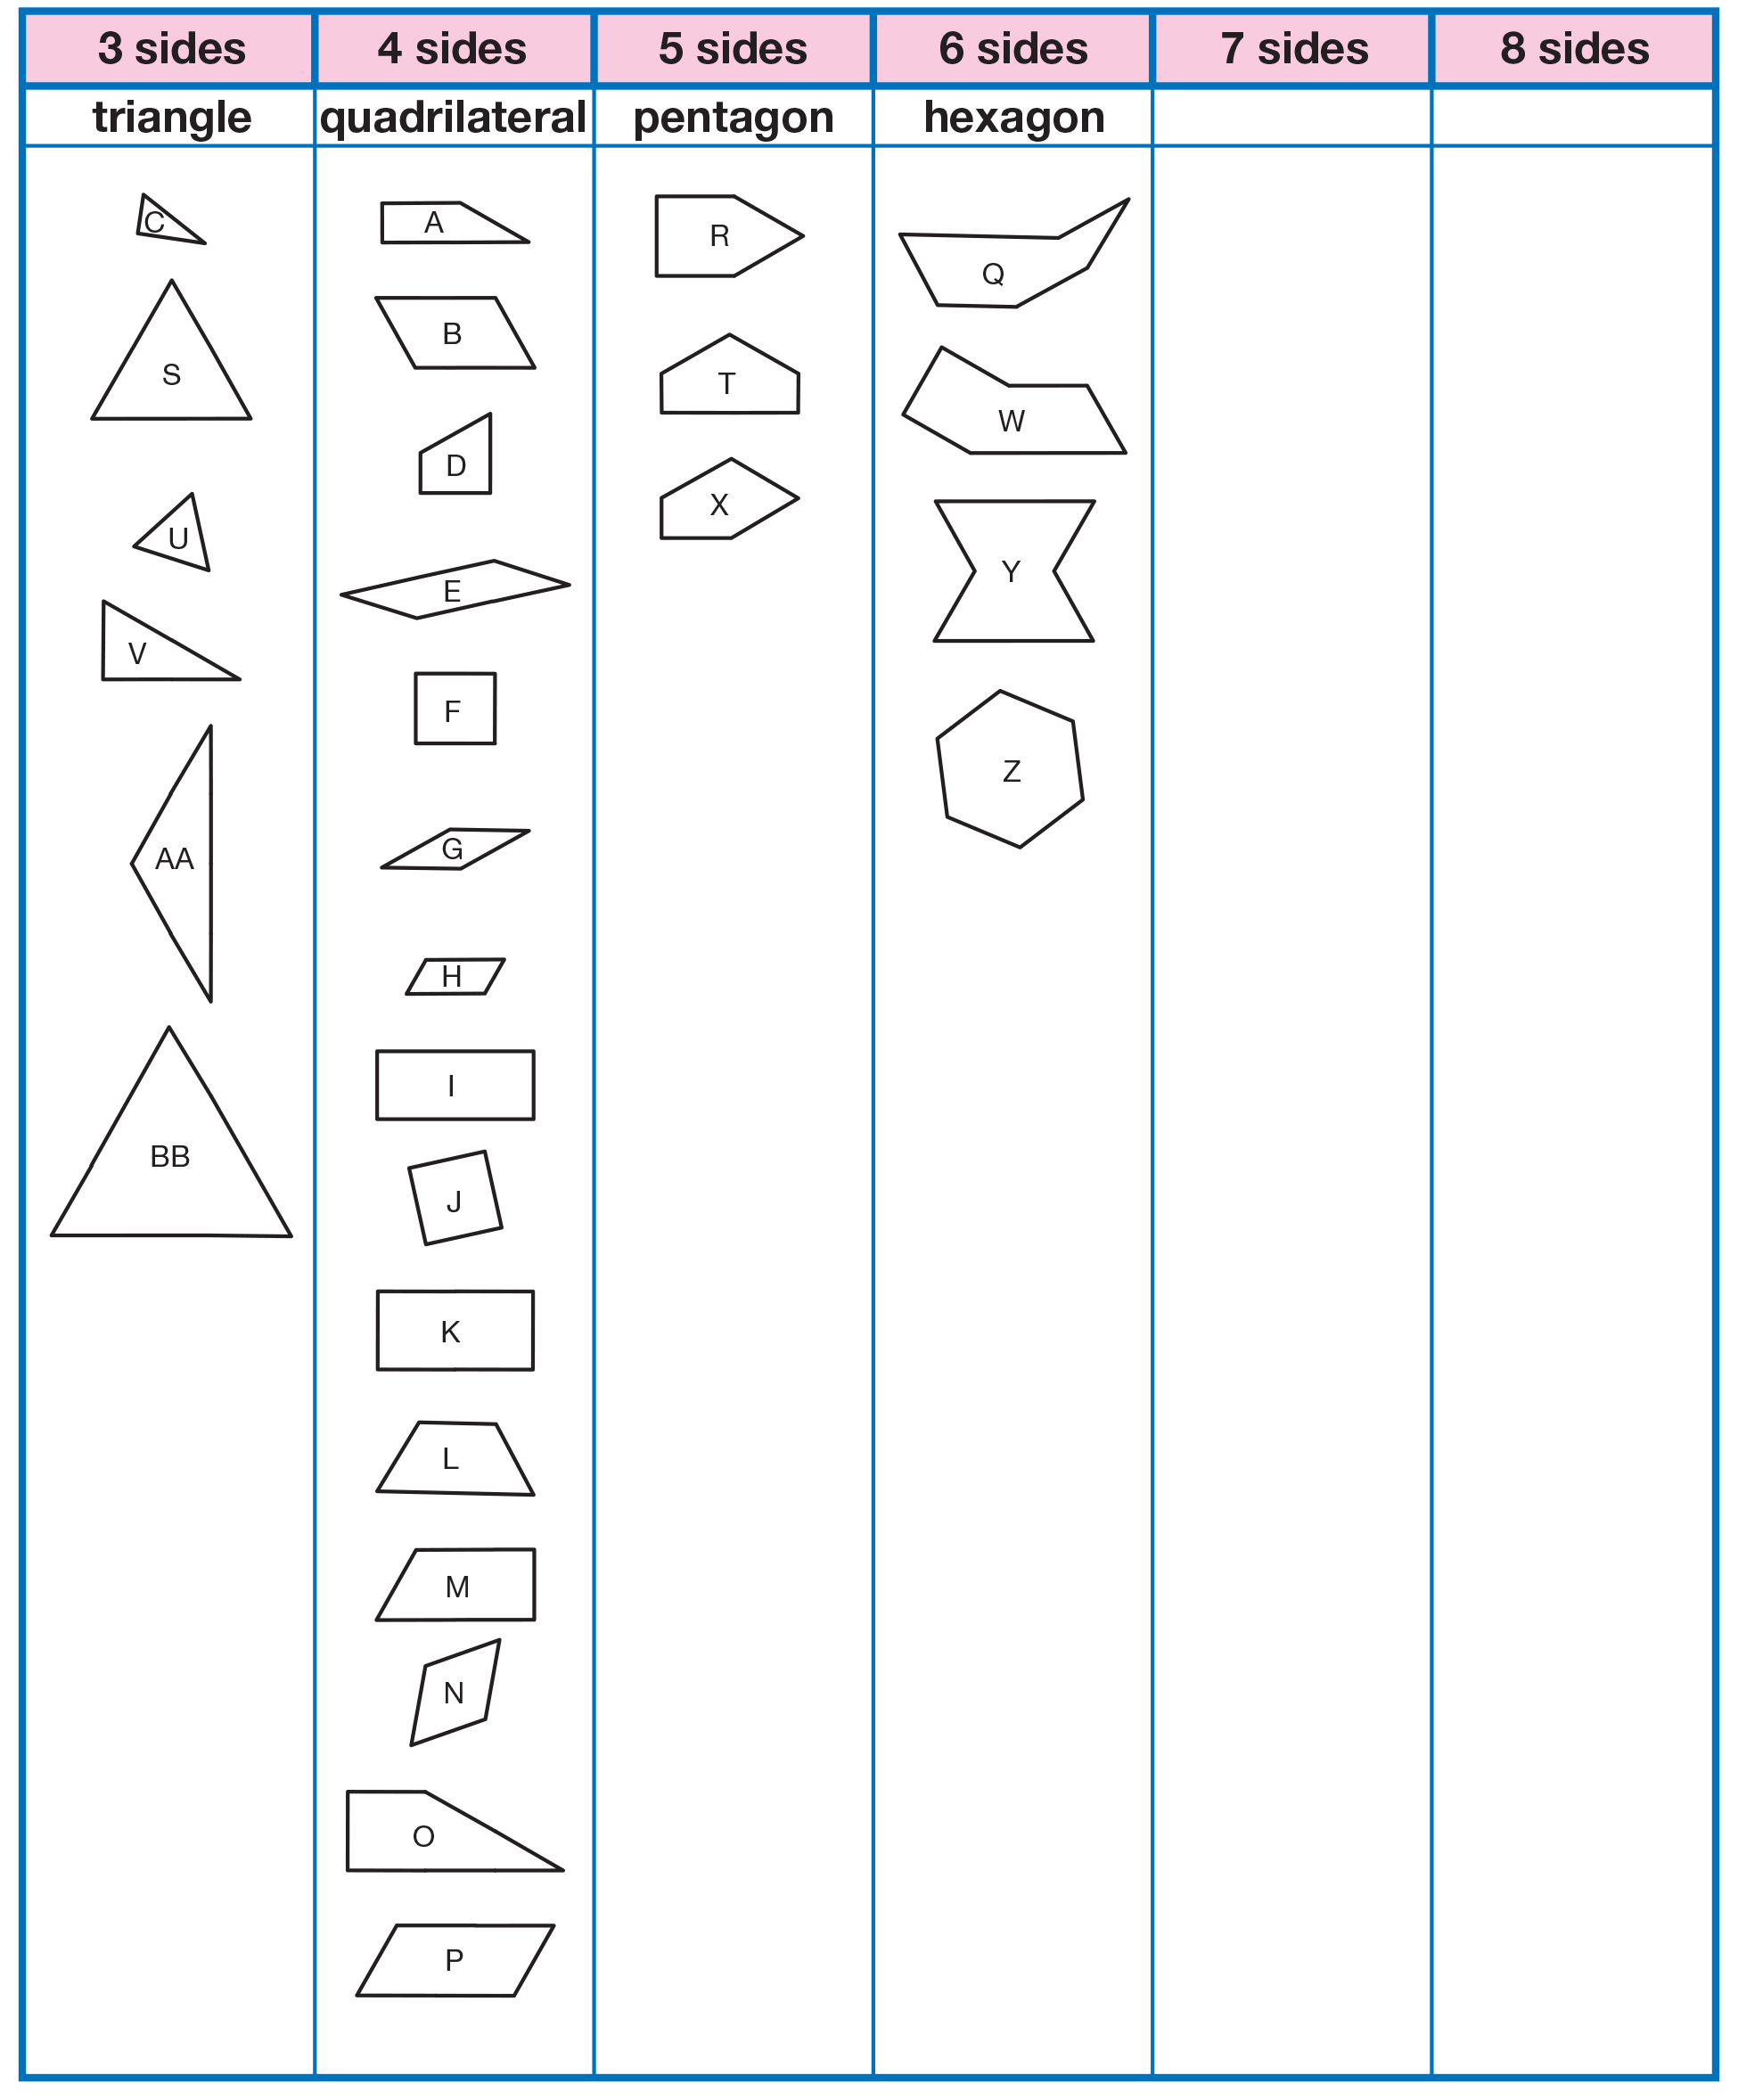
Display the Shape Sort: Sides chart you prepared prior to the lesson. See Figure 1 in Materials Preparation. As other students work, ask some volunteers to attach the shape cards from one display set to the appropriate columns on the class chart. See Figure 6.
After all students have sorted their shapes ask:
Take time to discuss any discrepancies with the class.
Then ask:
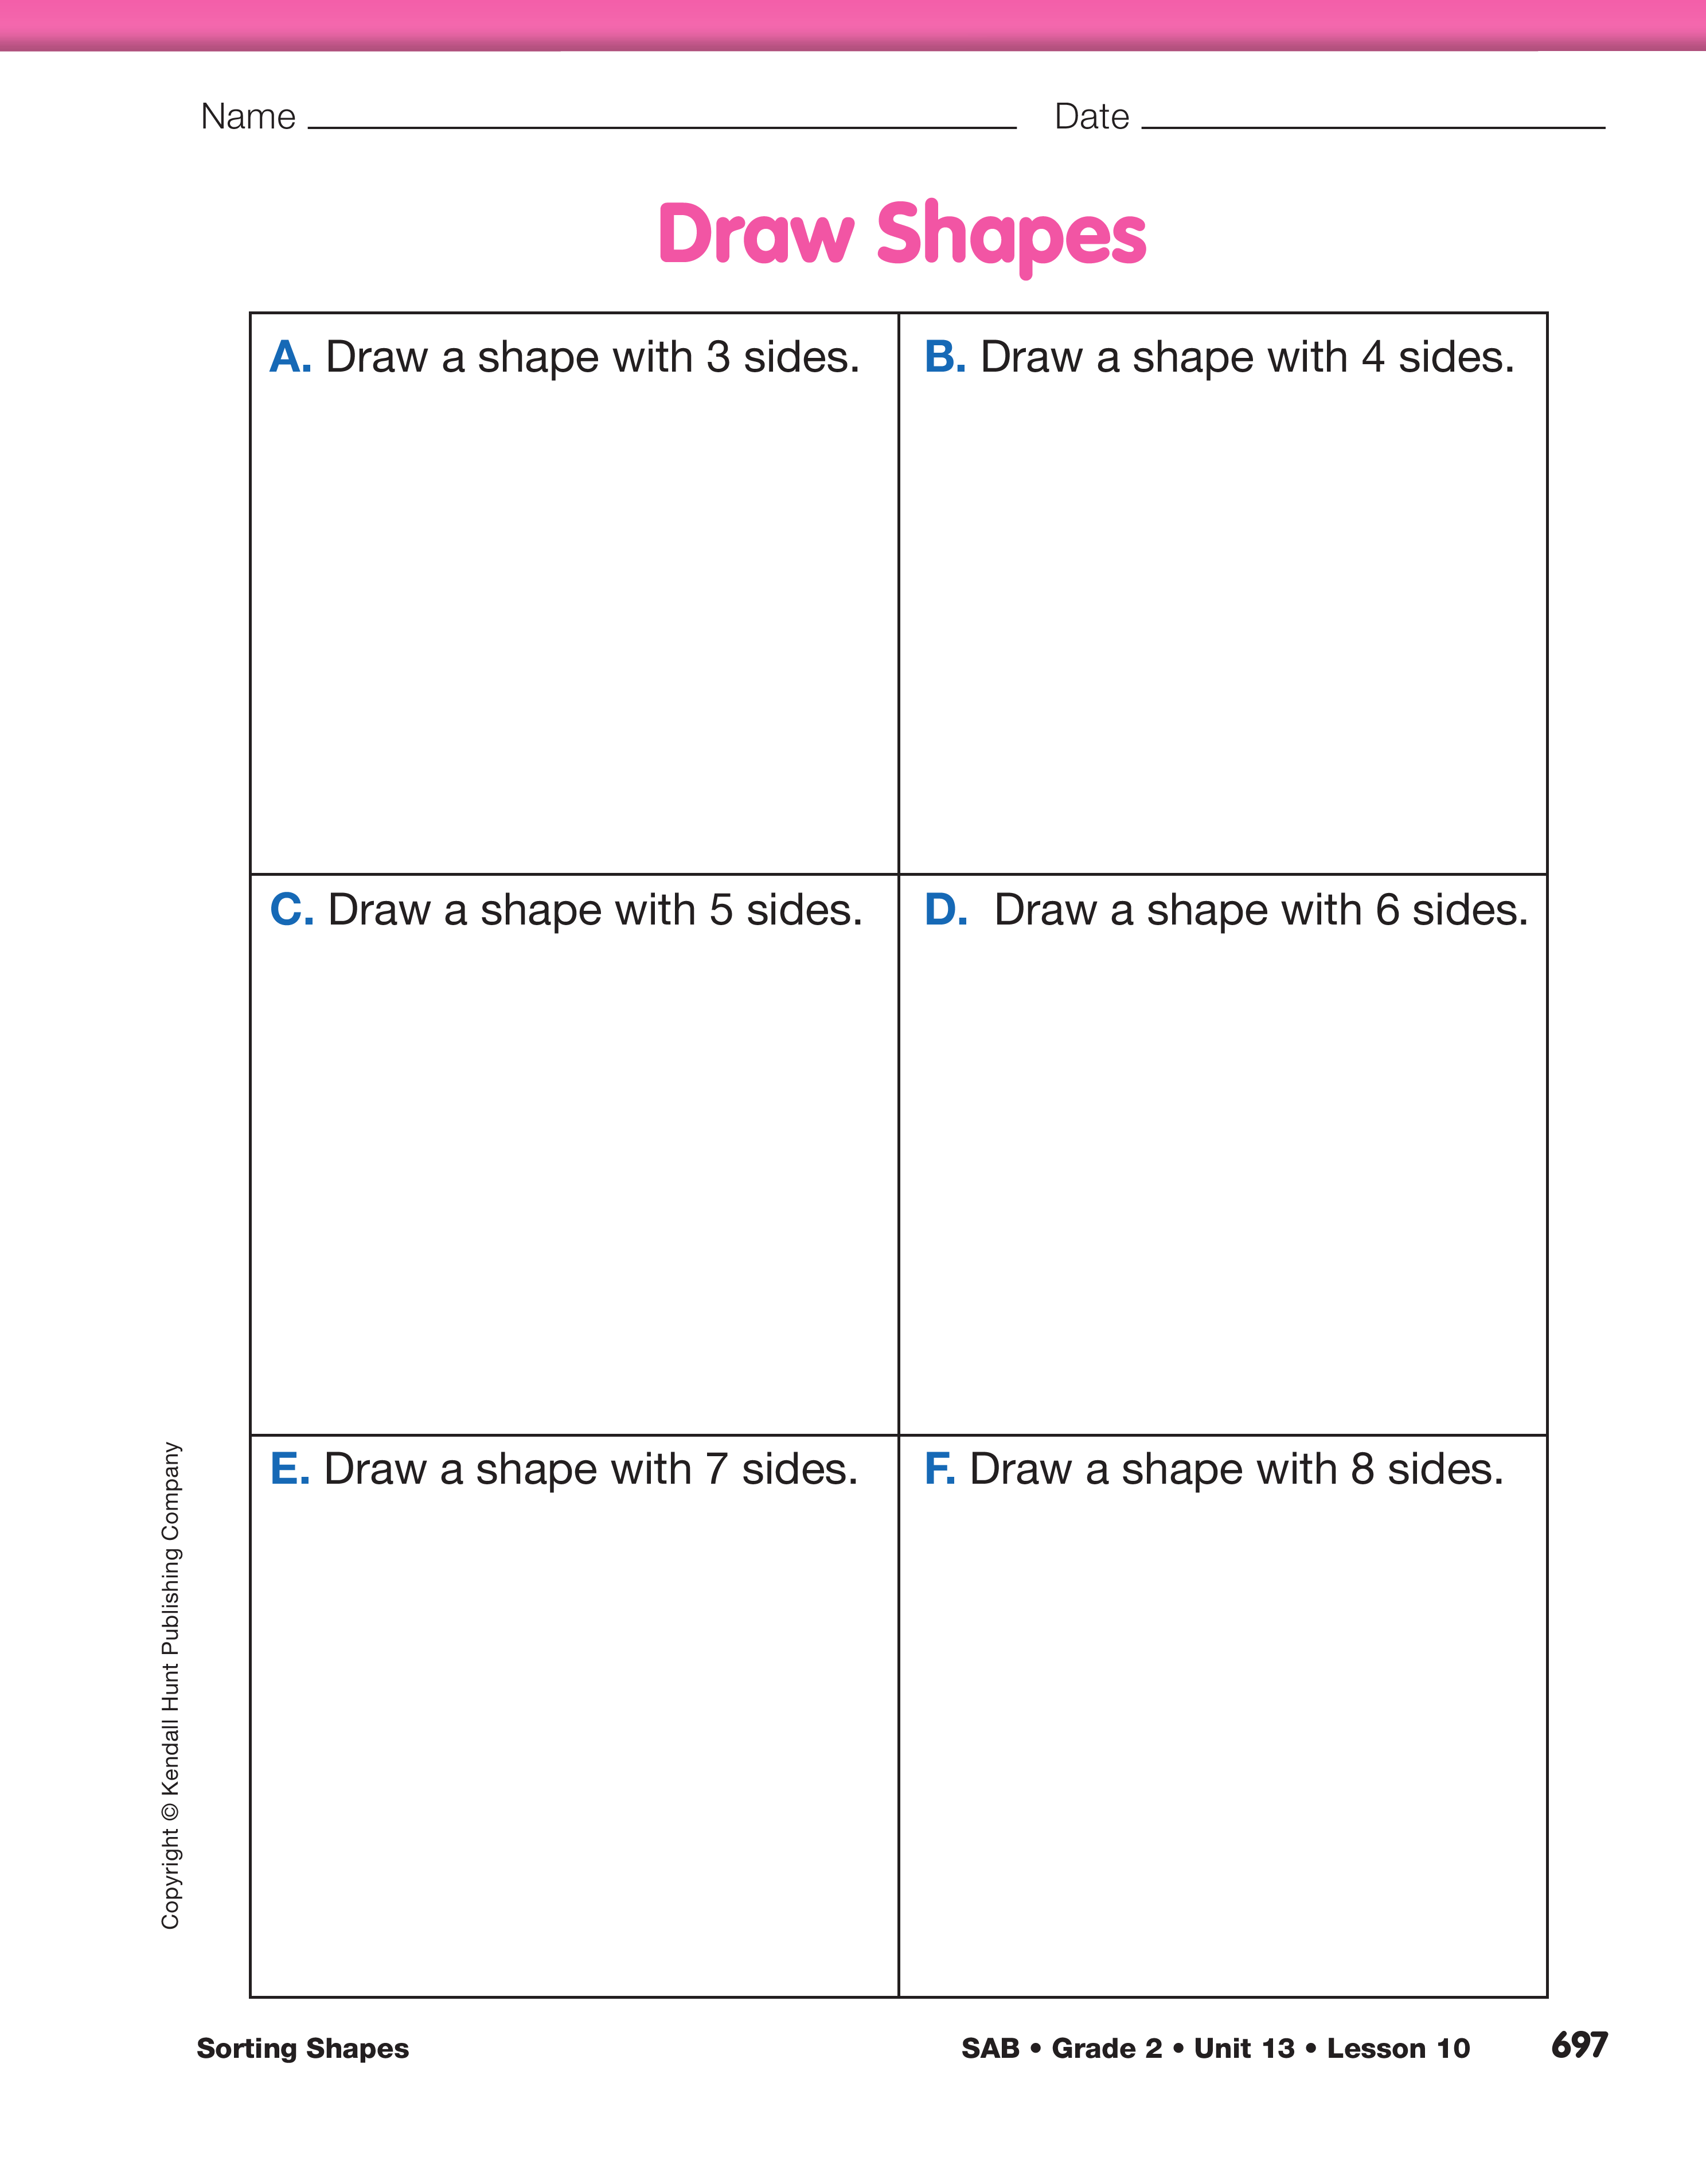
Draw Shapes. Instruct students to use rulers to draw additional examples of the shapes on the Draw Shapes page in the Student Activity Book. Ask a few volunteers to cut out and attach their drawings of 3-sided, 4-sided, 5-sided, and 6-sided shapes to the proper columns on the chart.
Next, introduce and record the following terms on the chart as shown in Figure 6:
- triangle—a flat shape with 3 straight sides
- quadrilateral—a flat shape with 4 straight sides
- pentagon—a flat shape with 5 straight sides
- hexagon—a flat shape with 6 straight sides
Point out that the prefixes of each term indicate the number of sides each shape will have.
Ask:
Verify that a septagon is a flat shape with 7 straight sides and add the term to the class chart. They are also sometimes called heptagons.
Encourage all students to try drawing a septagon on the Draw Shapes page.
Ask:
Verify that an octagon is a flat shape with 8 straight sides and add the term to the chart.
Encourage all students to try drawing an 8-sided shape on the Draw Shapes page.
Sort by Square Corners. Ask students to think about the corners or angles in shapes. Display an orange square pattern block.
Ask:
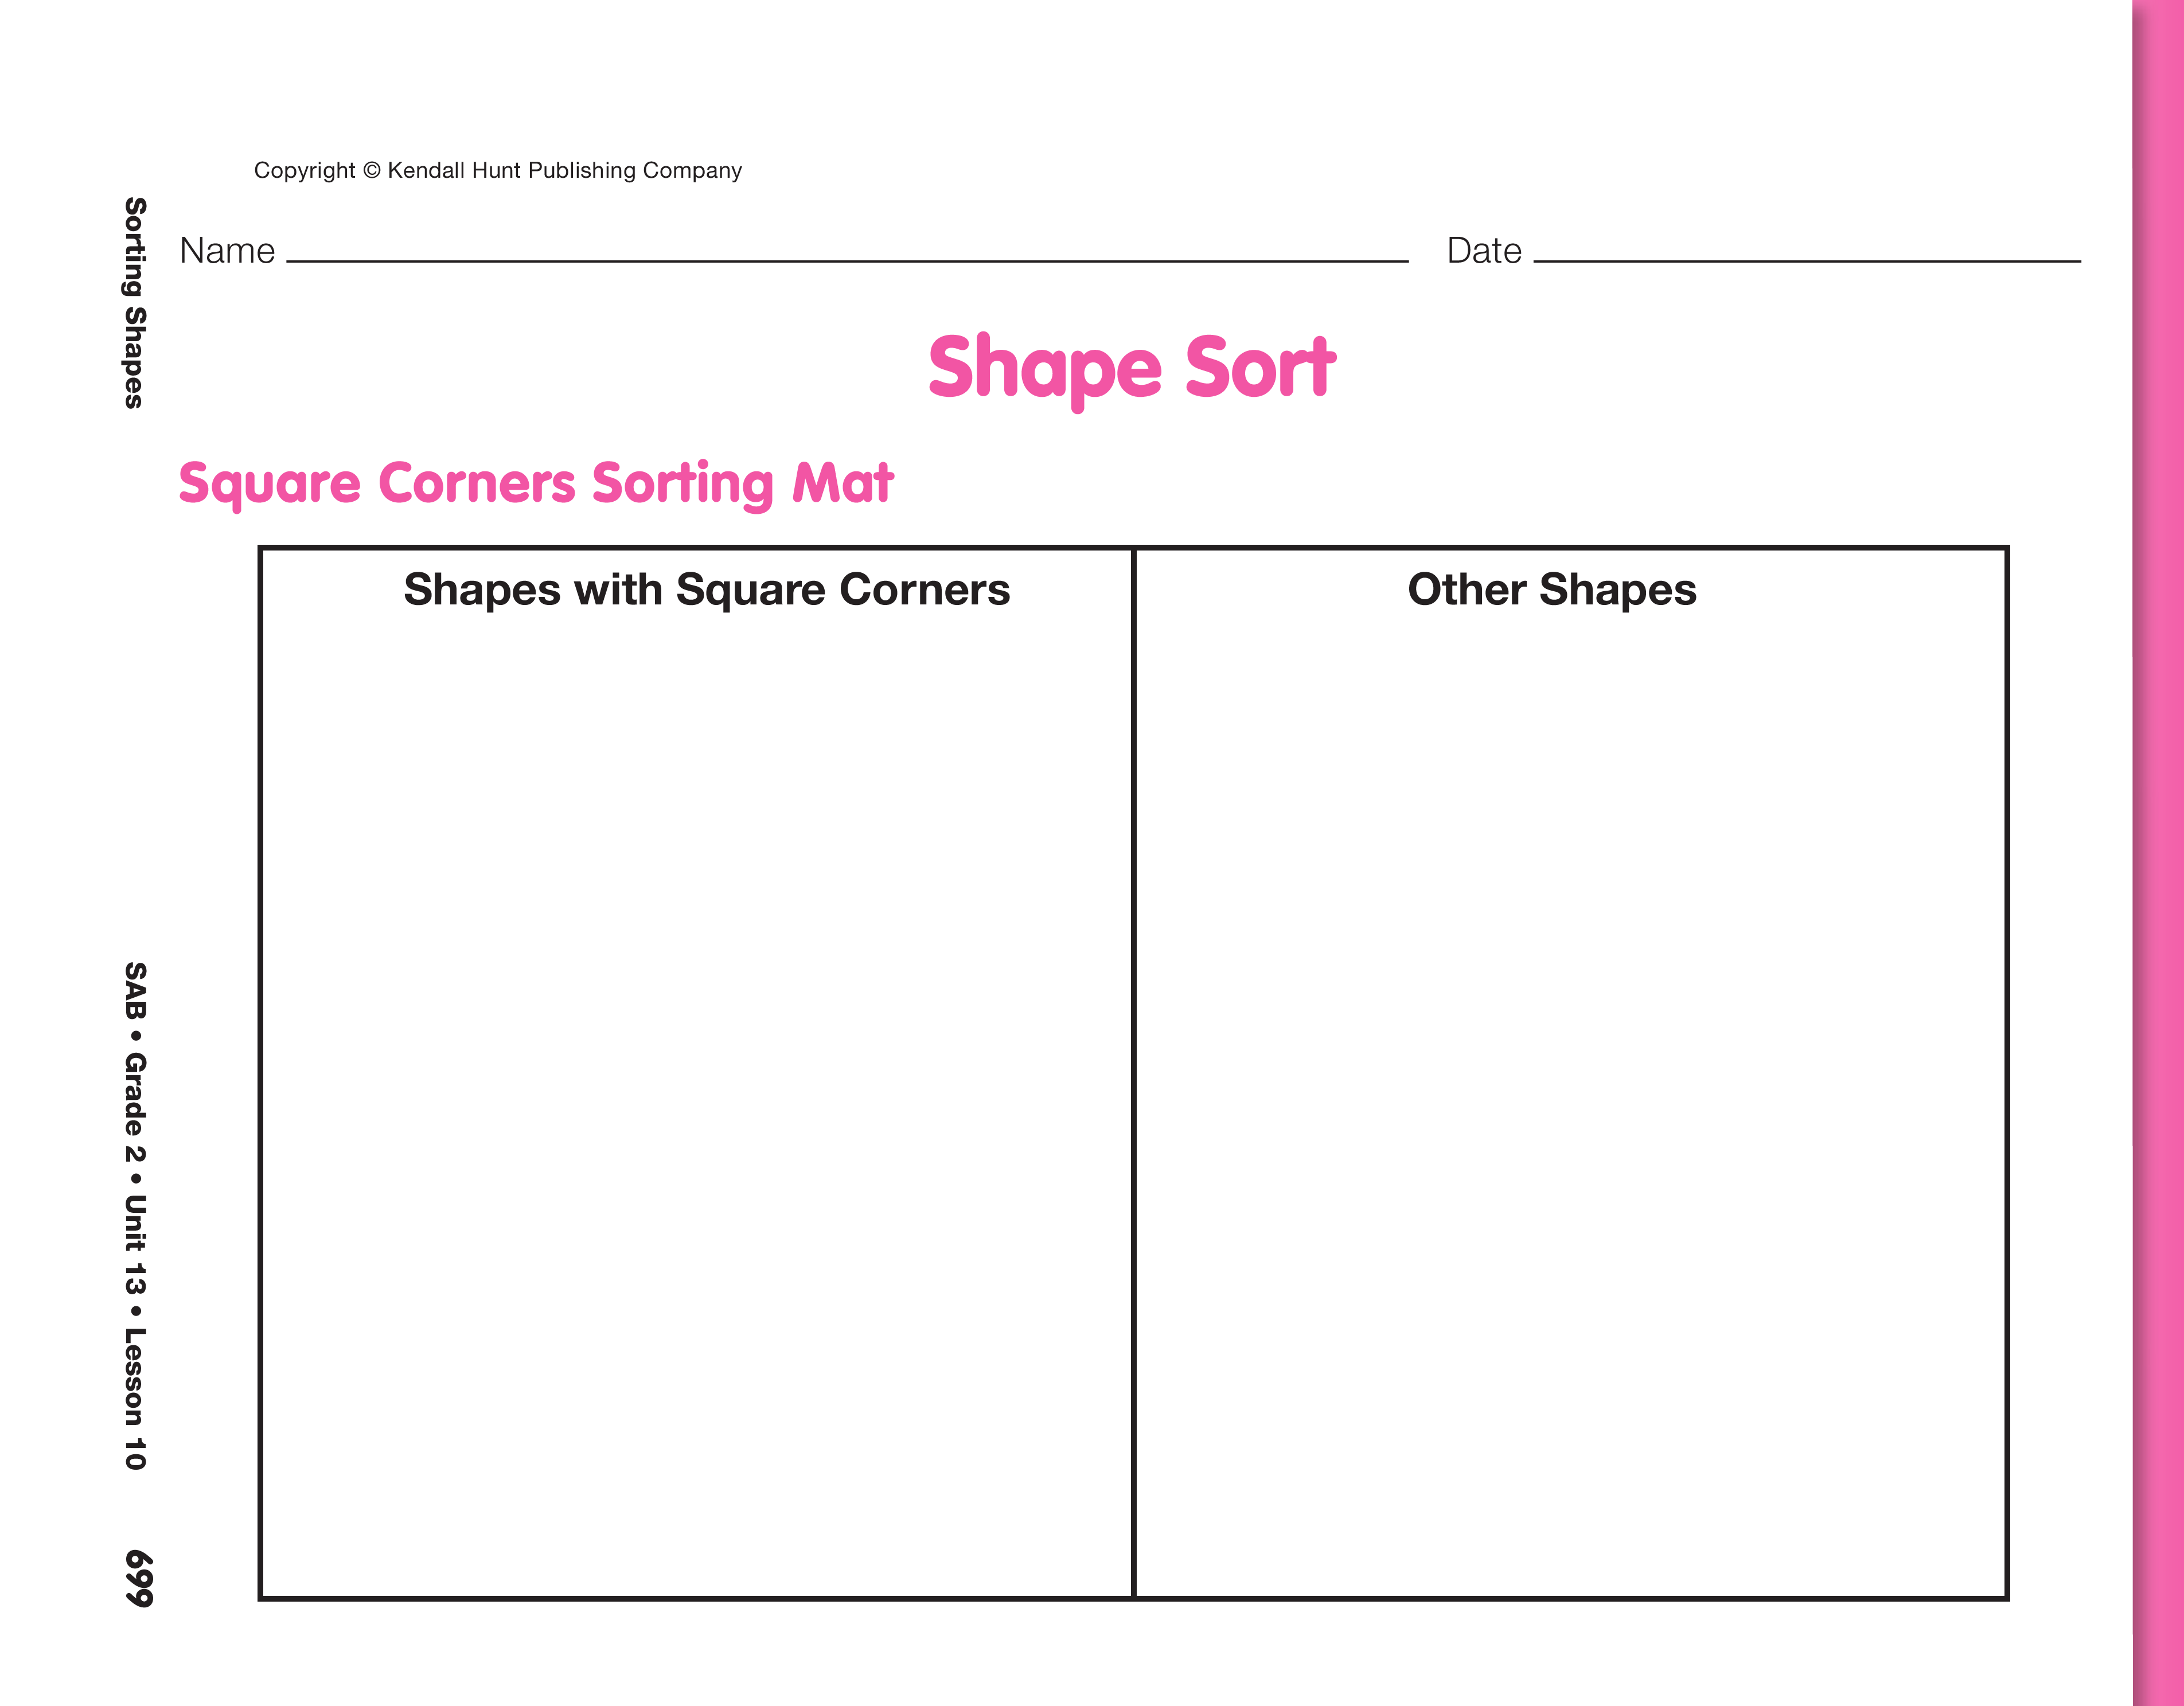
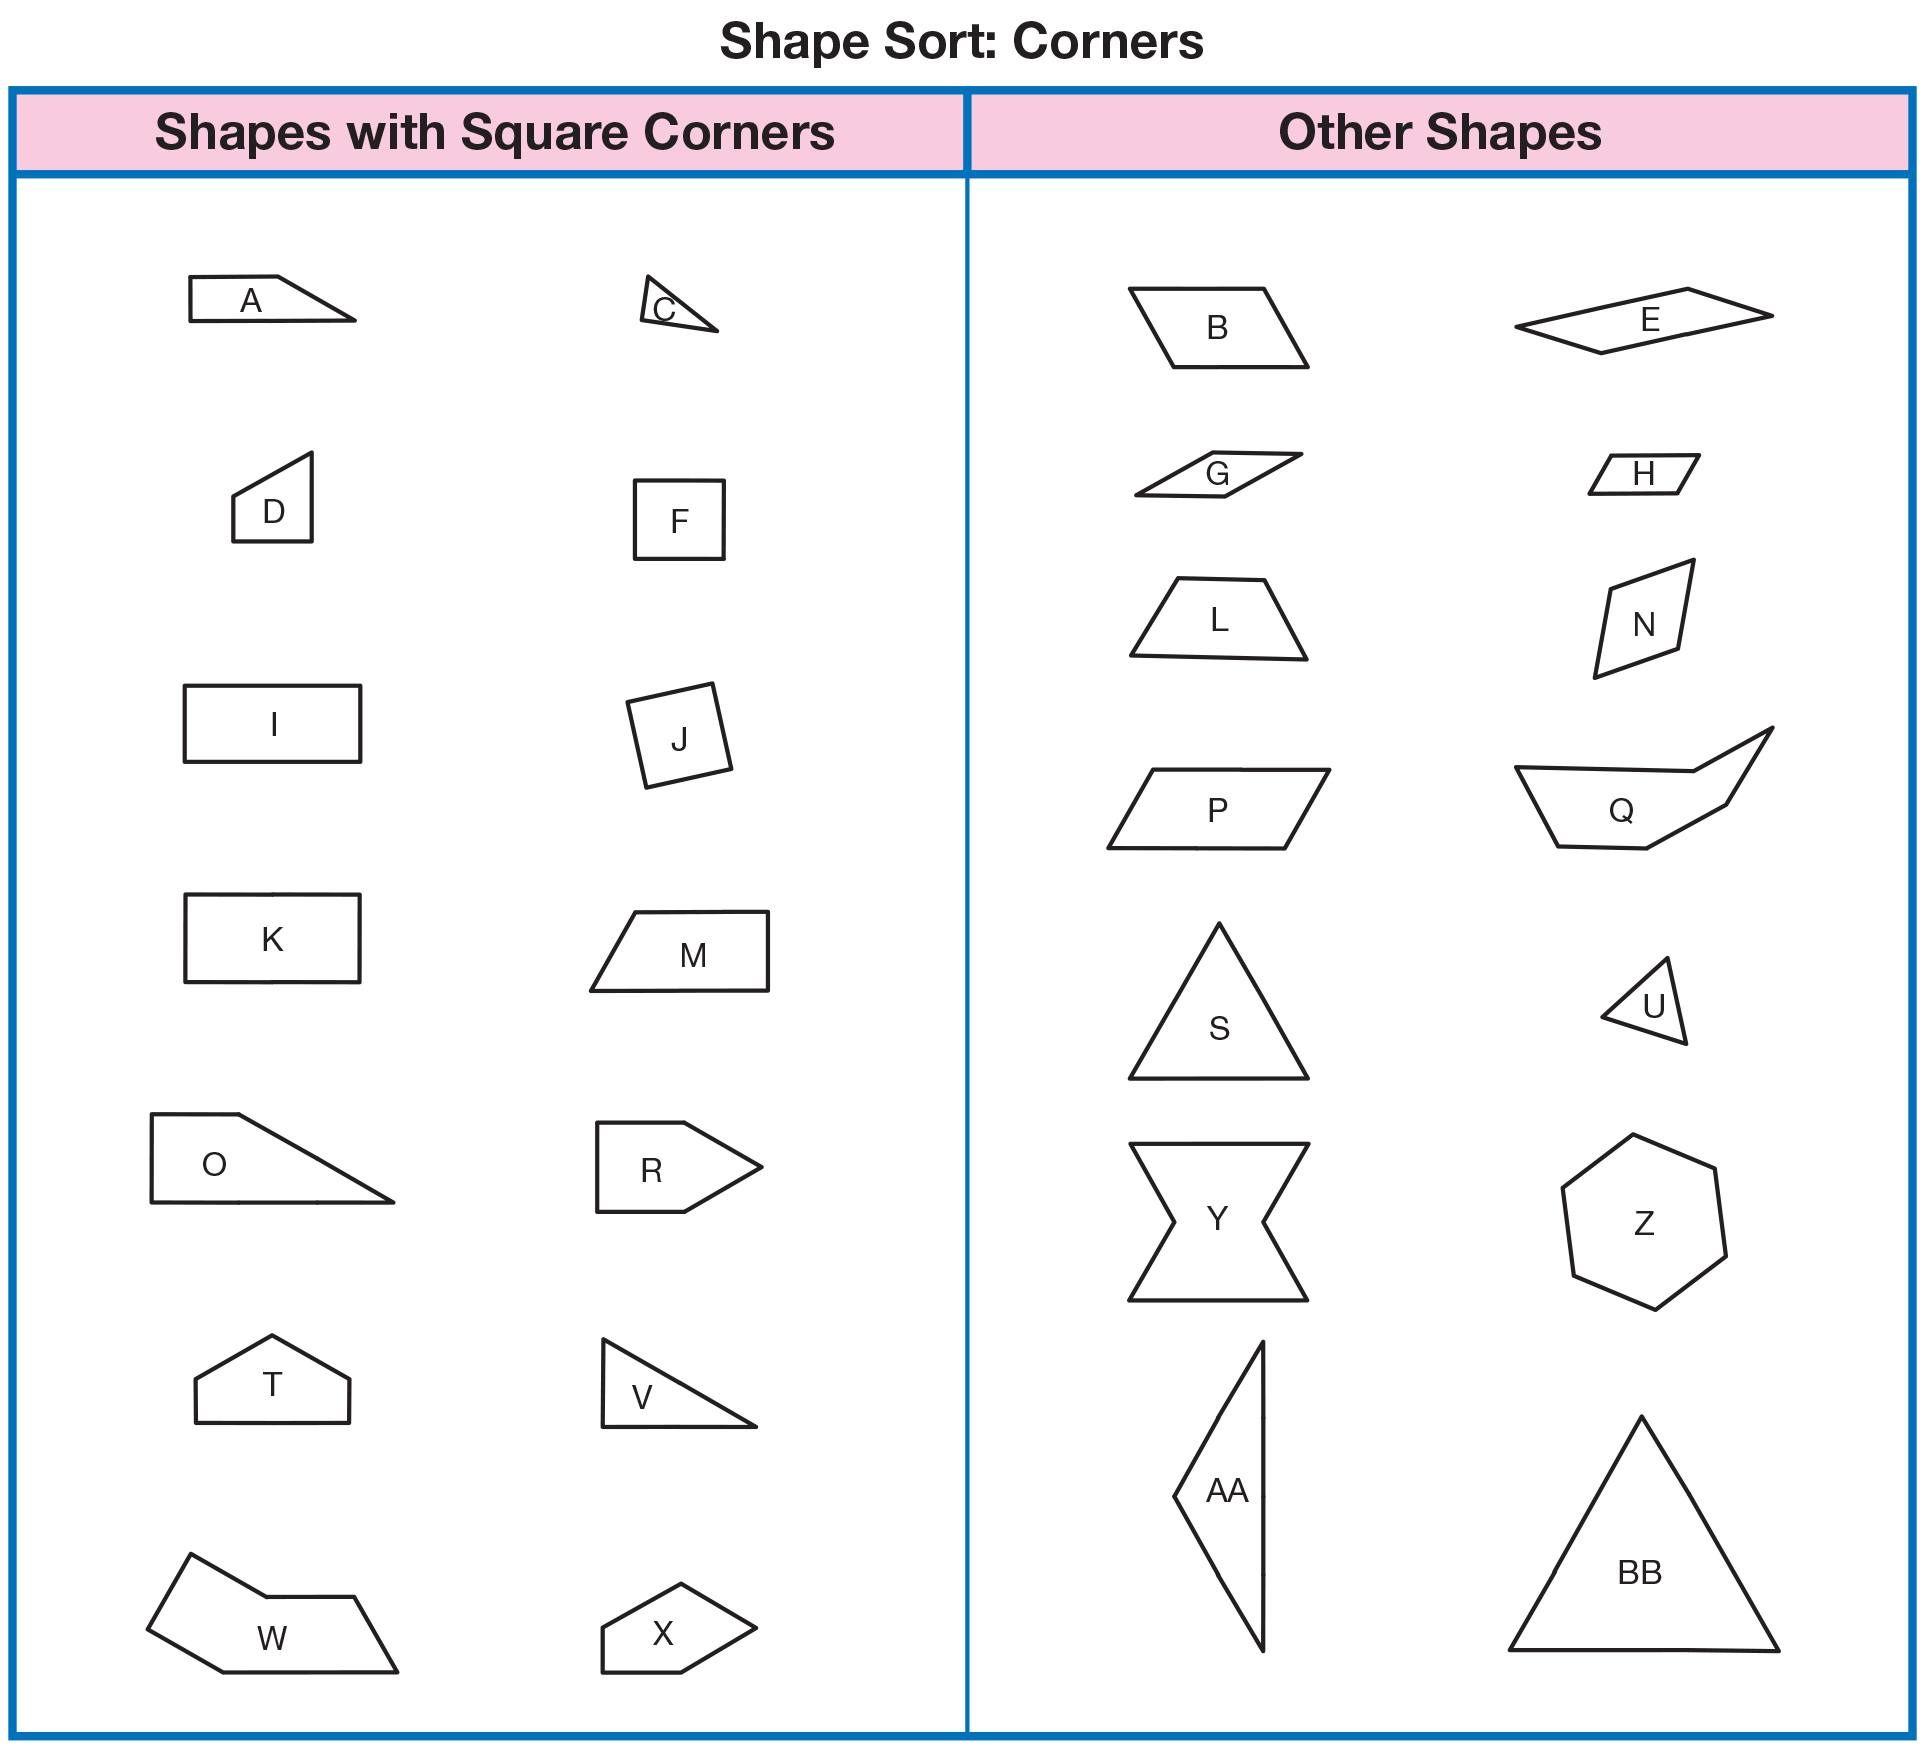
Have students put all of the shape cards back into a pile. Direct students to the Shape Sort pages in the Student Activity Book. Have students use the Square Corners Sorting Mat on the first page to help them place all the shapes that contain right angles into one pile and those that do not into another pile. Encourage students to use an orange square pattern block or the corner of a piece of paper to help them find the square corners.
Display the Shape Sort: Corners chart you prepared prior to the lesson. See Figure 2 in Materials Preparation. As other students work, ask a volunteer to attach the shape cards from one display set to the appropriate columns on the class chart. See Figure 9.
After all students have sorted their cards, ask students to compare their sort to the sort displayed on the class chart and discuss any discrepancies students see. Then ask students to look at the shapes that have right angles.
Ask:
Sort by Parallel Sides. Tell students they are now going to think about parallel sides. Display some pattern blocks such as the blue rhombus, yellow hexagon, and red trapezoid.
Ask:
Explain that what you mean by opposite sides is the sides of a figure that are directly across from each other.
Ask:
Demonstrate two ways to show parallel lines. First, display a blue rhombus and use a ruler to extend the rhombus' lines. See Figure 12.
Ask:
Remind students that these are parallel lines. Parallel lines remain the same distance apart over their entire length, like a railroad track. Explain that no matter how far you extend them, they will never meet.
Next, ask students to line up several blue rhombuses. Have them take their fingers and trace the line formed along the top of the shape and the line formed along the bottom of the shape as you demonstrate. See Figure 13.
Ask:
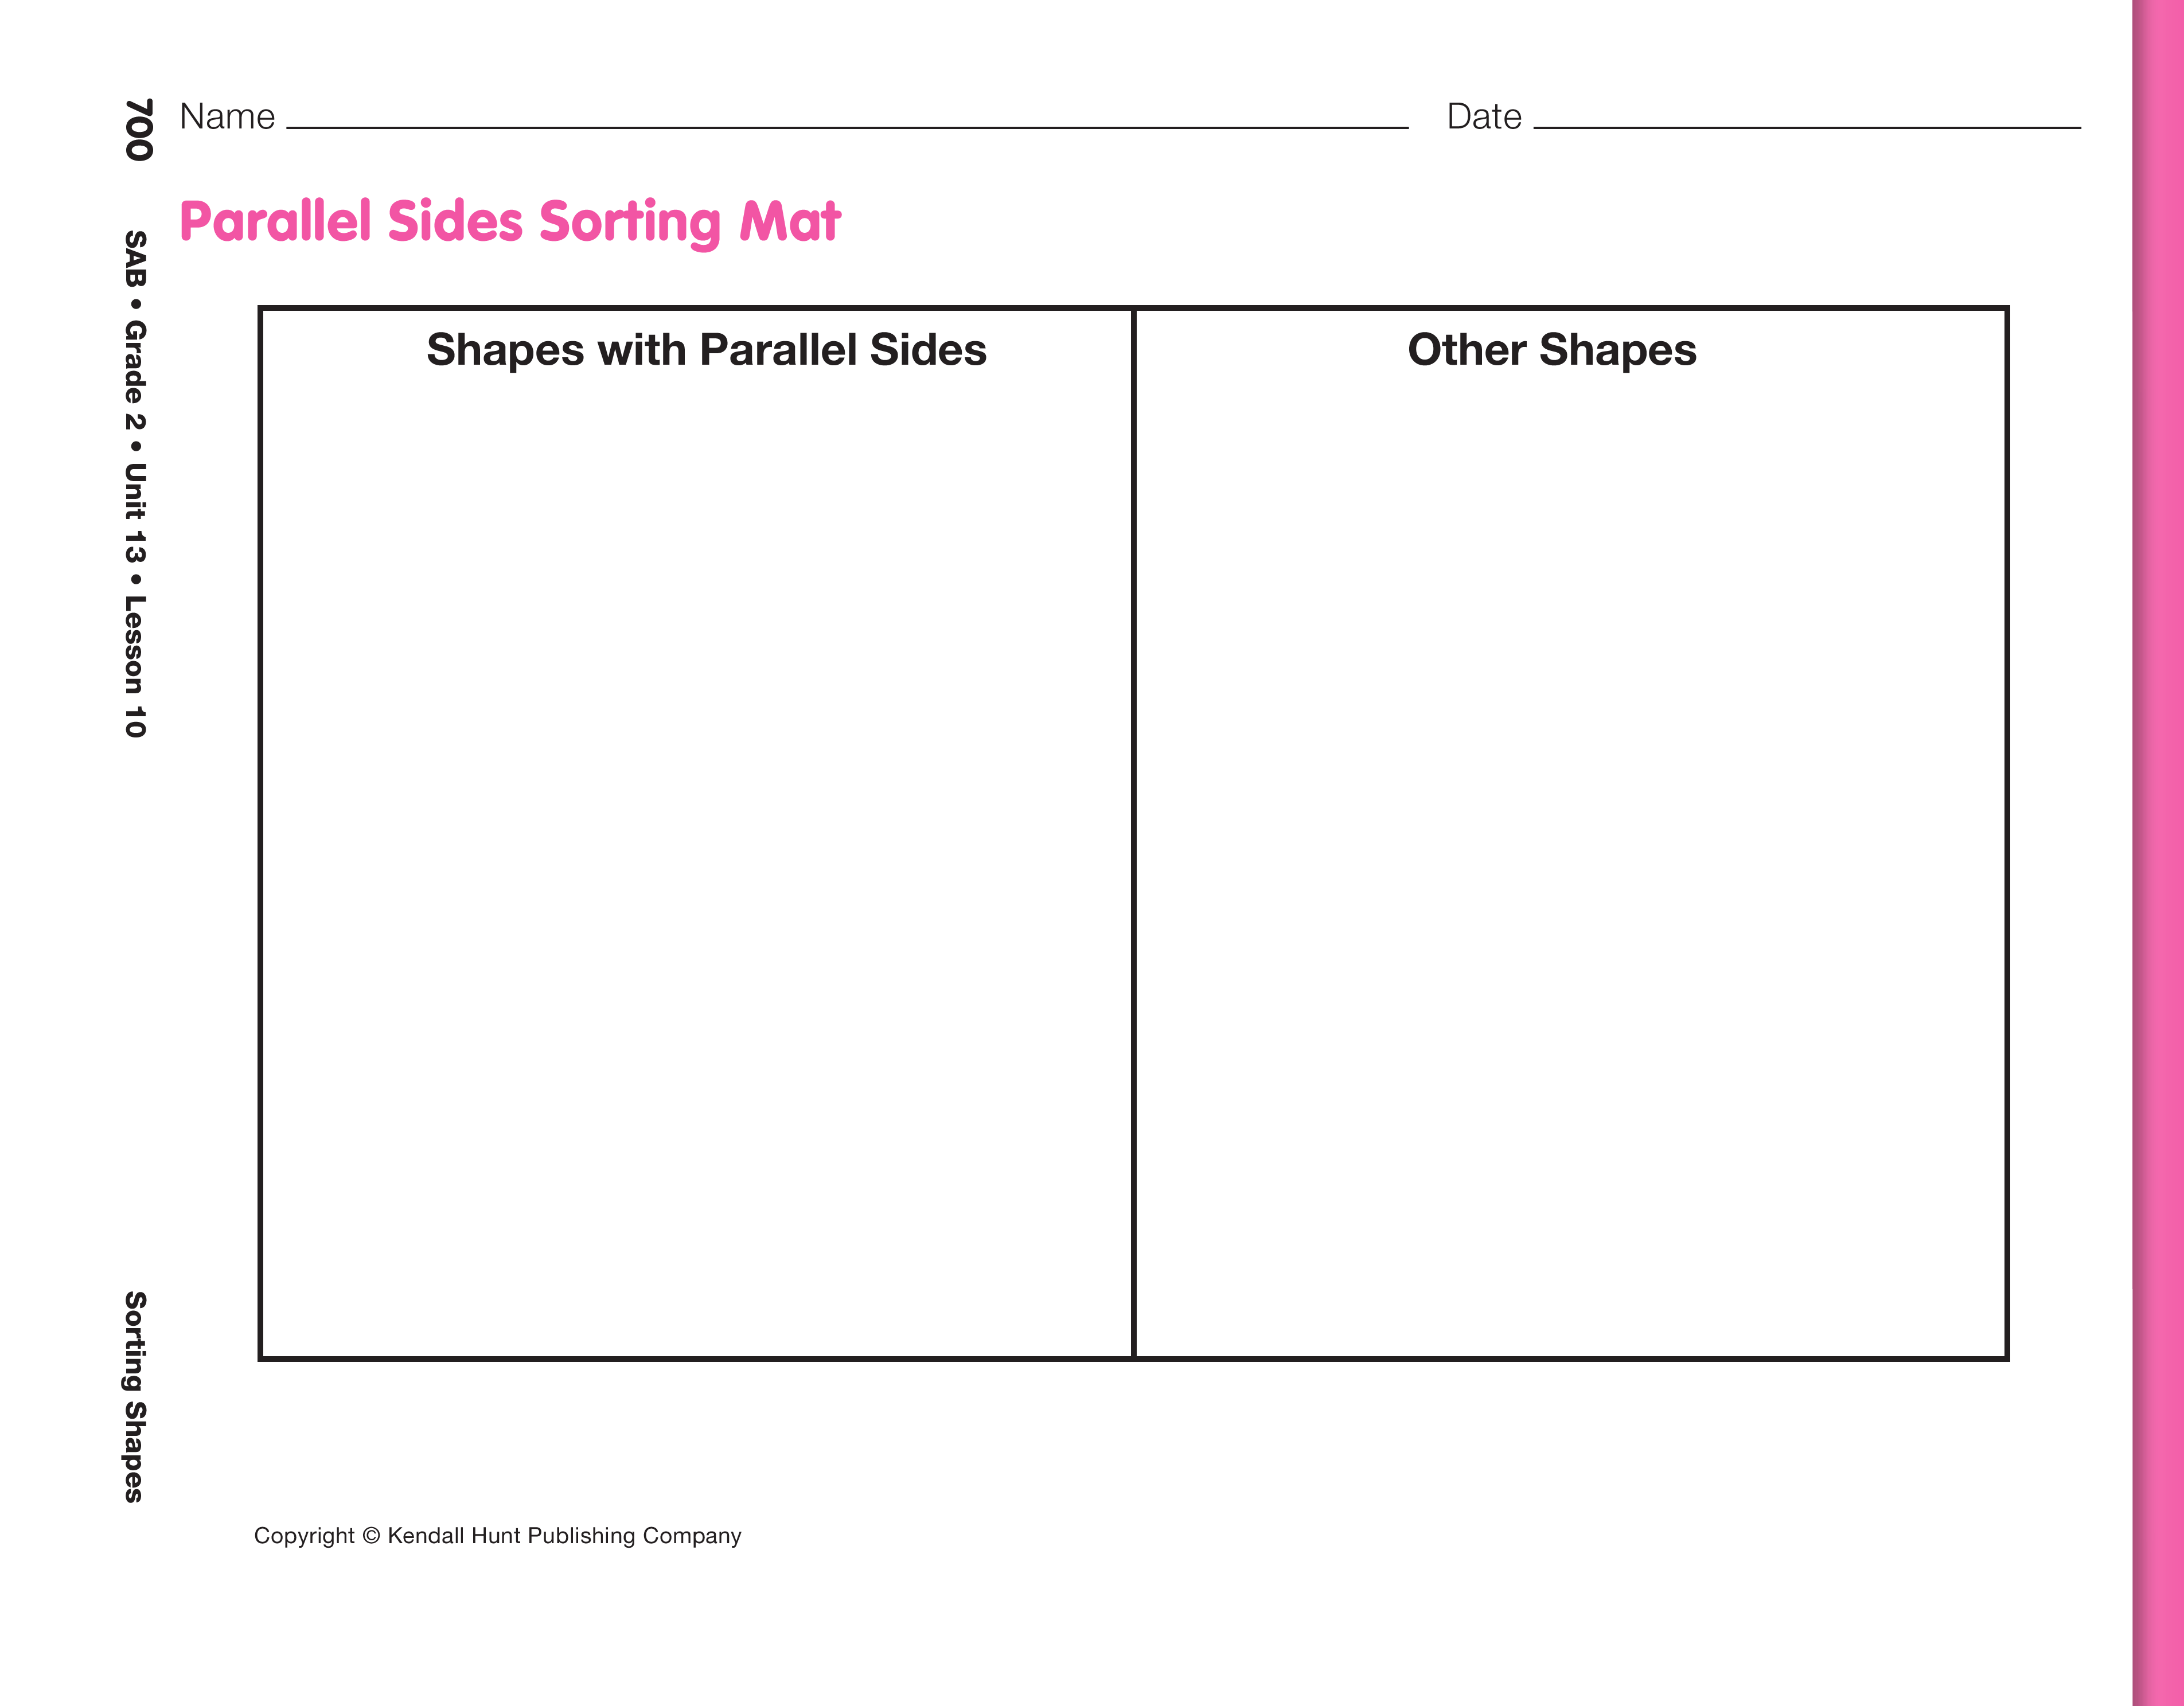
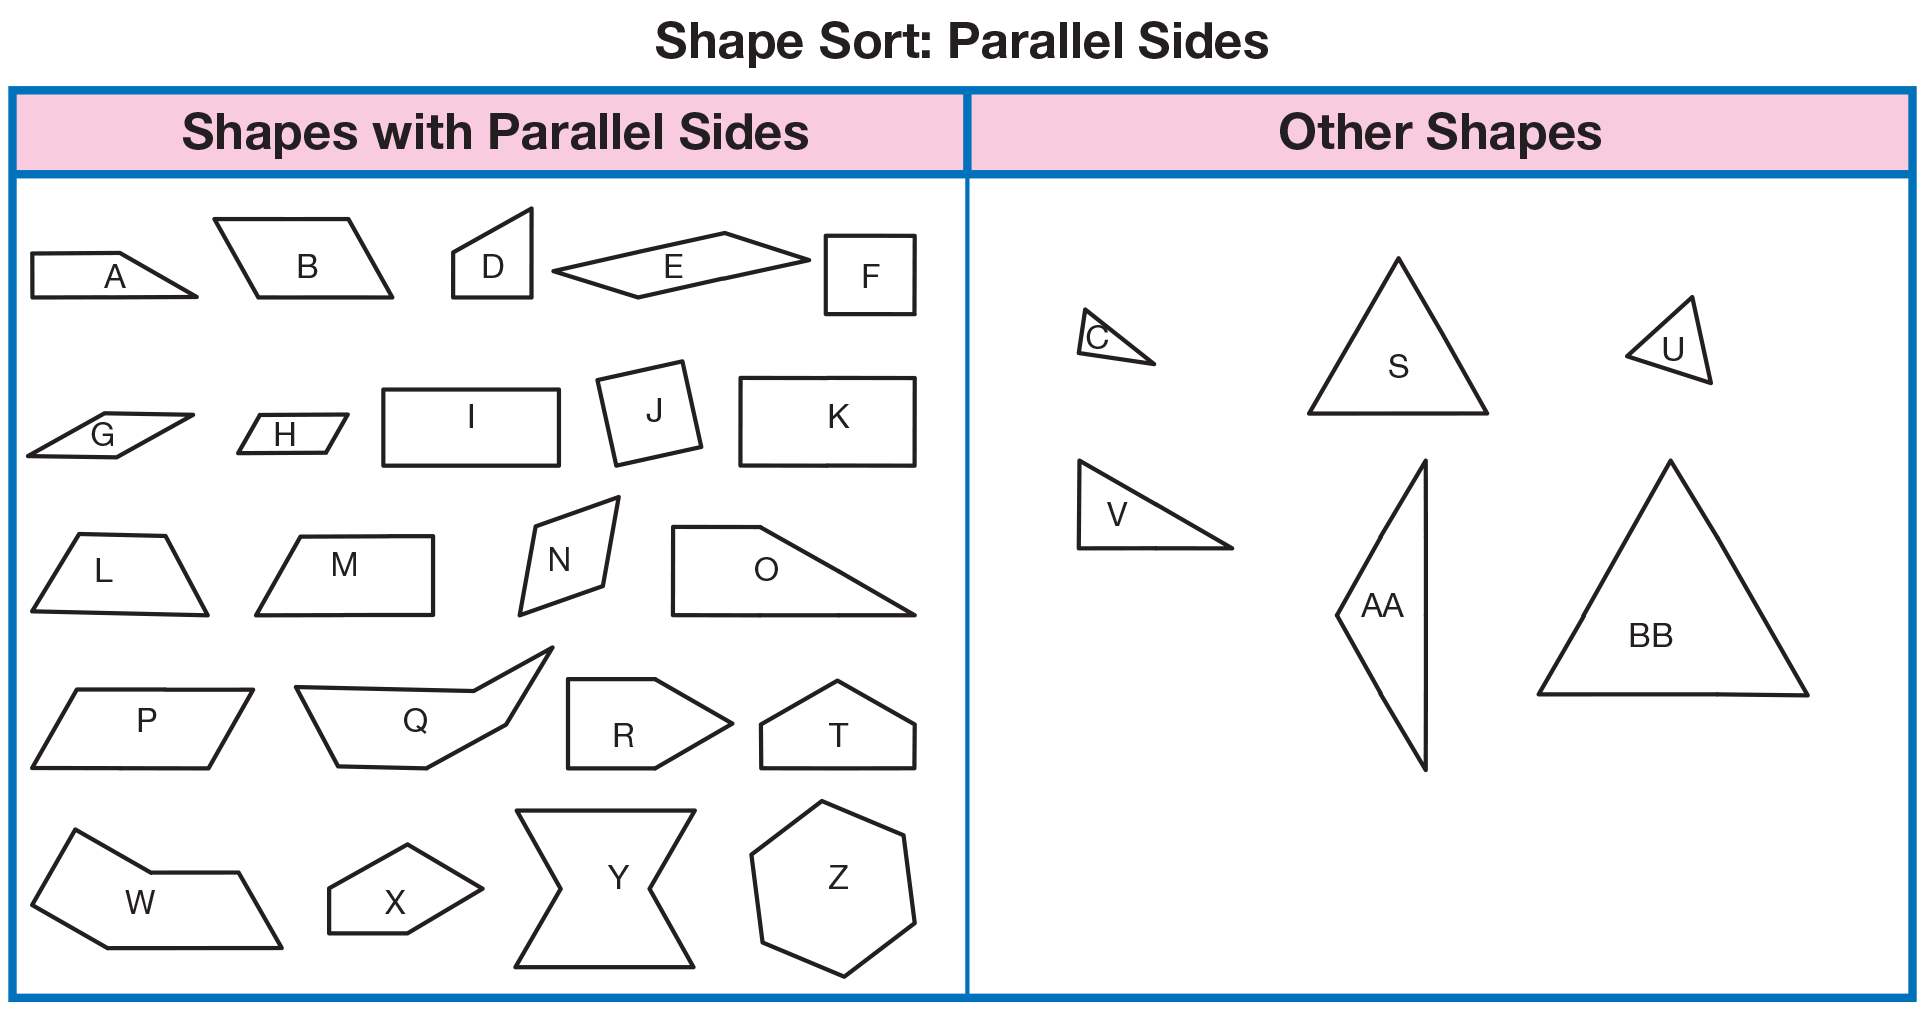
Direct students to the Parallel Sides Sorting Mat on the Shape Sort pages in the Student Activity Book. Tell students to put all of the shape cards back into a pile. Ask them to think about parallel sides as they use the mat to help them sort, putting the shapes containing parallel sides in one pile and those that do not in another pile.
Display the Shape Sort: Parallel Sides chart you prepared prior to the lesson. See Figure 3 in Materials Preparation. As other students work, ask a volunteer to attach the shape cards from one display set to the appropriate columns on the class chart. See Figure 14.
After all students have sorted their cards, have students compare their sort to the sorted displayed on the class chart and discuss any discrepancies. Then ask volunteers to display shape cards that show shapes containing parallel sides. Have them indicate the parallel sides to the class.


