Angles in Polygons
Est. Class Sessions: 3Developing the Lesson
Part 3. Triangles
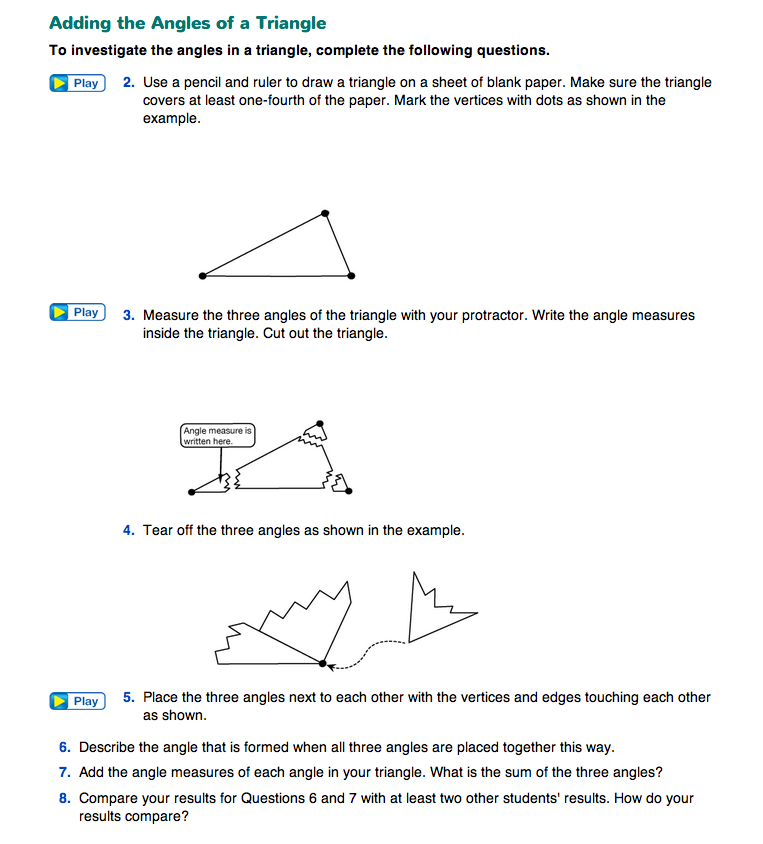
Adding the Angles of a Triangle.
Begin a transition to this part of the lesson by asking:
Explain that there are special relationships between the angles on the inside of a polygon. To start investigating these relationships, it will be easiest to look at the triangle.
Direct students to Questions 2–7 in the Adding the Angles of a Triangle section the of Angles in Polygons pages in the Student Guide. Following the directions, students should find that the sum of the angle measures in their triangle is close to 180 degrees, or a straight angle. Students compare their visual inspection of the sum of the angles (Question 6) with their calculated result (Question 7).
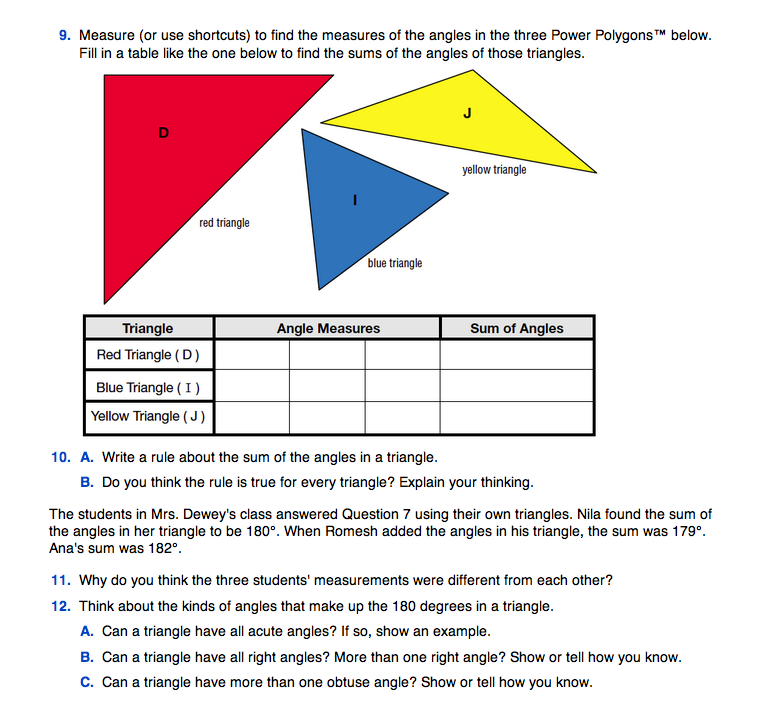
In Question 8, students compare their results with other students. They should discover a pattern that every triangle measured shares a similar result. Students test this pattern with triangles from their sets of Power Polygons™ and write a rule (Questions 9 and 10). As students discuss and write answers for Question 11, introduce the concept of measurement error. Students may respond that the measurements were different because Romesh and Ana “made mistakes measuring the angles.”
Probe these responses more deeply by asking:
Use Question 12 to lead a class discussion about the combinations of angles that can be found in triangles. Ask students to justify their answers based on their rules about the sum of angles in a triangle. Ask questions similar to those in the Sample Dialog for Question 12C.
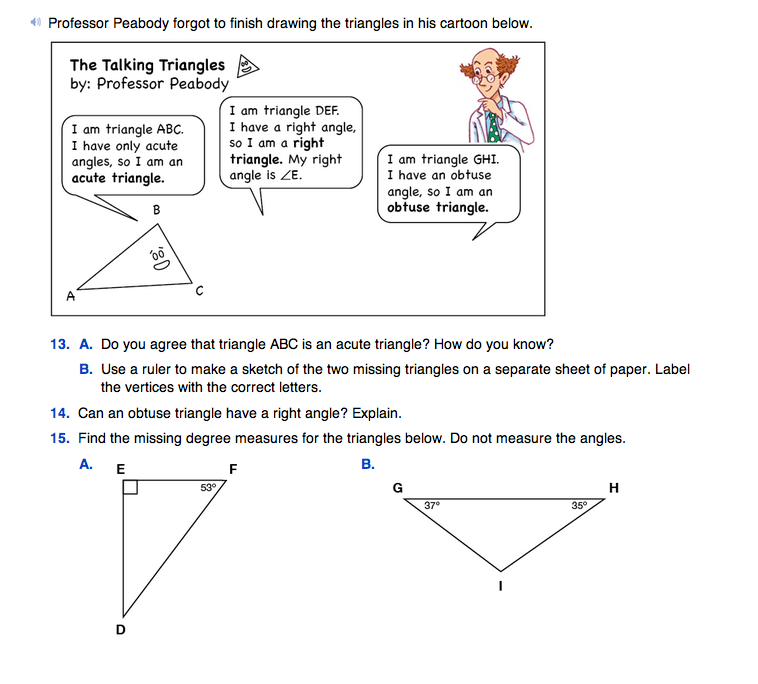
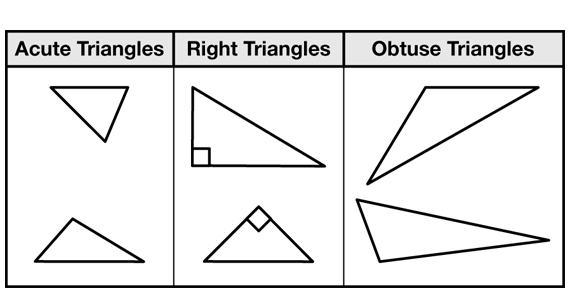
Classify Triangles. In Question 13 in the Student Guide, students are introduced to classifying triangles based on their angles. Figure 7 shows these three types of triangles.
Question 13B is most students' first opportunity to draw triangles in this unit. Help students with this task with a few reminders.
- Use a ruler to draw the line segments.
- Make sure the ends of their line segments touch, but do not cross.
- Draw a light sketch to show the angles and sides correctly before retracing the triangle more boldly.
- Check angle sizes by comparing them to a right angle.
- Label the vertex points with letters.
In Question 14, students use what they have learned about the sums of angles in triangles to again reason about the combinations of angles in a triangle. An obtuse triangle cannot have a right angle because the sum of the obtuse angle and a right angle already exceed 180°.
Find the Missing Angle. Have students work with partners to solve the problems in Question 15. Students apply the rule about triangle sums to find the missing measures of angles in a triangle. Introduce these problems with the whole class to help students engage with the mathematics.
Ask:
From this point, allow students to develop their own solution paths to find the missing angle. Students may use flexible strategies to represent and solve the computation. After students have found solutions to both problems, select a few students to share their strategies with the whole class.
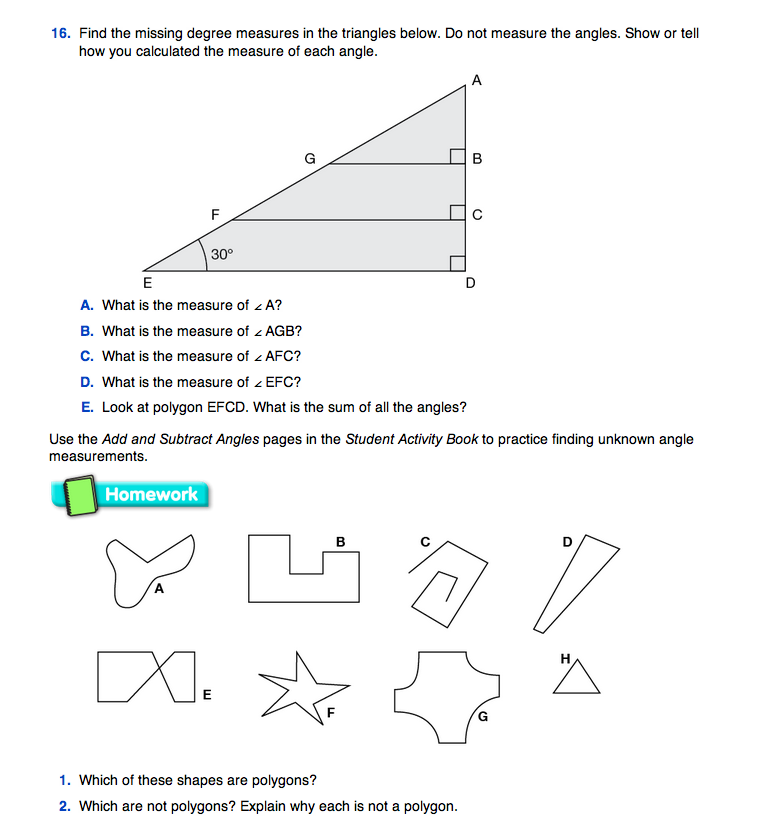
After students have shared their solutions, challenge student pairs to find the missing angles in the triangle in Question 16. Students should use what they know about the sum of the angles of a triangle and that a straight angle is 180°.
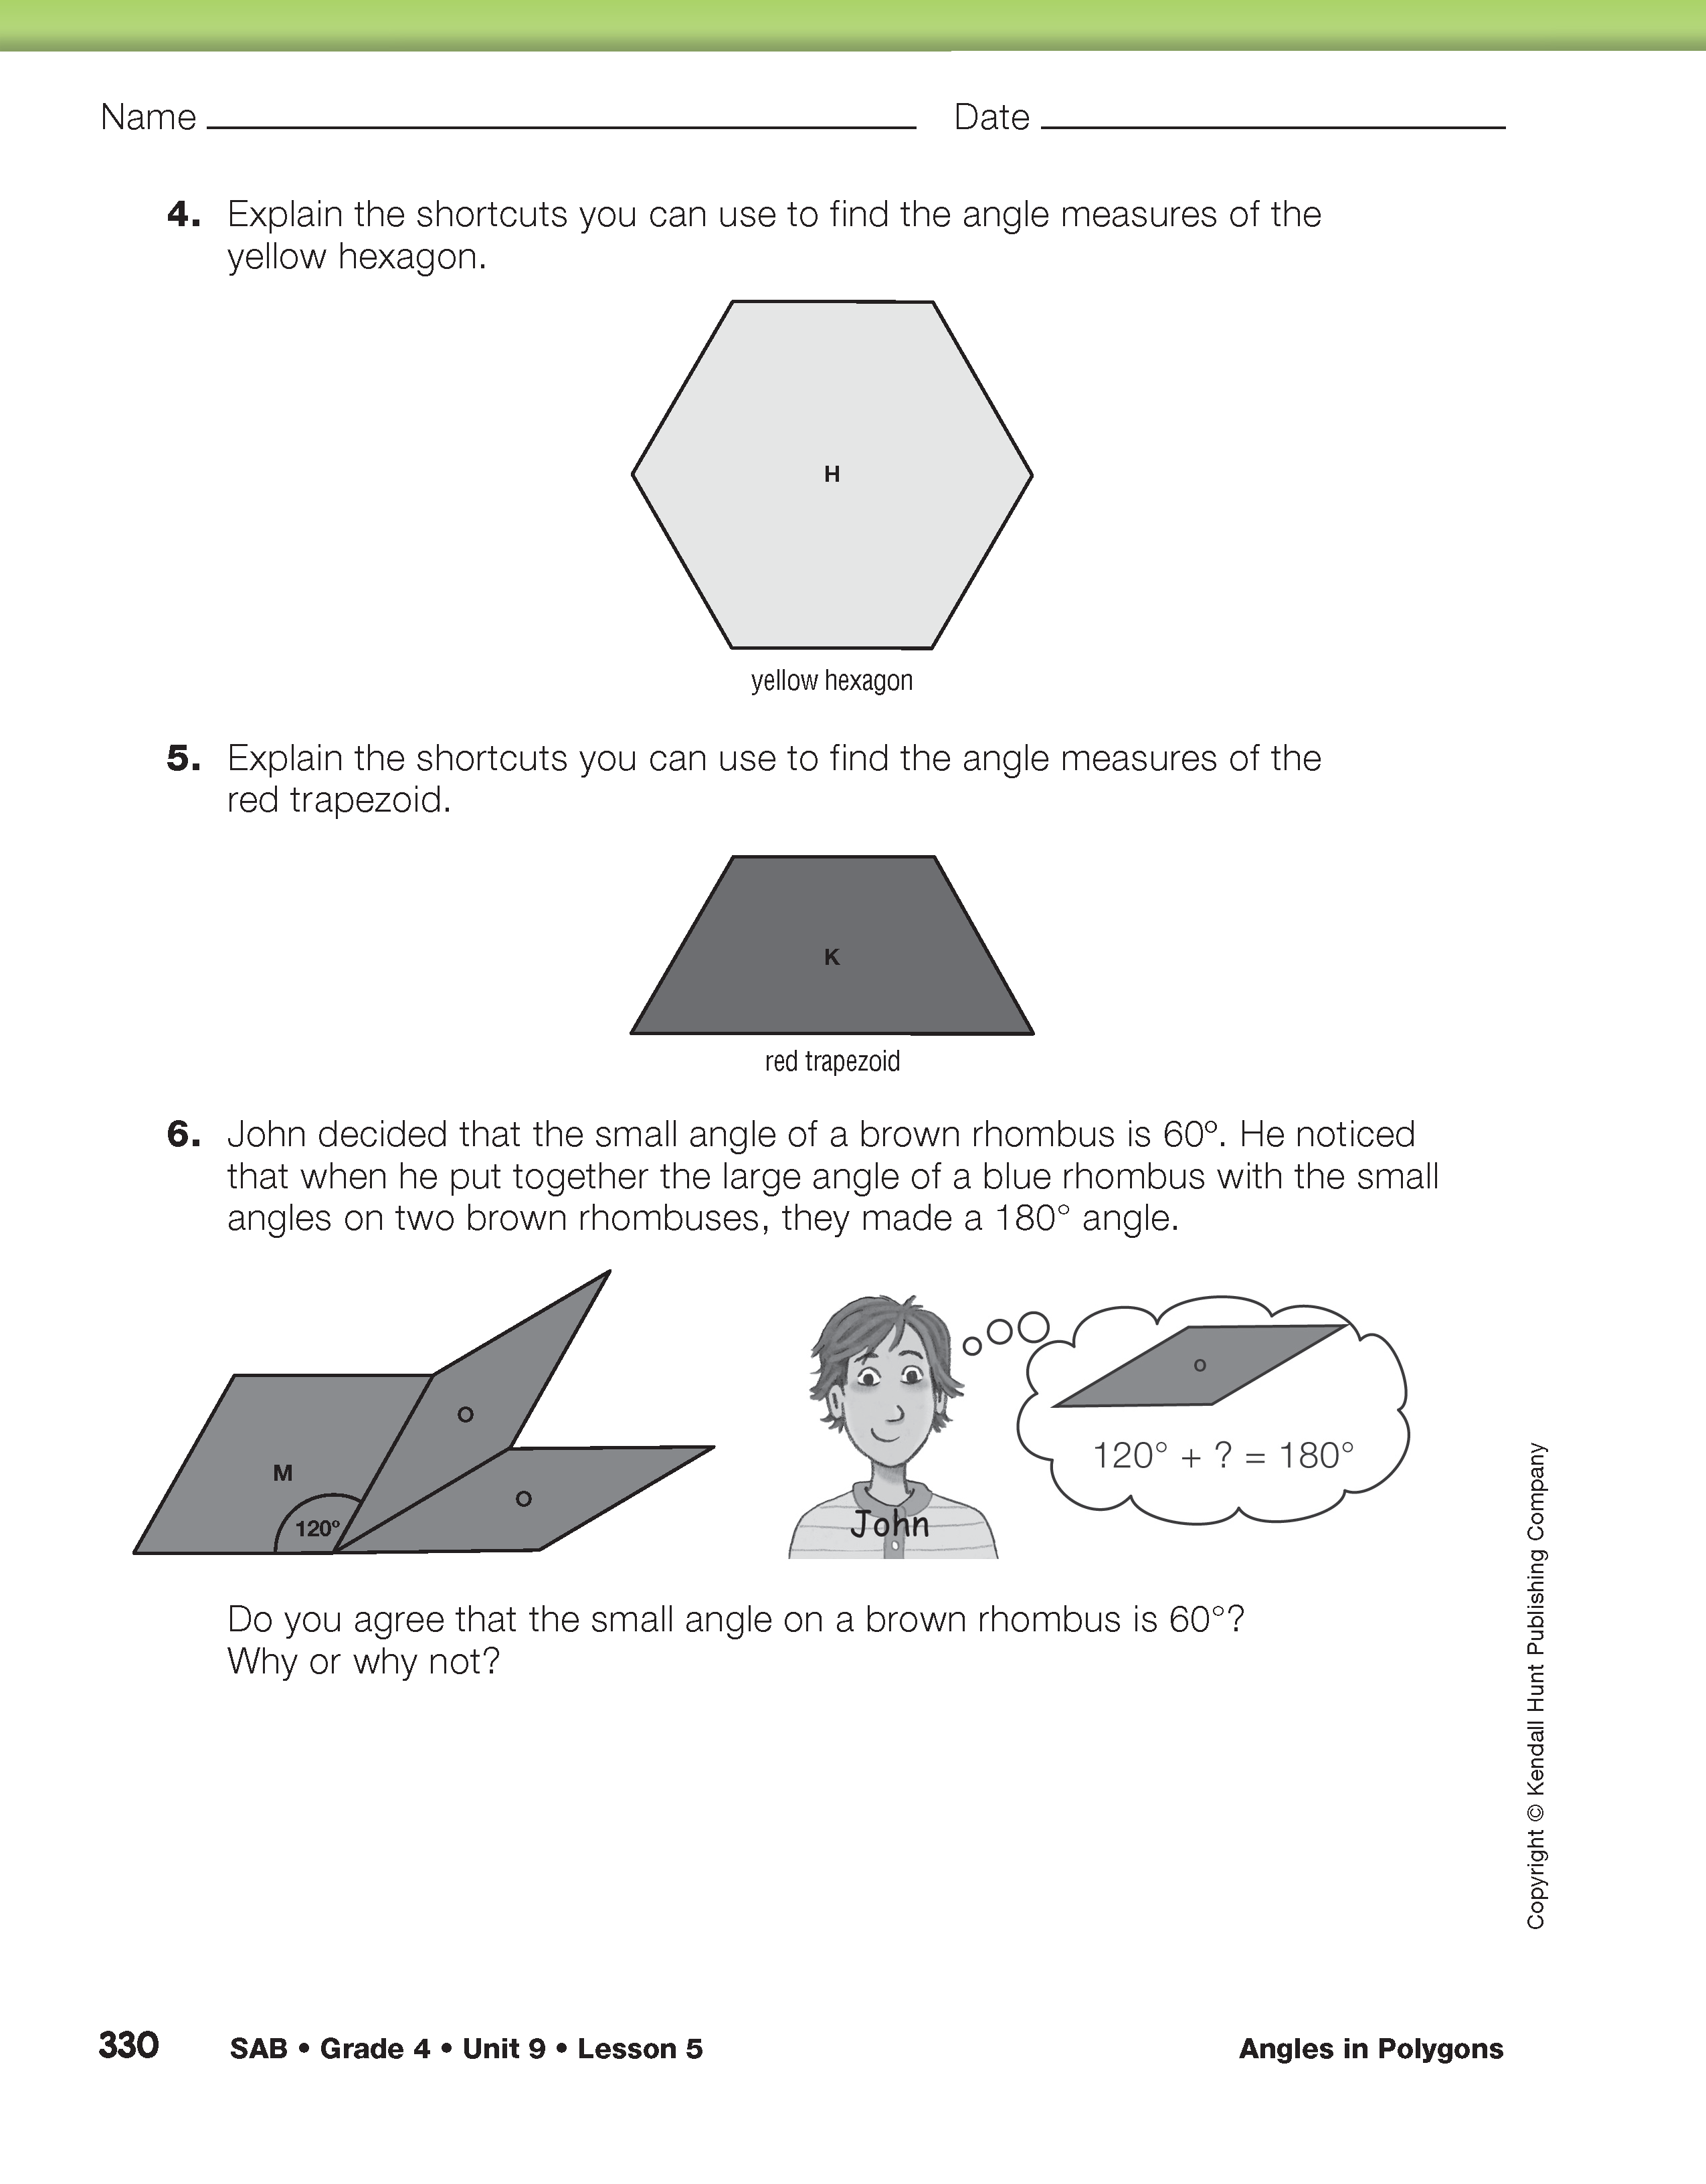
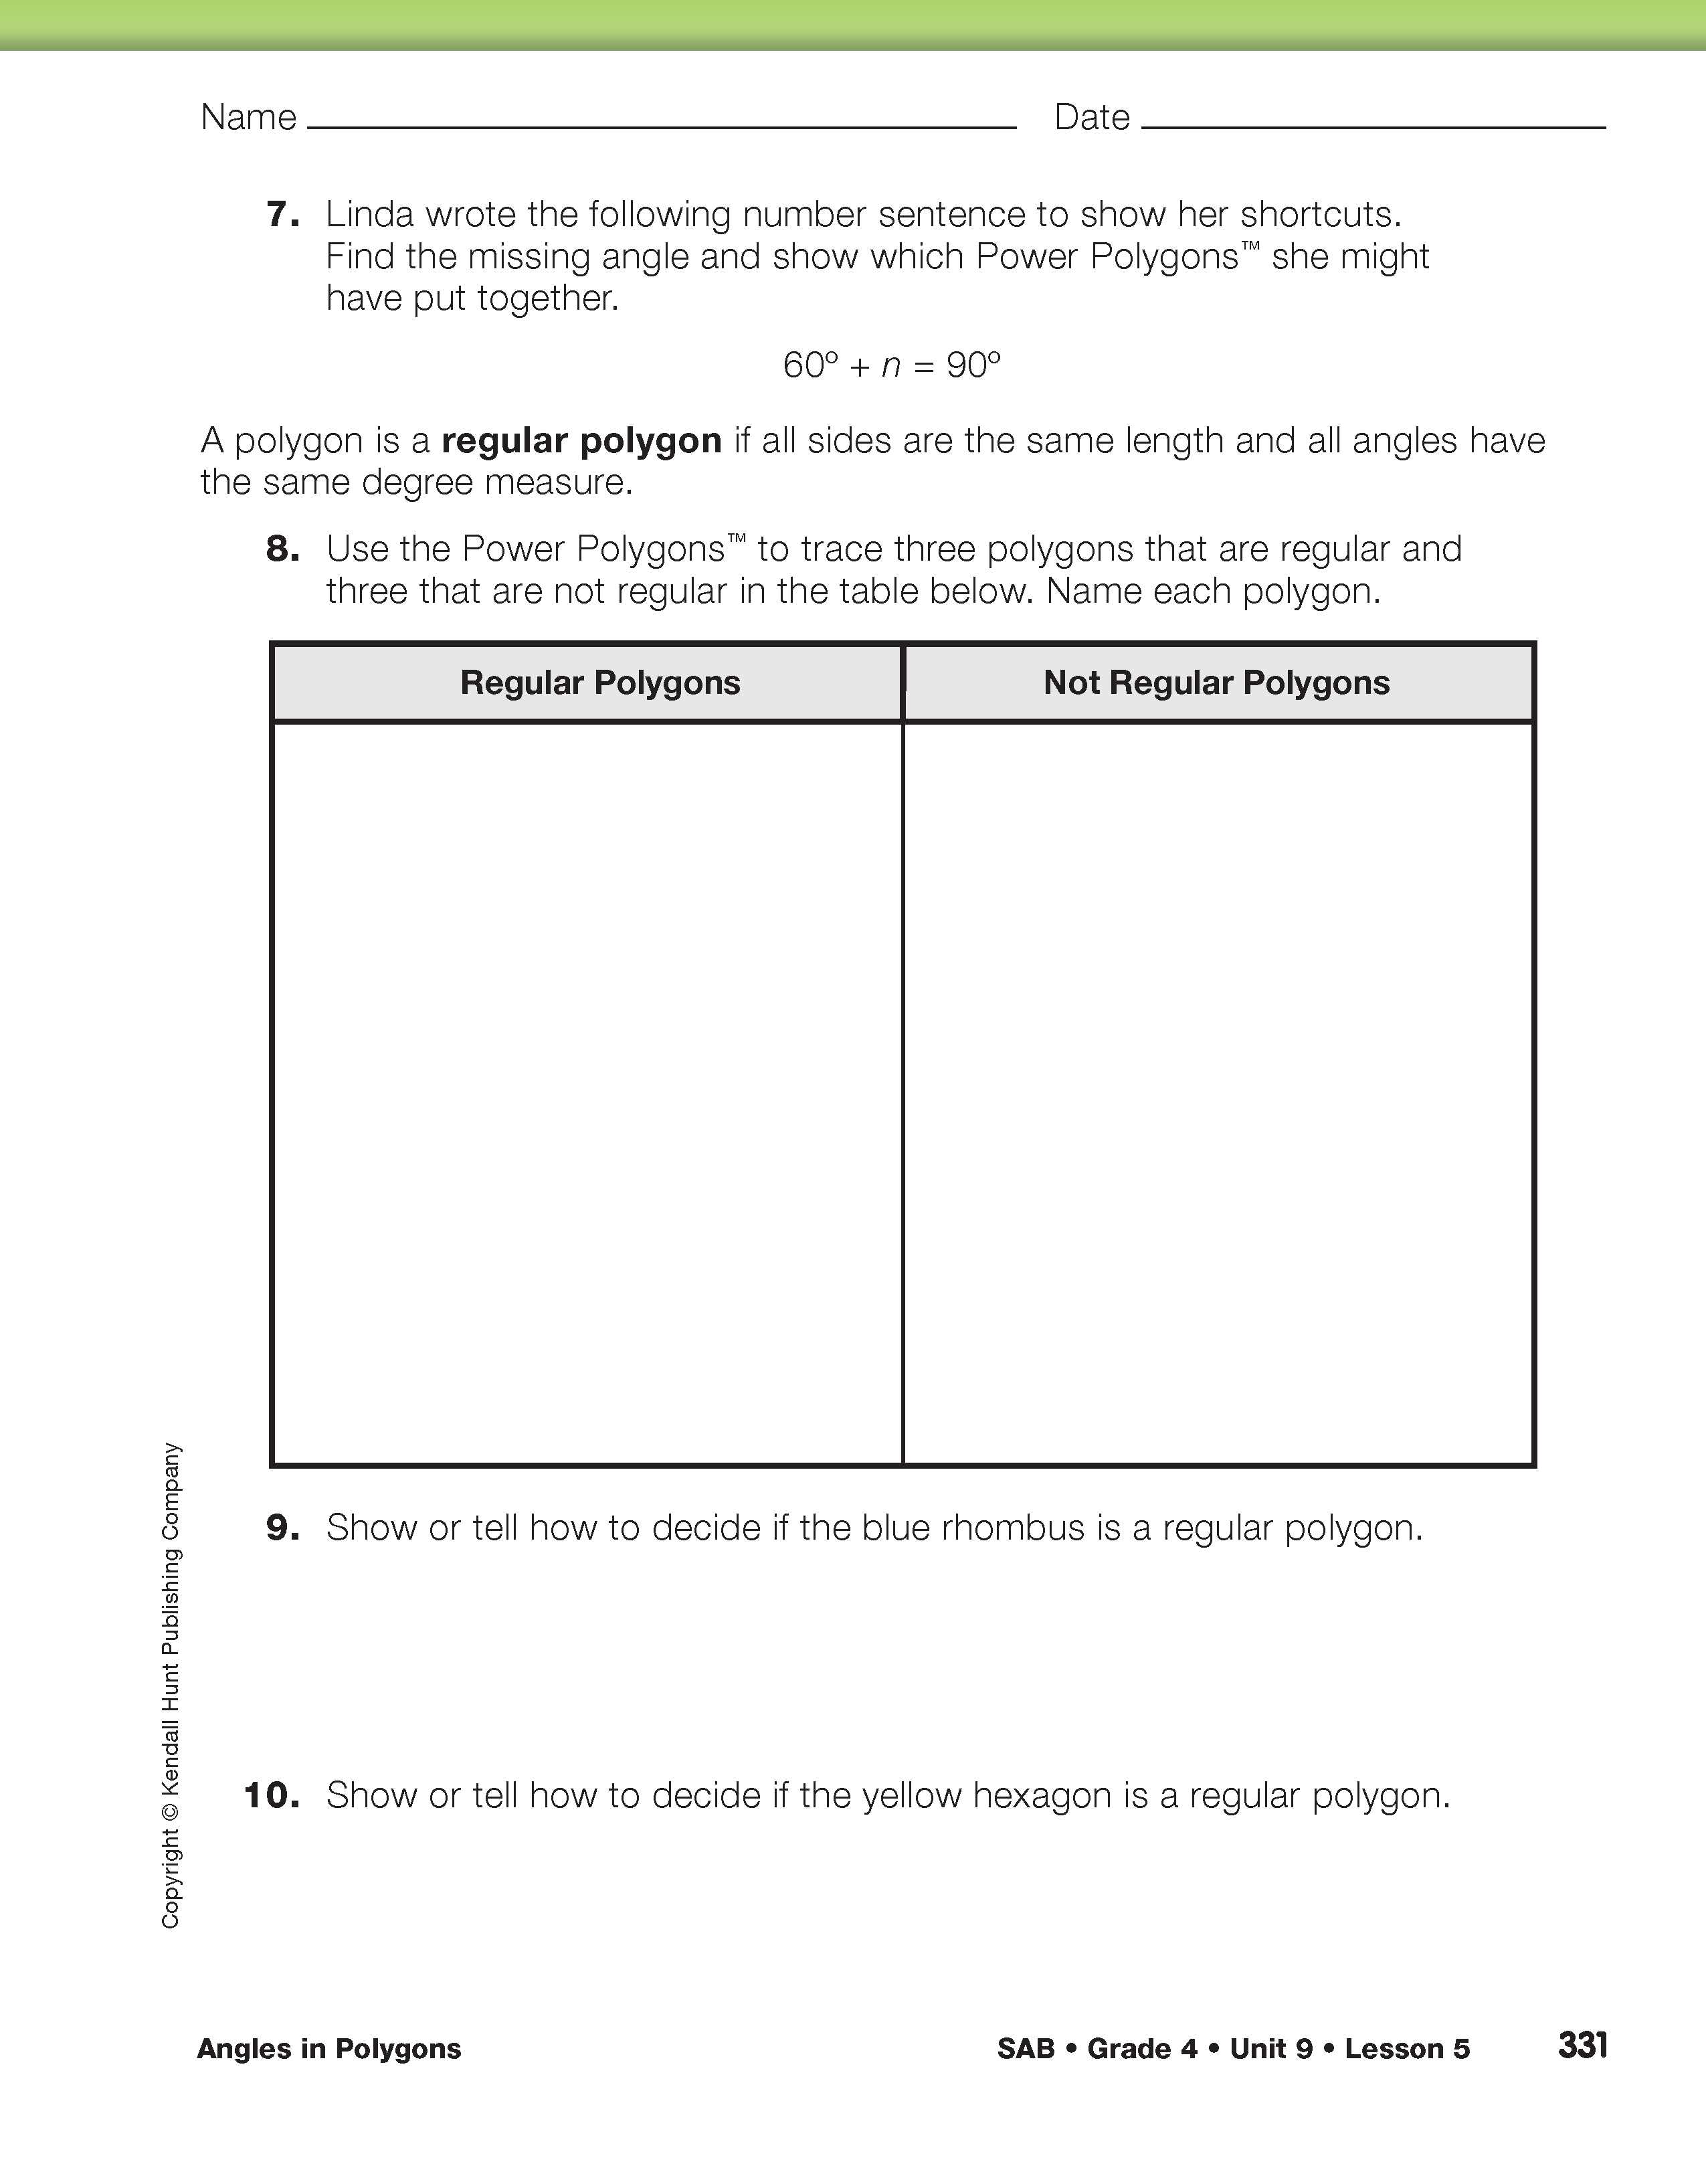
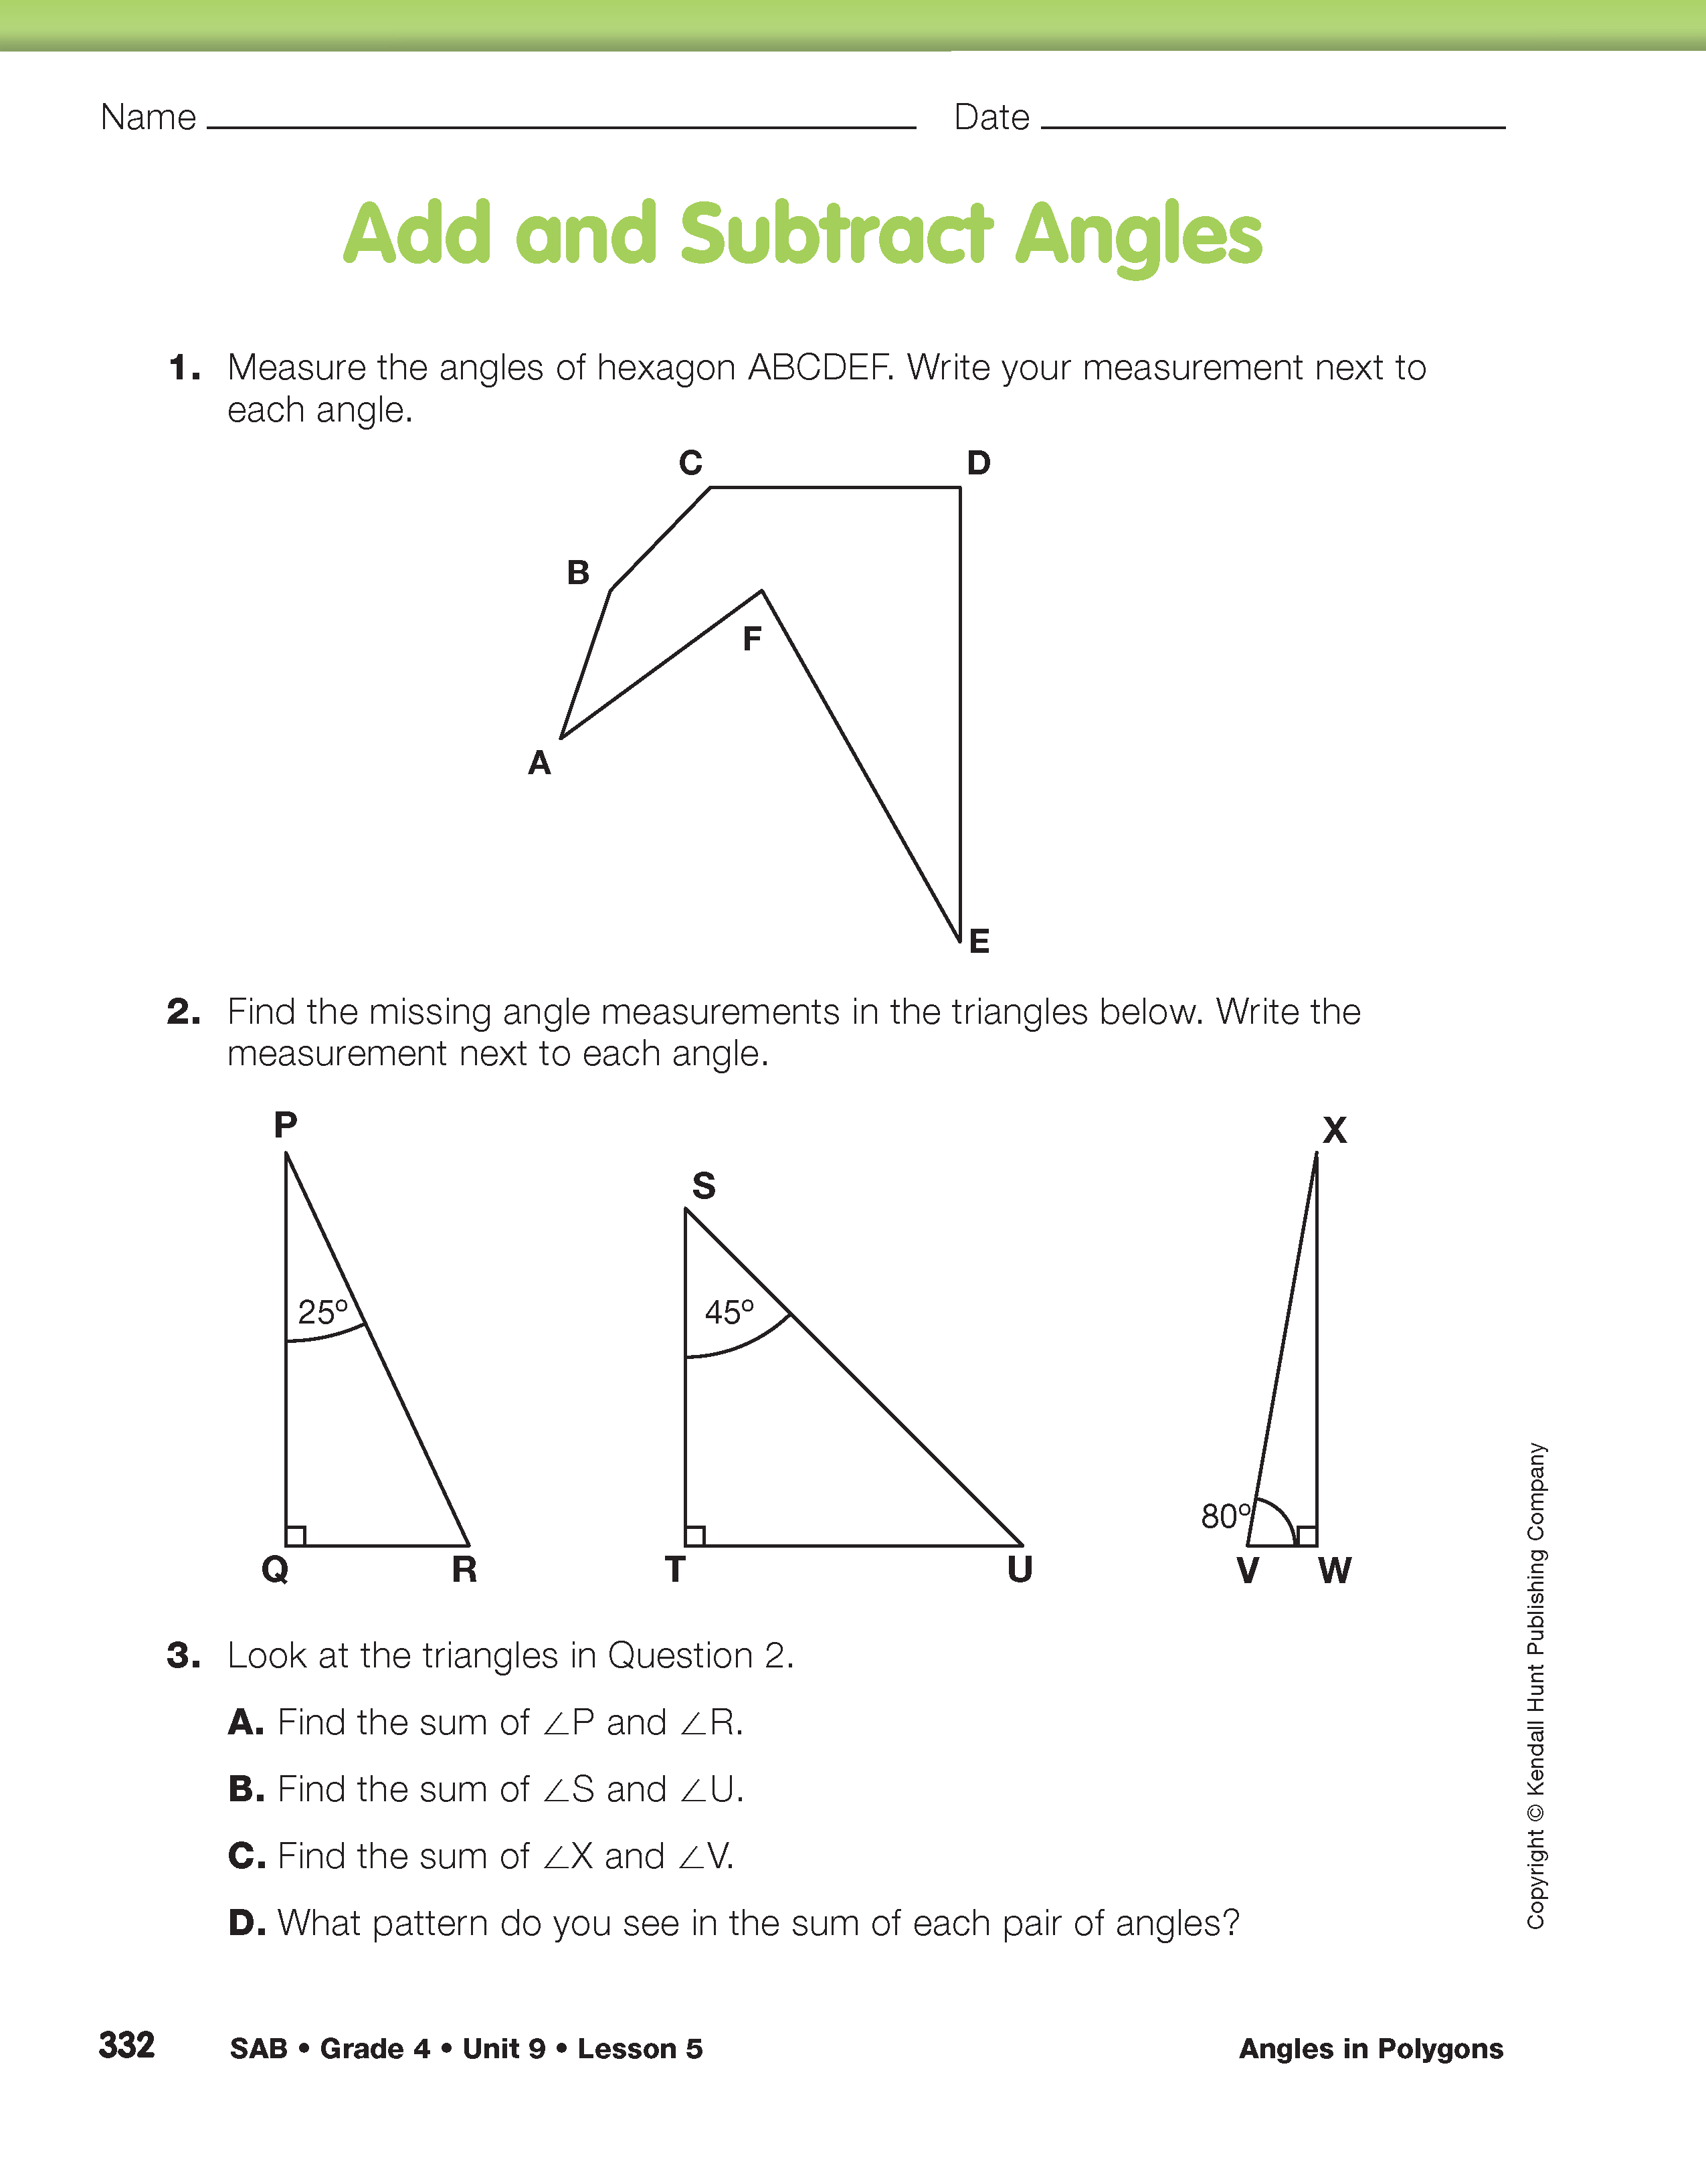
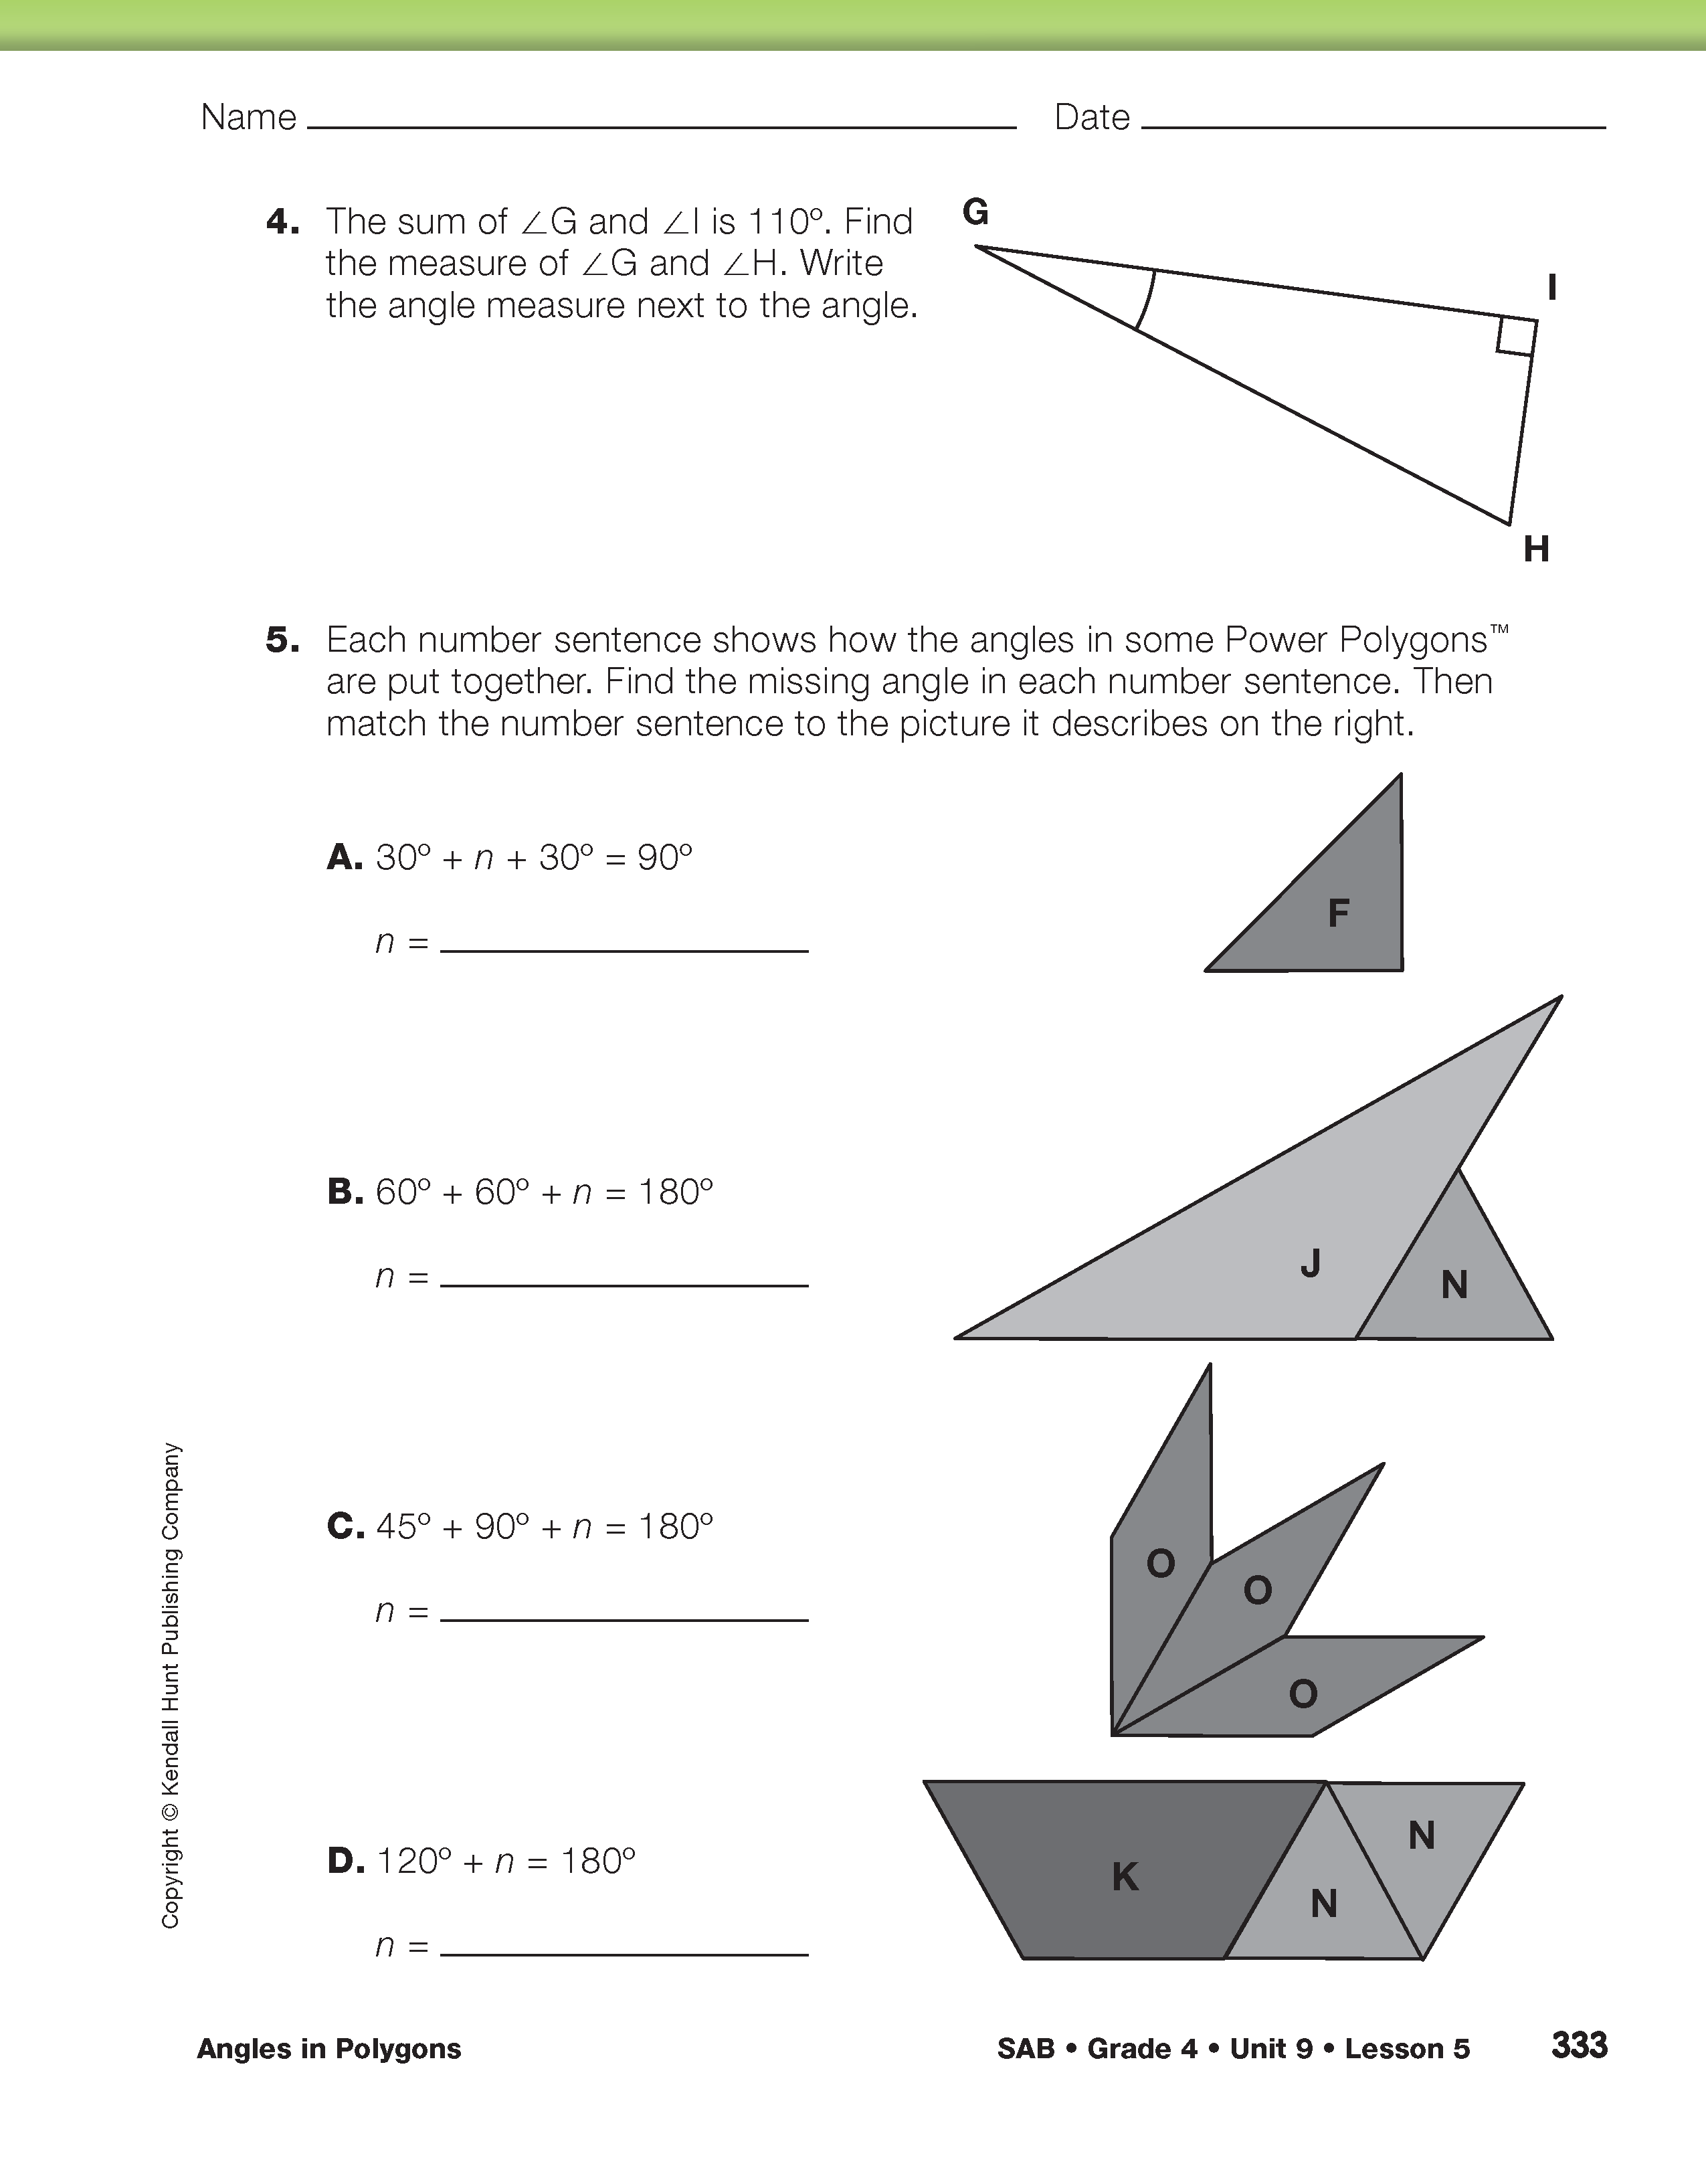
Add and Subtract Angles. Refer students to the Add and Subtract Angles pages in the Student Activity Book. Ask them to work with a partner to complete and discuss the questions on these pages. Students will need a protractor for Question 1. When students are done, ask students to share their solutions to Questions 2–5. Question 5 asks students to connect number sentences to how angles are put together. A display of this page may help discuss the representations in this question.
Assign Questions 5–8 in the Homework section of the Student Guide.


