|
|
Daily Practice and Problems |
Lesson |
Homework |
Assessment |
Student Books |
Student Guide |
|
|
|
|
| Student Activity Book |
|
|
|
|
Teacher Resources |
Teacher Guide - digital |
|
|
|
|
Supplies for Students
scissors
tape
several sheets of blank paper
ruler or straightedge
a set of Power Polygons™ (Shapes A–O)
envelope to store cut-apart core squares
index card or large self-adhesive note
Materials for the Teacher
Display of the core squares cut from a copy of Core Square with Large Green Triangle page
(Student Activity Book) Pages 357–358
Display of the core squares cut from a copy of Core Square with Orange Triangle page
(Student Activity Book) Pages 359–360
Display of Where Is the Shape? Master (Teacher Guide)
Geometry Word Chart from Lessons 1–4 and 7
Unit 9 Assessment Record
images of quilt designs (optional)
a set of Power Polygons™ (Shapes A–O)
envelope to store the core squares
scissors
tape
chart paper
Materials Preparation
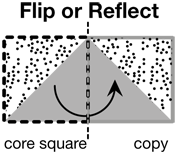
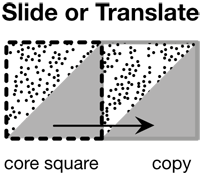
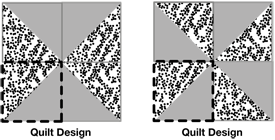
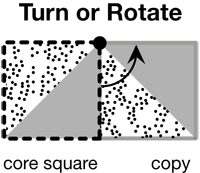
Quilt Designs. Find some images of quilt designs. Look for images that are created using the different types of transformations: flips, slides, and turns. Be prepared to share these images with the class.
Core Squares. Ask students to cut the core squares from the Core Square with Large Green Triangle and the Core Square with Large Orange Triangle pages in the Student Activity Book. Ask students to store the core squares in an envelope.
Geometry Word Chart. Prepare to add a sheet or two of chart paper to the Geometry Word Chart during Part 2 of the Lesson. Allow enough room for words, phrases, and student-generated examples for words related to slides, flips, and turns. See Before the Lesson.


