


Describing and Analyzing Shapes
Est. Class Sessions: 1–2
In Part 1, students play a game in which they find shapes with given properties. In Part 2, they use properties to analyze and describe shapes. To summarize the lesson, the class plays a game in which they name a property shared by a set of shapes.
Content in this Lesson
- Identifying acute, obtuse, and right angles in shapes [E2].
- Identifying parallel and perpendicular lines in shapes [E4].
- Describing and analyzing 2-dimensional shapes based on their properties (e.g., number and length of sides, number and size of angles, relationships between sides) [E5].
- Justifying conclusions using geometric properties [E10].

Materials for Students
| Daily Practice and Problems | Lesson | Homework | Assessment | ||
|---|---|---|---|---|---|
Student Books |
Student Guide |
|
|
||
| Student Activity Book |
|
|
|||
Teacher Resources |
Teacher Guide - digital |
|
Supplies for Students
1 set of Power Polygons™ (Shapes A–O)
scissors
blank paper
Materials for the Teacher
Copies of the following Masters (Teacher Guide)
Parallelograms
Quadrilaterals
Hexagons
Rectangles
Trapezoids
Rhombuses
Geometry Word Chart from previous lessons
Unit 9 Assessment Record
Math Facts Class Record
Display set of Power Polygons™ (Shapes A–O)
chart paper
tape
Materials Preparation
Power Polygons. Organize the Power Polygons™ into individual sets of 15 Shapes (A–O) so that student pairs can work with two complete sets.
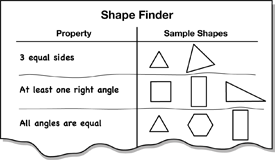
Shape Finder Chart. Prepare and display chart paper for the Shape Finder game in Part 1. Title the chart “Shape Finder” and make a table with two columns. Label one column “Property” and the other “Sample Shapes.” See Figure 1.
Geometry Word Chart. Prepare to add descriptions of shapes to the Geometry Word Chart. In Parts 2 and 3, students will make lists of properties for the following shapes: parallelogram, quadrilateral, hexagon, rectangle, trapezoid, and rhombus. Prepare to display a chart for each shape using the corresponding Masters. Each Master has the name of the shape with a set of examples. See Figure 2. Tape a Master to the top of each piece of chart paper. If possible, increase the size of the shape name and examples when you make the copies, so students can refer to the charts from their seats for the remainder of the unit.
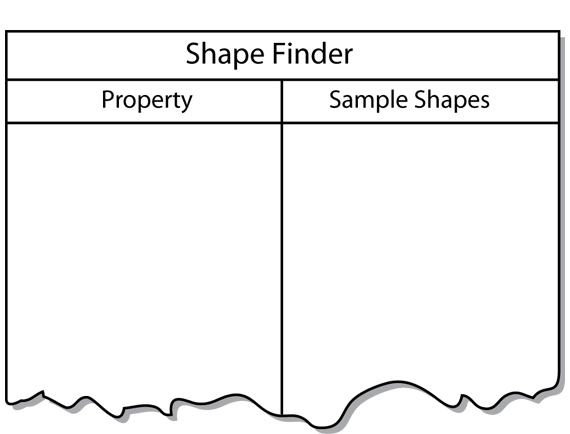
Figure 1: A prepared Shape Finder Chart for Part 1
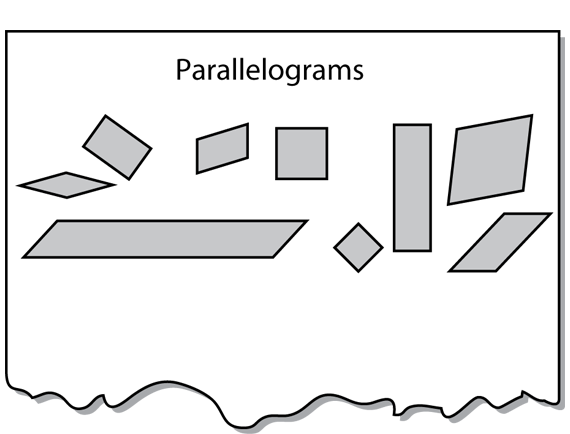
Figure 2: A prepared Parallelograms Chart for Part 2
Assessment in this Lesson
| Assessment | Expectation Assessed |
|---|---|
|
Properties of Shapes |
|
|
DPP Item Y |
|